 Save to Pinterest
 Preheat oven to 350°F. Slice a 12-count block of Hawaiian rolls horizontally, layer the bottom with sliced cheddar (and optional ham), replace the top, then brush with melted butter mixed with mustard, honey and garlic powder. Bake 10-15 minutes until cheese melts and tops are golden. Cool briefly, cut into 12 mini sandwiches and serve warm with soup or dips.
There&aposs something oddly satisfying about hearing the gentle crackle of butter sizzling on Hawaiian rolls as cheese melts between them. I threw these mini grilled cheese Hawaiian rolls together one rainy weekend when all I had left was a block of cheddar and a pack of sweet rolls, and the aroma alone made everyone abandon their phones to swarm the kitchen. What started as a desperate snack has turned into a much-requested staple — especially during impromptu game nights. The blend of sweet bread and gooey cheddar just has a way of turning an ordinary afternoon into something special.
The first time I served these to a mix of kids and adults, I completely underestimated how quickly they&aposs disappear — hands were darting out before I could even cut the last row apart. My nephew tries to call dibs on the cheesiest corner one every single time. It&aposs become a standing joke that the cook gets the first pick, and I make sure to enforce it as my reward.
Ingredients
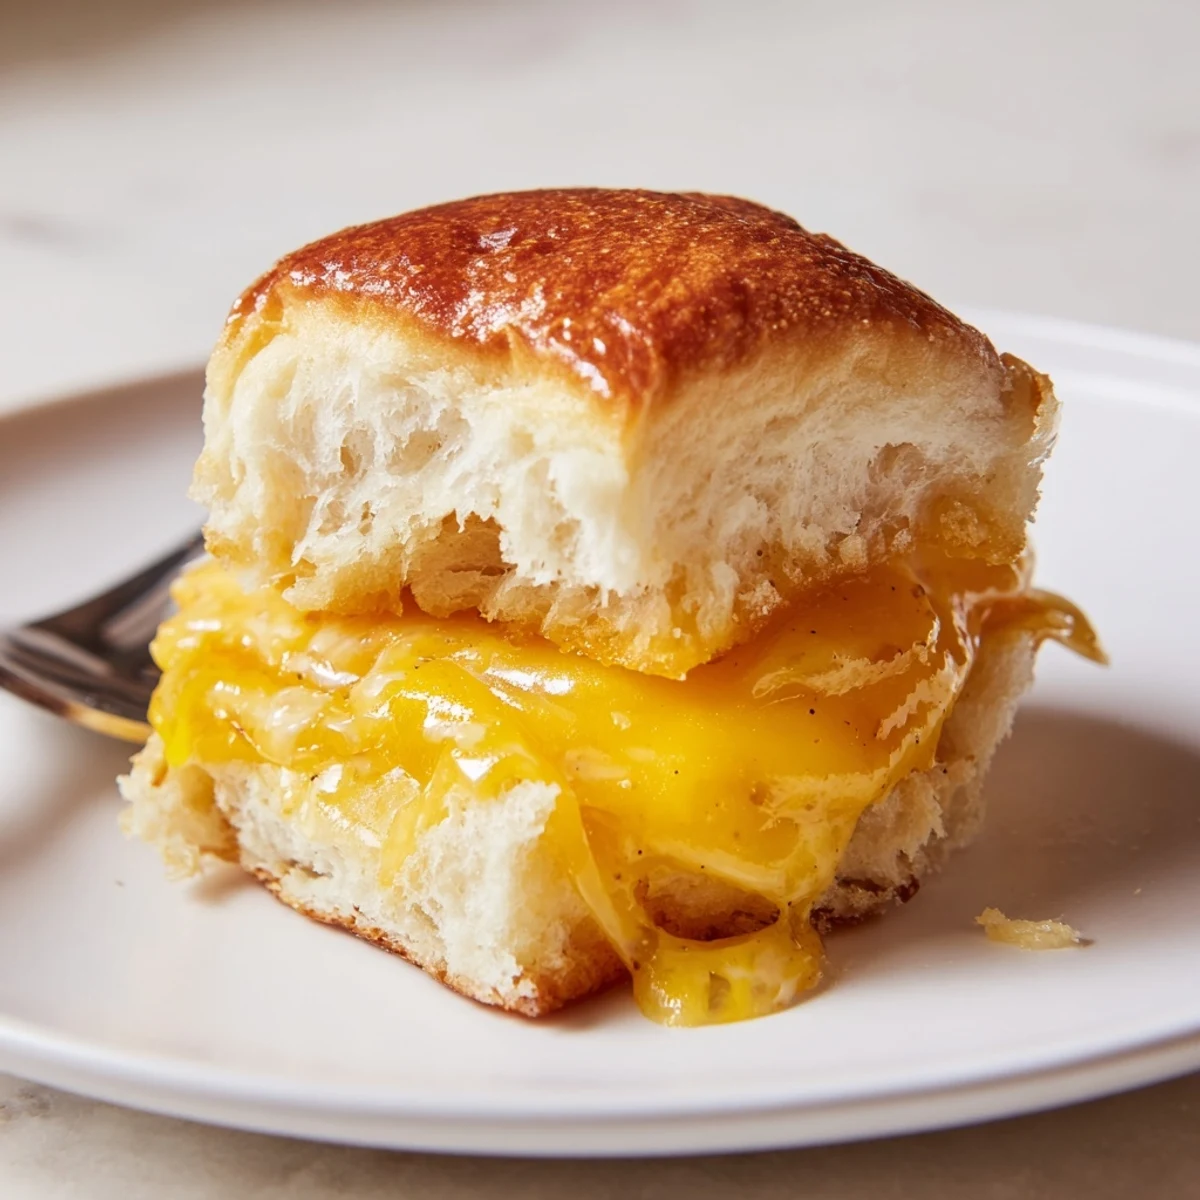
- Hawaiian sweet rolls: Their slightly sweet flavor and pillowy texture make these the unrivaled star — don&apost try to separate before slicing or you&aposll lose their structure.
- Sliced cheddar cheese: Look for sharp cheddar for a stronger cheesy punch; don&apost be afraid to tuck a double layer in if you like it extra gooey.
- Unsalted butter (melted): Melted butter over the tops creates that shiny, crisp finish; pouring it slowly to catch every edge is my trick for golden perfection.
- Deli ham or turkey (optional): These add a savory twist; layer thin slices evenly so you don&apost overcrowd, especially if you prefer clean lines when cutting.
- Dijon or yellow mustard (optional): Stirring a little into the butter gives just enough kick to wake up the sandwich, but not so much it steals the show.
- Honey (optional): Just a hint in the butter mixture adds depth and makes the crust even more irresistible — don&apost overdo it or things get sticky fast.
- Garlic powder (optional): Dust the tops if you love a subtle garlicky aroma; it pairs beautifully with the cheese and bread.
Instructions
- Prep the Oven and Sheet:
- Set your oven to 350°F (175°C) and line a baking sheet with parchment, so nothing sticks later; you&aposll thank yourself for quick cleanup.
- Slice the Rolls:
- Using a serrated bread knife, carefully slice across the middle of the whole cluster of rolls — it&aposs like opening a giant soft book without detaching the pages.
- Assembly Time:
- Lay the bottom slab on your baking sheet, then layer cheddar cheese evenly like a savory quilt; sneak in ham or turkey if you&aposre using it, but keep it flat and even.
- Top It Off:
- Gently replace the top half of the rolls, matching up corners like puzzle pieces to keep the cheese tucked in.
- Butter Magic:
- Mix the melted butter with mustard, honey, and garlic powder if you like; brush it slowly over the tops, letting it spill into the cracks for extra flavor in every bite.
- Bake to Perfection:
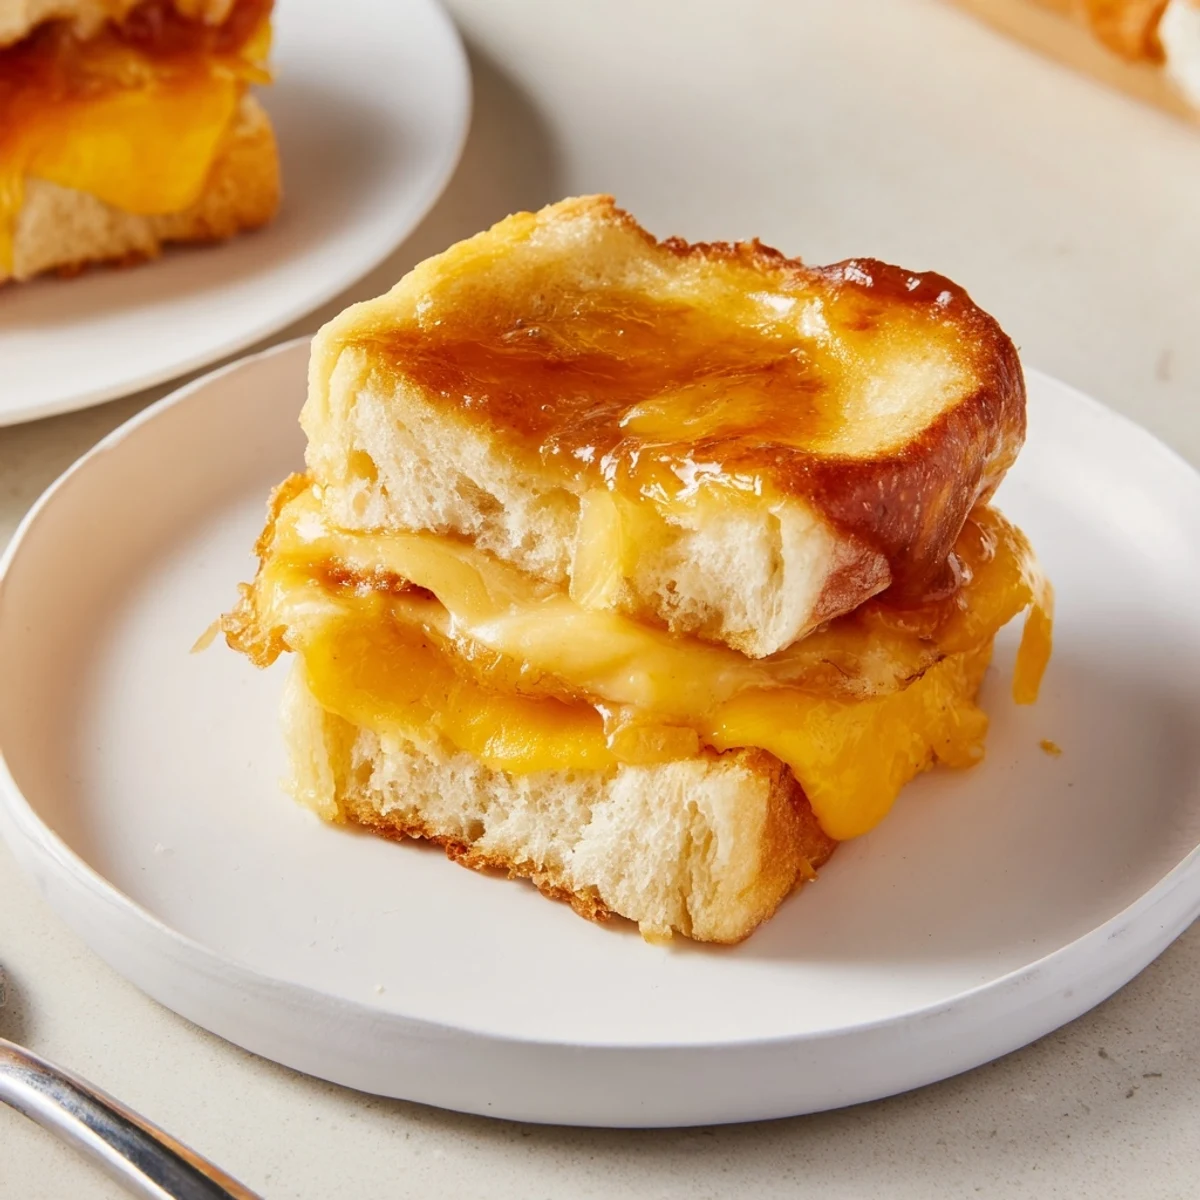
- Bake for 10–15 minutes; you'll know they're ready when the tops are deep golden and cheese is bubbling out like lava.
- Slice and Serve:
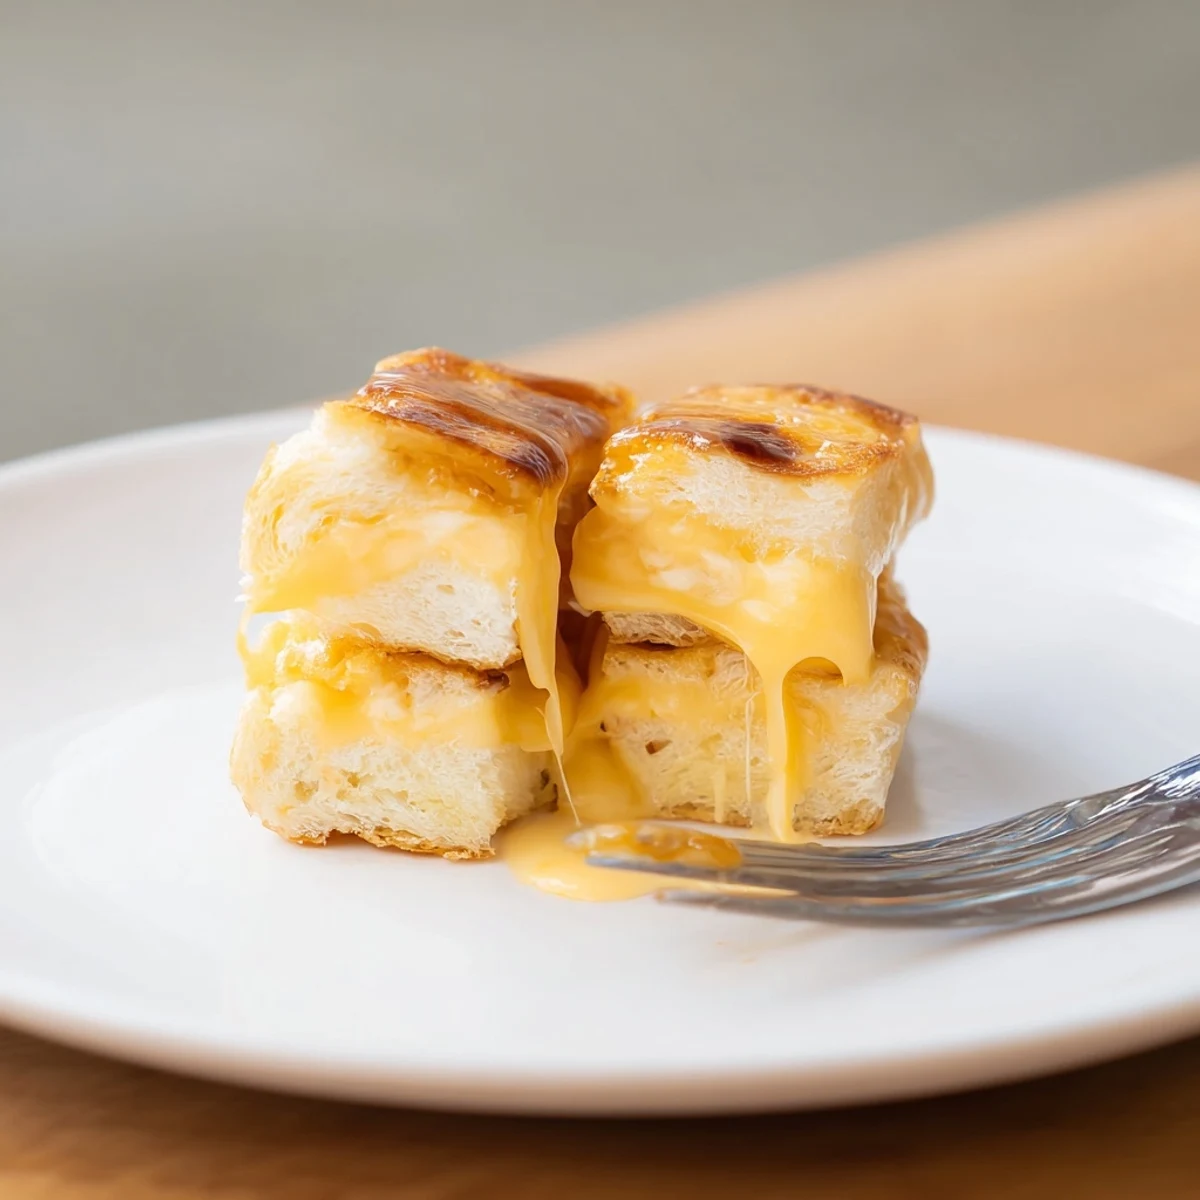
- Let the rolls cool just long enough to handle, then slice along the natural seams; each little sandwich pulls apart with strings of cheese you can't resist sneaking.
 Save to Pinterest
 One evening, I pulled these out while a thunderstorm rattled the windows, and everyone hovered in the kitchen just to catch the first wave of buttery, melty aroma. As we laughed over old family stories with dripping sandwiches in hand, I realized simple food really is at the heart of memorable moments.
Choosing Your Cheese Wisely
I used to stick to classic cheddar, but swapping in Swiss or pepper jack turns these sliders into something totally new each time. Mixing different cheeses makes the flavor more complex and lets guests guess what’s inside as they bite in.
Making Them Ahead for Parties
Sometimes, I assemble the rolls and refrigerate the whole pan a couple hours ahead; popping them in the oven just before guests arrive guarantees warm, melty sandwiches without any last-minute rush. Just brush on the butter right before baking for that perfect finish.
Serving and Leftover Surprises
If you're lucky enough to have leftovers, they reheat beautifully in a toaster oven — the tops get crisp again and the cheese stays melty instead of rubbery. Pairing them with tomato soup always feels like a tiny feast.
- Keep a damp towel over the rolls if making ahead so they don't dry out.
- Don't skip parchment; melted cheese loves to stick to pans.
- Add a sprinkling of sesame or poppy seeds to the buttered tops for a little crunch.
 Save to Pinterest
 These little sandwiches are proof that fuss-free food can seriously wow a crowd. Give them a try next time you need a quick win — and be prepared to guard the last piece!
Recipe Questions & Answers
- → What cheese melts best for these minis?
-
Cheddar gives a classic flavor and great melt; Swiss or provolone offer milder, creamier melts, while pepper jack adds a spicy kick. Use thin slices for even melting.
- → How do I keep the rolls from getting soggy?
-
Layer cheese directly on the bottom half of the rolls to create a barrier, avoid excess wet fillings, and bake until the tops are golden so steam escapes quickly.
- → Can I make these ahead and reheat later?
-
Assemble and bake, then cool completely and store refrigerated up to 2 days. Reheat in a 350°F oven for 8-10 minutes or until warmed through to preserve texture.
- → What are good add-ins or swaps?
-
Try sliced tomatoes, caramelized onions, cooked bacon, or thinly sliced deli meats. Swap cheddar for provolone, Swiss or pepper jack for different flavor profiles.
- → Is oven baking better than stovetop for these?
-
Baking the whole block keeps the sandwiches uniform and lets the butter glaze caramelize on top; stovetop grilling works for individual portions but is more hands-on.
- → How should I season the butter topping?
-
Mix melted butter with a touch of mustard, honey and a sprinkle of garlic powder or herbs to balance sweet and savory and encourage browning.