 Save to Pinterest
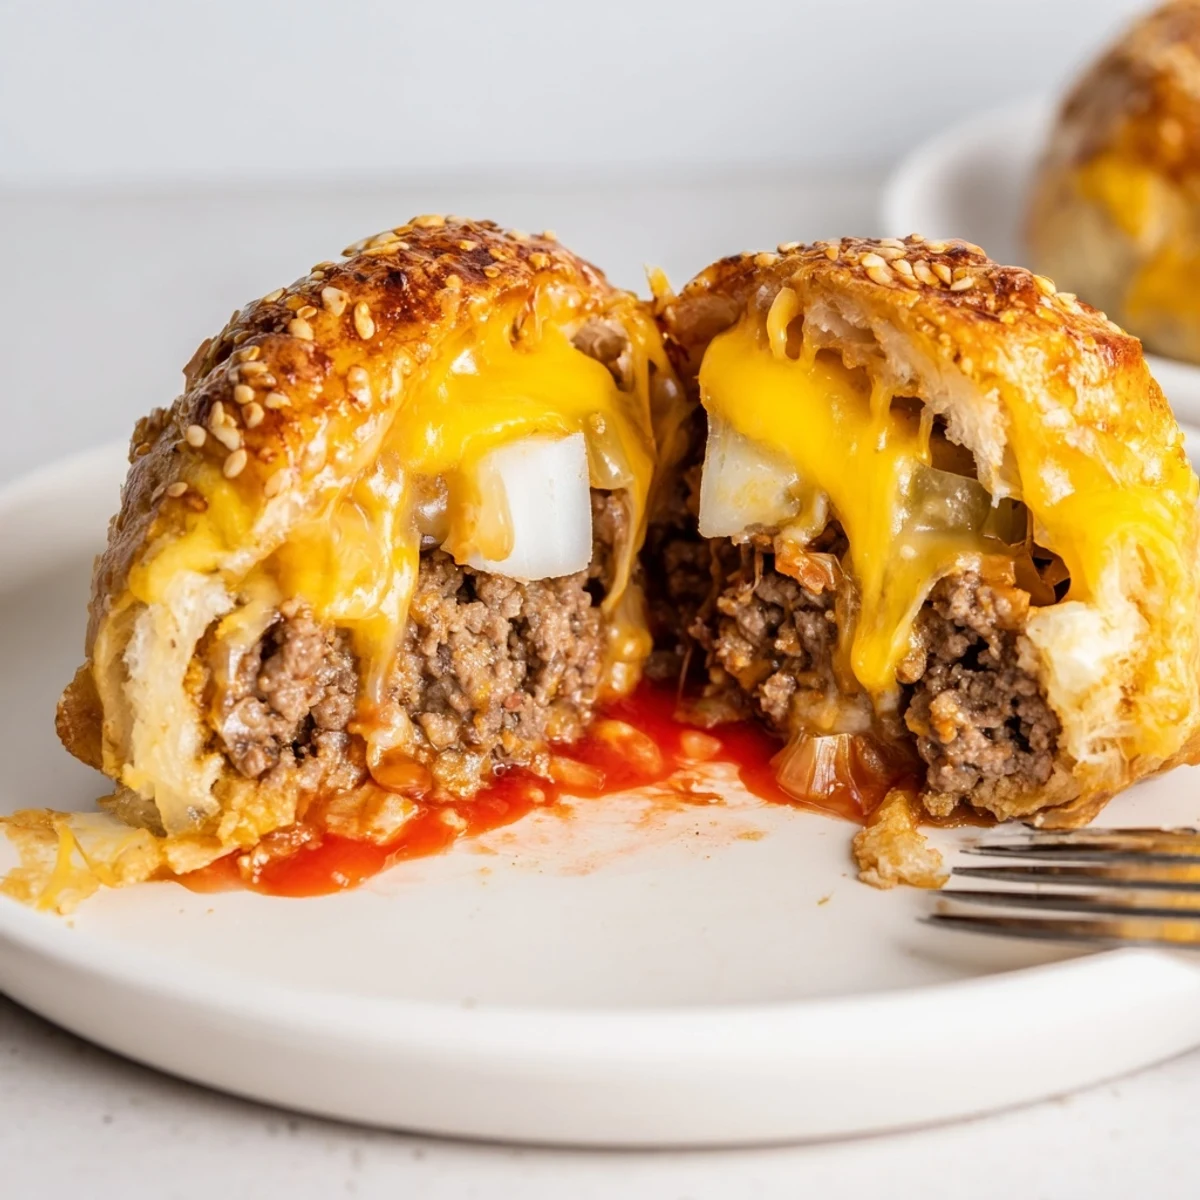
 Quick to assemble and full of burger flavor: sear seasoned ground beef with diced onion, stir in ketchup, mustard and Worcestershire, then cool. Spoon the mix and shredded cheddar onto flattened biscuit rounds, top with a mozzarella cube, seal and brush with egg wash. Bake at 200°C (400°F) until golden, about 15–18 minutes. Let rest briefly before serving. Try pepper jack for heat or add bacon for smoky depth. Serve with favorite burger sauces.
There are few sounds more enticing than biscuits sizzling in the oven, promising melty cheese within. I stumbled into making these Cheesy Cheeseburger Bombs after an impromptu game night, scrambling for a snack that felt like fun without requiring a messy grill. The magic is in the surprise — you expect a biscuit, but you bite into a gooey, beefy cheeseburger center. It's my not-so-secret solution to cravings that demand comfort and excitement at once.
One rainy Thursday, I served these straight from the oven to a cluster of hungry teenagers crammed around my kitchen island. Laughter practically bounced off the walls, punctuated by shouts when molten cheese escaped onto plates — nobody minded, just grabbed another napkin and went in for seconds.
Ingredients
- Ground beef: Browning it well creates a savory base — don't rush this part, patience brings out the flavor.
- Shredded cheddar cheese: Melts into the beef for a rich, sharp bite, and using extra-sharp makes a noticeable difference.
- Mozzarella cubes: Surprise gooeyness at the center of each bomb, but make sure they're well-sealed or you'll lose a little magic to the pan.
- Onion: Diced small so it softens quickly, lending sweetness that doesn't overpower.
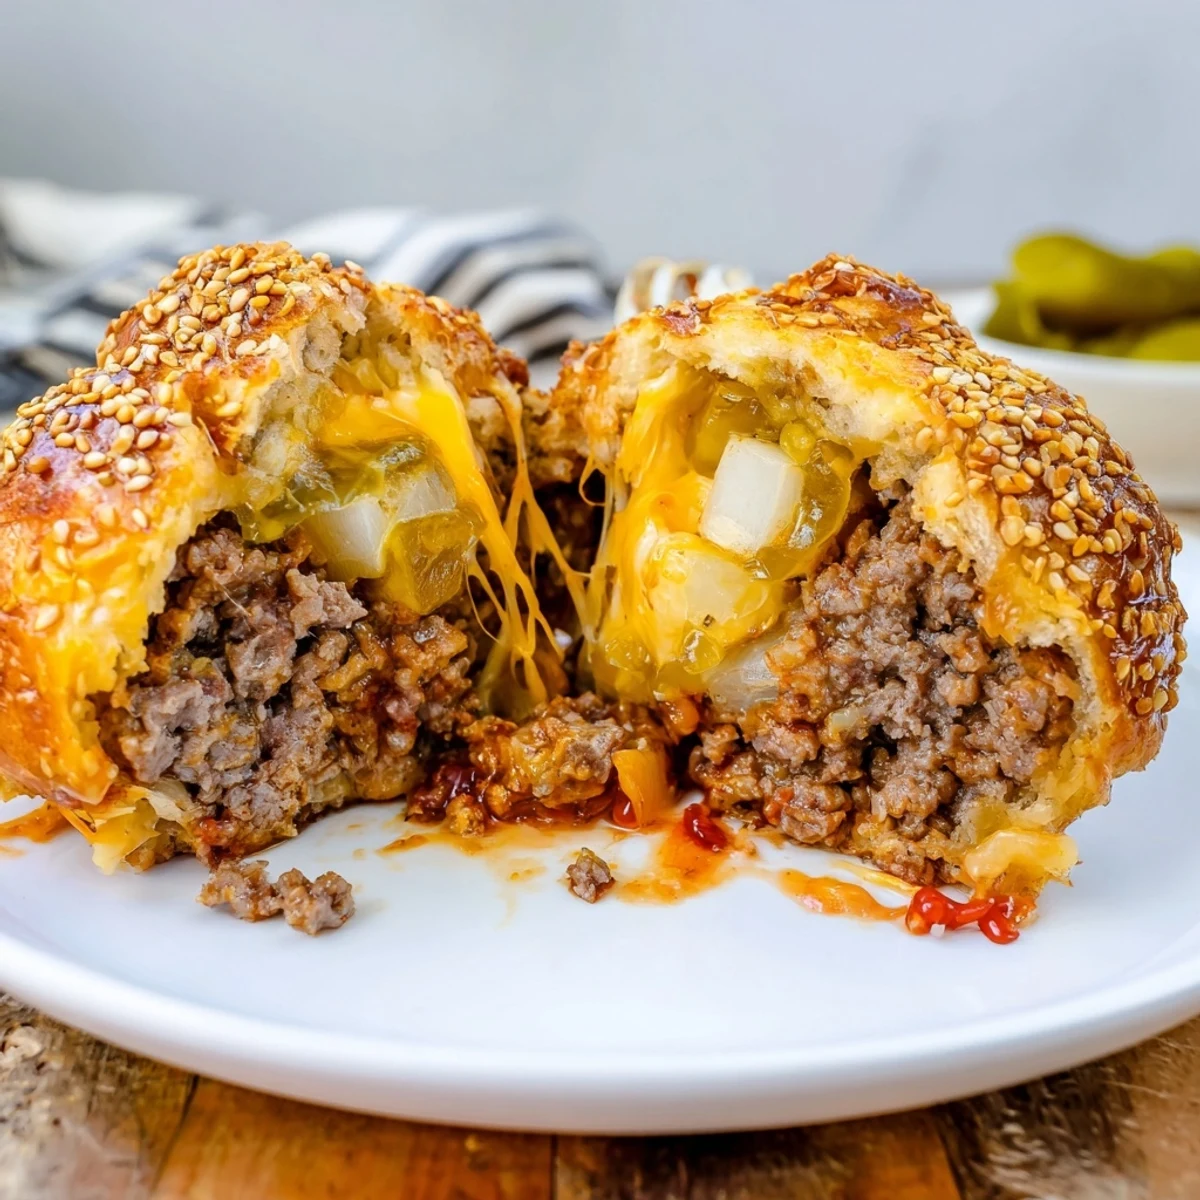
- Pickle: Adds tang and crunch, though picky eaters can skip it and never notice.
- Refrigerated biscuit dough: The ultimate shortcut for golden, flaky outsides without any fuss — chilling it makes it easier to handle.
- Ketchup & mustard: Essential for that unmistakable cheeseburger zing swirled right in the filling.
- Worcestershire sauce: My personal flavor-booster; it makes everything taste like more.
- Garlic powder, salt & black pepper: Layer in unmistakable burger depth, but taste as you go to fit your saltiness comfort zone.
- Egg, beaten: An egg wash gifts you that bakery-worthy shine.
- Sesame seeds: Just the right detail to make these bombs truly feel like cheeseburgers, not just biscuits in disguise.
Instructions
- Set the stage:
- Preheat your oven to 200°C (400°F) and get a baking sheet lined with parchment, so nothing sticks and cleanup's easy.
- Sauté and sizzle:
- Warm a skillet over medium, drop in diced onion, and let the sharp smell mellow for a few minutes before adding ground beef and seasonings, stirring until richly browned.
- Mix in magic:
- Once the beef's cooked through, swirl in ketchup, mustard, Worcestershire sauce, and optional pickles, letting it bubble and thicken before taking it off the heat to cool a bit.
- Shape the bombs:
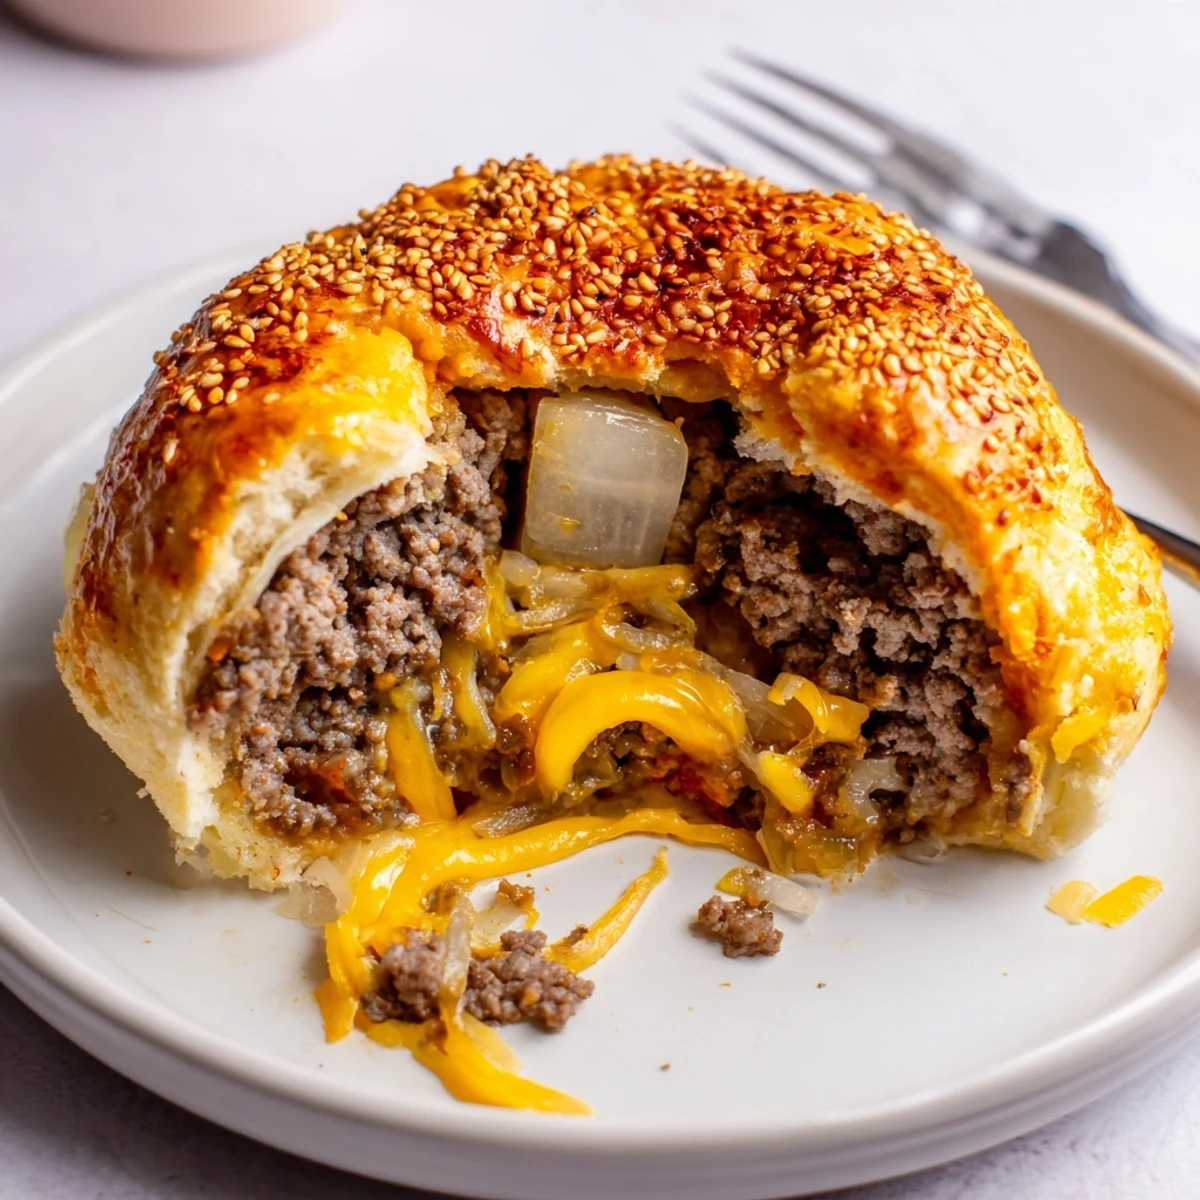
- Flatten each biscuit round gently with your hands, spooning a mound of beef mixture, a sprinkle of cheddar, and a mozzarella cube in the center — don't skimp or they won't burst with flavor.
- Seal with care:
- Gather dough edges up, pinching tightly until each bomb is securely enclosed, then flip seam side down on the baking sheet (trust me, leaks happen if you rush).
- Brush and sprinkle:
- Use your pastry brush to give every bomb a glossy coat of egg before scattering on sesame seeds, for that classic burger look.
- Bake to golden perfection:
- Slide the tray into the oven and resist peeking for 15-18 minutes, until they're deeply golden and your kitchen smells irresistible.
- Serve and savor:
- Let them cool just enough to grab — they’re best enjoyed with a little extra ketchup or your favorite burger sauce for dunking.
 Save to Pinterest
 The first time I brought out a tray of these, I watched a skeptical cousin become an instant fan, mouth full but grinning over how something that looked so simple could pack such a punch — it's those little kitchen victories you remember best.
Beyond the Burger: Playing with Flavors
After trying this a few times, I realized you could swap cheddar for pepper jack and toss in a few bacon bits for a spicy, smoky twist. My crew loved when I added barbecue sauce instead of ketchup, and now everyone requests their own 'secret' filling it feels like a friendly burger battle in my kitchen.
What to Serve Alongside
If it's a party, piling these next to crunchy pickles or ramekins of dipping sauces keeps hands busy and spirits high. For hurried weeknights, I've served them with a handful of chips or even a big green salad just to keep things feeling balanced.
Fixes and Finishing Touches
One batch cooled too long and the cheese set — turns out a quick reheat in the oven brings that gooeyness right back, crisis averted. Don't worry if yours aren't perfectly round: lumpy bombs taste just as good, maybe even better.
- Keep biscuit dough cold for easier shaping.
- Don’t overload with filling or sealing gets tricky.
- Serve warm for the best cheese pull and flavor.
 Save to Pinterest
 Nothing brings a table together faster than a tray of cheesy, golden snacks. Make them your way and I promise, empty plates and big smiles will always follow.
Recipe Questions & Answers
- → Can I prepare these ahead of time?
-
Yes—assemble and refrigerate unbaked bombs up to 24 hours. Brush with egg wash and bake straight from the fridge, adding a few minutes if chilled through.
- → How do I keep the centers gooey?
-
Use a mix of shredded cheddar and a mozzarella cube, avoid overfilling, and don’t overbake. Allow a short rest after baking so cheese sets slightly without losing its melt.
- → What are good cheese swaps?
-
Swap cheddar for pepper jack for heat, use smoked gouda for a smoky note, or provolone for a milder, stretchy center.
- → Can I freeze them?
-
Freeze unbaked bombs on a tray, then transfer to a sealed bag for up to 2 months. Bake from frozen and add 5–8 minutes to the bake time.
- → How do I prevent soggy bottoms?
-
Drain excess fat from the cooked beef mixture, place bombs seam-side down on parchment with spacing, and bake on a preheated sheet to encourage browning.
- → Is there a gluten-free option?
-
Use a certified gluten-free biscuit or crescent dough and watch browning closely—gluten-free doughs often bake differently and may need adjusted time.