 Save to Pinterest
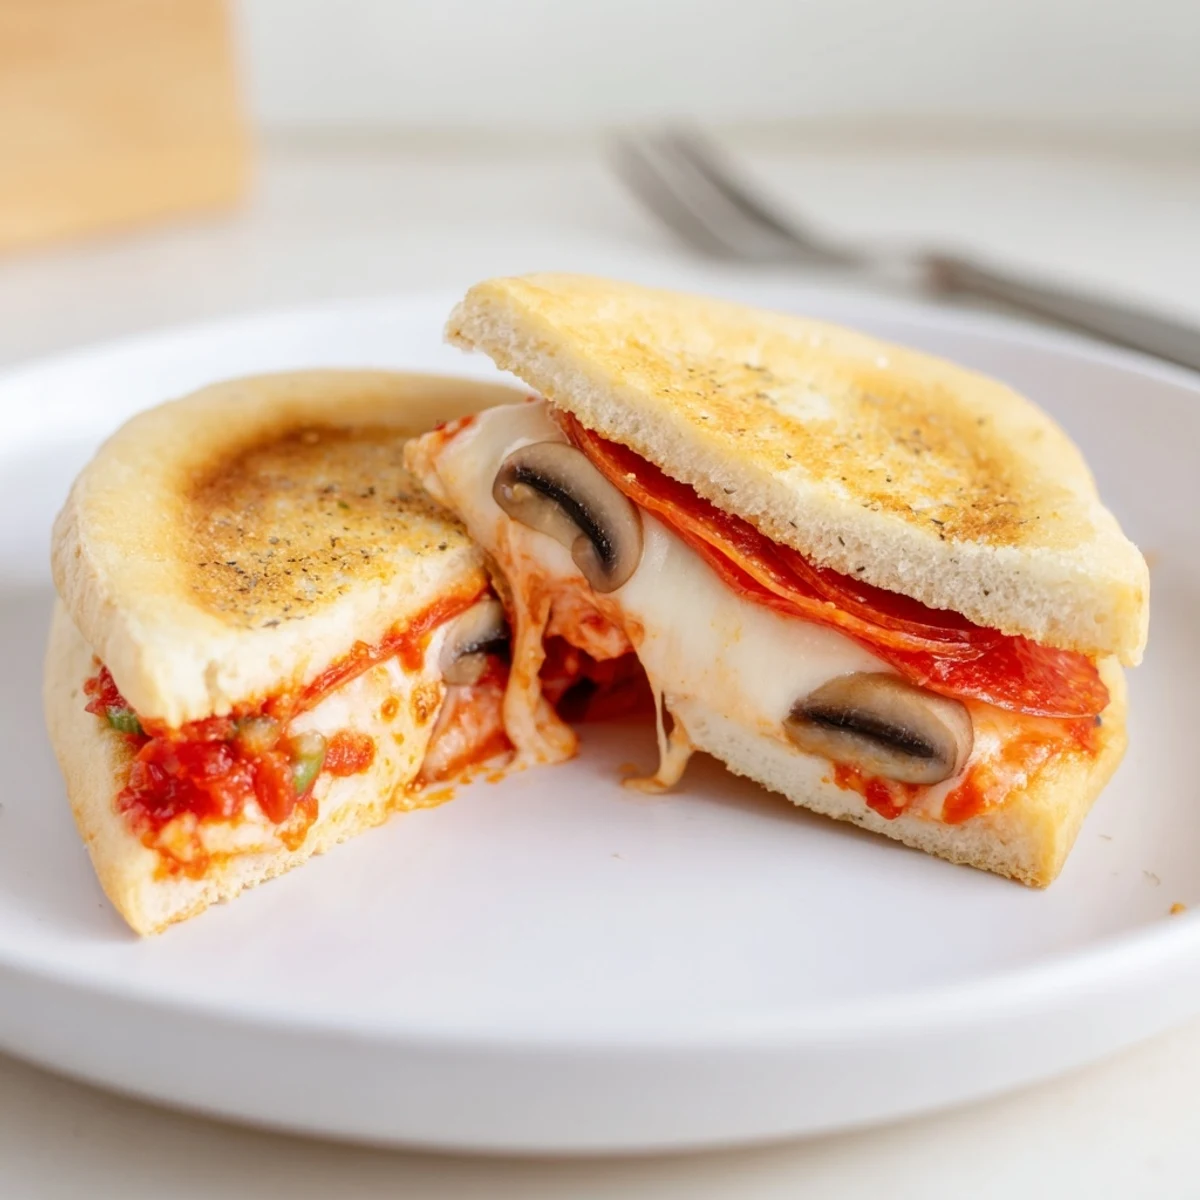
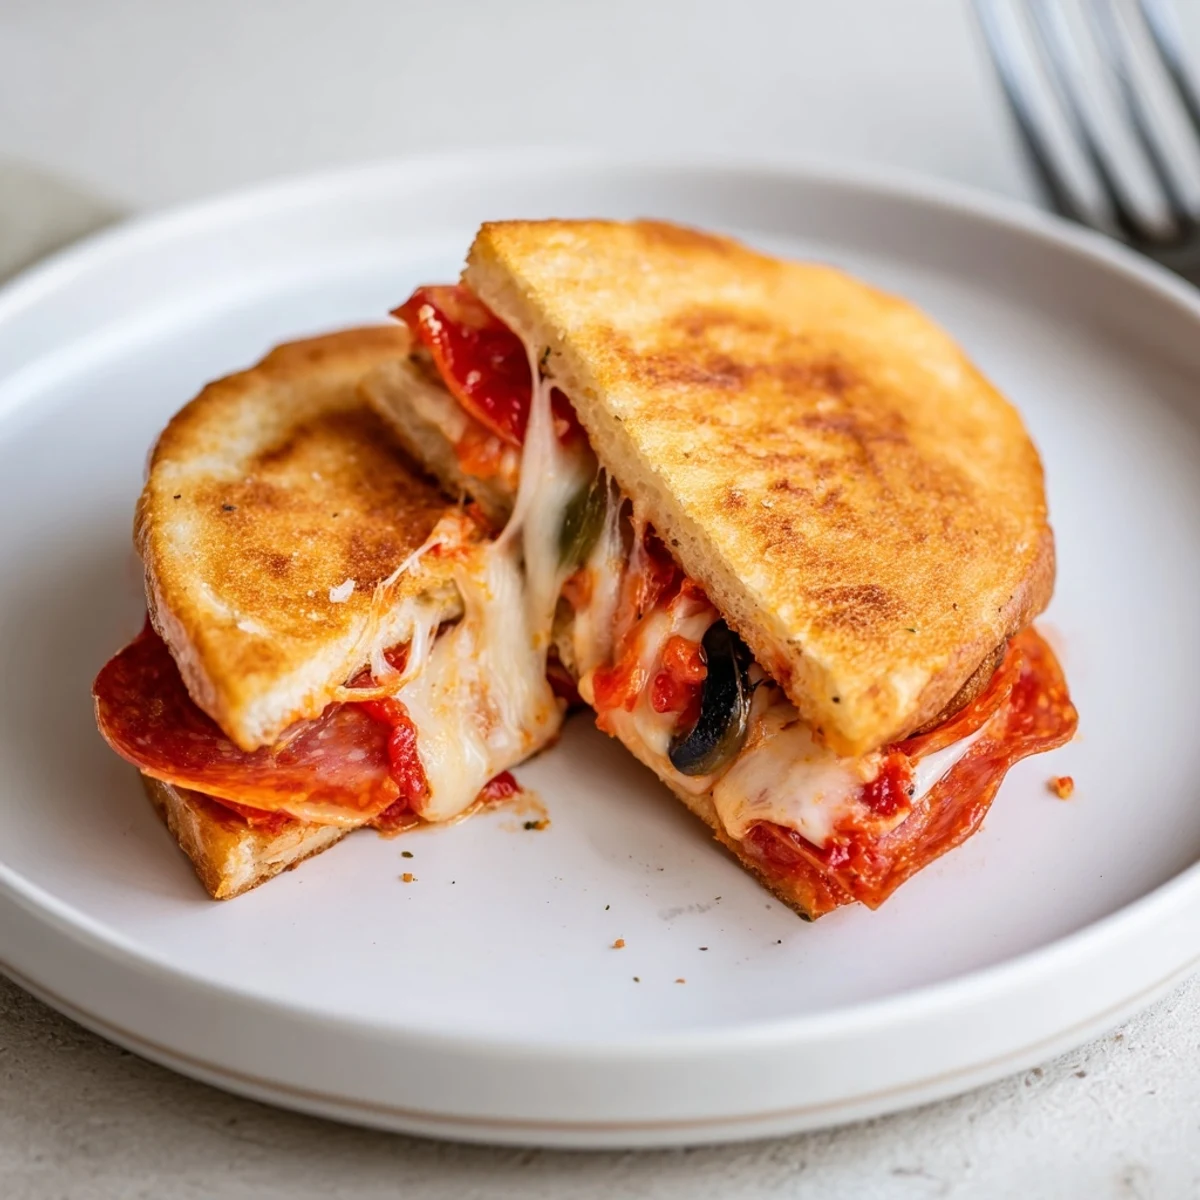
 Ready in about 18 minutes, these pie iron pizza pockets use sandwich bread, pizza sauce and shredded mozzarella to create golden handhelds over a campfire or stovetop. Butter the bread, spread sauce, add cheese and toppings, seal and trim edges, then cook 3–4 minutes per side until crisp and the cheese is melted. Serves four; swap toppings for variety.
The first time I made pie iron pizza pockets, the hiss and crackle of the campfire made everything feel like an event. I can still remember fumbling with the pie iron while friends teased me about uneven cheese piles. The smell of toasted bread and bubbling sauce hit my nose before I even opened it, and suddenly, everyone stopped what they were doing to see how mine turned out. It wasn't fancy, but it felt like the best kind of fun.
Once, on a breezy autumn afternoon, I made a batch for my nephews while the wind whipped leaves around our campsite. Their laughter and tomato-stained grins told me I'd picked a winner. I almost burned one while distracted by the chaos, but even the crispy ones got devoured instantly. Sometimes, the messier the better.
Ingredients
- Bread: Regular sandwich bread works great the key is to use slices sturdy enough to hold fillings and butter for crispness.
- Pizza Sauce: This base soaks into the bread a touch, so don't oversaturate—learned after a few soggy trials.
- Mozzarella Cheese: The classic stretch and creamy texture really make these pockets; shred from a block for the best melt.
- Toppings (pepperoni/salami/olives/bell peppers/mushrooms): Go wild with this; thin slices prevent overstuffing, and draining veggies keeps things tidy.
- Dried Italian Herbs: Just a hint perks everything up and smells like a pizzeria.
- Butter: Brushing bread edges completely avoids sticking and gives that irresistible golden crust.
Instructions
- Get Your Fire Going:
- Heat the pie iron over a steady campfire or stovetop for two to three minutes; you'll feel the warmth if you hover your hand nearby.
- Prep the Bread:
- Butter one side of each slice—make sure you get into the corners for the crispiest bite later.
- Assemble Pockets:
- Lay out four slices, buttered side down, and spoon on the pizza sauce, followed by mozzarella and your chosen toppings; sprinkle with herbs if that suits your crowd.
- Seal and Load:
- Top with the second slice of bread, buttered side up, and gently press down.
- Into the Pie Iron:
- Place the sandwich in the pie iron, close and latch it tightly; trim off any bread protruding for a tidy seal.
- Campfire Cooking:
- Hold over the coals and cook for three to four minutes per side—listen for a faint sizzle, which means it's crisping up nicely.
- Finishing Touch:
- Unlatch and carefully remove the pizza pocket; let it cool briefly before serving so nobody burns their mouth on molten cheese.
 Save to Pinterest
 I watched one friend, skeptical at first, take a bite only to silently nod and go back for seconds—no words needed. That silence around a campfire, broken only by crunchy bites, made these pizza pockets something more than just a quick meal. They became the thing that pulled everyone together without any fuss.
How to Switch Up Your Fillings
I've experimented with all sorts of variations in these pizza pockets, from swapping in pesto to adding leftover grilled veggies. The key is slicing all toppings thin and sparingly, so the bread seals and the inside heats evenly. Once, I tried stuffing too much in and ended up with a volcanic mess leaping from the iron. Simplicity—and restraint—keep the filling just right.
Making Pizza Pockets Indoors
If the weather turns or a campfire’s not possible, you can use a stovetop or a grill pan to heat your pie iron—a gas burner works best. The aroma of toasted bread and cheese doesn’t care if you’re indoors or outside. Just watch the heat so you don’t scorch the bread; medium-low keeps things golden and not burnt.
Serving and Cleanup Hints
Campfire snacks tend to attract sticky hands, so I always keep a damp towel nearby for quick cleanups. Letting the pockets rest for a minute cuts down on drippy cheese, and makes handling easier for little ones. When everyone's full, just soak the pie iron in a bit of hot water and scrub with a soft brush—don't let crusty bits dry on the iron.
- If you need to reheat leftovers, just pop them back into a warm pie iron for a minute.
- Leftover pockets are delicious cold, kind of like campfire pizza sandwiches.
- Never skip buttering the bread edges—it's worth every extra second.
 Save to Pinterest
 Campfire pizza pockets are my favorite reminder that sometimes, simple food really is the heart of the gathering. I hope you find as much laughter and satisfaction in these as I always do.
Recipe Questions & Answers
- → How do I avoid soggy pockets?
-
Use a modest amount of sauce, pat wetter toppings dry, and trim any exposed bread before cooking. Pre-toasting the bread lightly or using slightly stale slices helps keep the crust crisp.
- → Can I cook these on a stovetop instead of a campfire?
-
Yes. Heat the pie iron over medium-low heat on the stovetop, using the same 3–4 minutes per side guideline and flipping carefully with heat-resistant tongs to achieve even browning.
- → What bread works best?
-
Standard sandwich loaf (white or whole wheat) works well; thicker slices hold fillings better. Gluten-free sandwich bread is a good swap for sensitivity, and slightly stale bread reduces sogginess.
- → Any tips for adding meats?
-
Use fully cooked meats (sausage, ham, pepperoni) to prevent undercooking and excess moisture. Compress thin slices and drain greasy pieces on paper towel before assembling.
- → How should leftovers be stored and reheated?
-
Refrigerate cooled pockets in an airtight container up to 48 hours. Reheat in a skillet or oven to restore crispness; avoid microwaving if you want to keep the exterior crunchy.
- → How can I customize fillings for different diets?
-
For vegetarian-friendly options use extra veggies, olives, or fresh basil; swap butter for plant-based spread and choose dairy-free cheese to accommodate vegan needs.