 Save to Pinterest
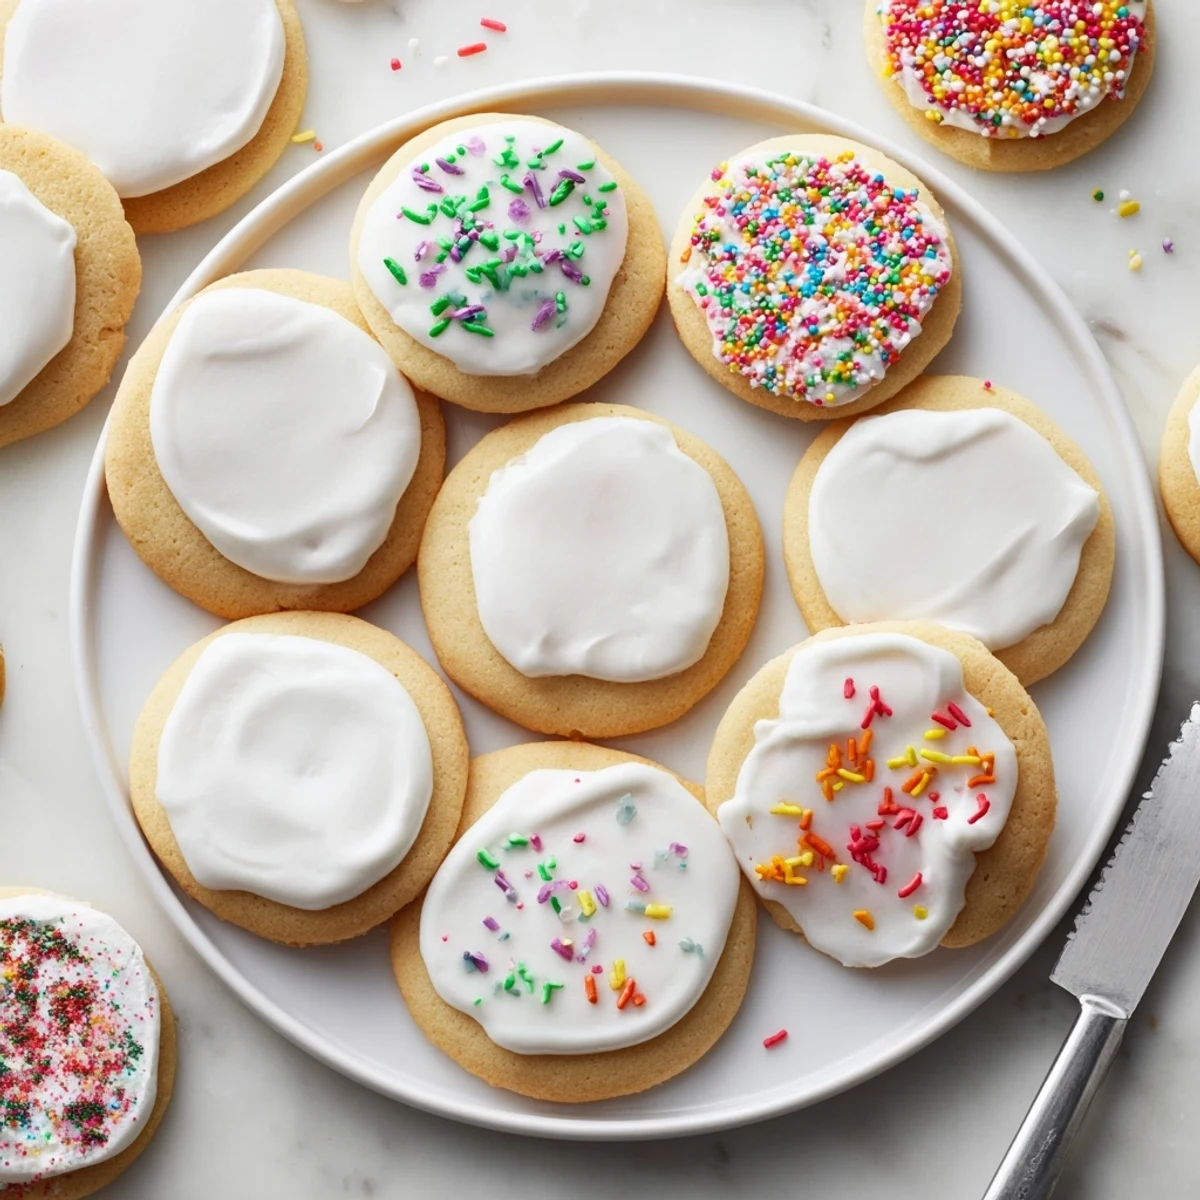
 This glossy icing comes together in just 10 minutes with four pantry staples. The mixture dries to a smooth, firm finish that won't smudge, making it ideal for detailed cookie decorating. Adjust consistency easily by adding more milk for spreading or additional powdered sugar for piping intricate designs. The corn syrup creates that signature shine while helping the icing set properly at room temperature.
The kitchen counter was covered in a dusting of powdered sugar, and my daughter was standing on her step stool, completely mesmerized by the way the icing transformed from cloudy white to glossy perfection. We had baked sugar cookies earlier that morning, and she kept asking when we could finally decorate them. That was the day I learned that the right icing makes all the difference between cookies that look homemade and cookies that look like they came from a bakery window.
Last Christmas, my sister and I spent an entire afternoon decorating dozens of cookies while listening to holiday music and drinking coffee. We made three different colors of this icing and experimented with piping borders and flooding the centers. By the end, we had cookies scattered across every available surface, drying peacefully while we laughed about our less than perfect designs and ate the broken ones.
Ingredients
- 2 cups powdered sugar: Sifting first prevents lumps and gives you that silky smooth texture every time
- 2-3 tablespoons milk: Start with less, you can always add more but you cannot take it back
- 1 tablespoon light corn syrup: This is the secret ingredient that creates that beautiful glossy finish
- 1/2 teaspoon pure vanilla extract: Use the good stuff, it makes a noticeable difference in flavor
- Food coloring: Gel coloring works best for vibrant colors without thinning the icing
- Sprinkles: Add these immediately before the icing starts to set
Instructions
- Mix the base:
- Whisk together the powdered sugar, 2 tablespoons of milk, corn syrup and vanilla until completely smooth and glossy
- Check your consistency:
- Add more milk a tiny bit at a time until the icing flows slowly off your whisk like warm honey
- Divide and color:
- Separate into bowls if making multiple colors and stir in food coloring drop by drop
- Decorate your cookies:
- Dip, spread or pipe the icing onto completely cooled cookies immediately
- Let them set:
- Leave cookies undisturbed at room temperature for at least 4 hours until the icing is dry to the touch
 Save to Pinterest
 My neighbor came over once while I was making birthday cookies for my son, and she could not believe how professional they looked. She had always struggled with icing that either never dried properly or turned into a hard shell. Watching her face light up when I told her how simple it was reminded me why I love sharing these little kitchen victories.
Getting the Right Consistency
The consistency of your icing depends on what decorating technique you plan to use. For flooding and filling large areas, you want it thin enough to spread easily but not so thin that it runs off the edges. When I first started, I kept a small test cookie nearby and would dip a knife in to check how it flowed before committing to the whole batch.
Making It Ahead
You can make this icing up to a week in advance and store it in an airtight container in the refrigerator. The corn syrup keeps it from hardening completely, but you will need to give it a good stir and possibly add a few drops of milk to bring it back to the right consistency. I learned this the hard way when I tried to use cold icing directly from the fridge.
Common Decorating Techniques
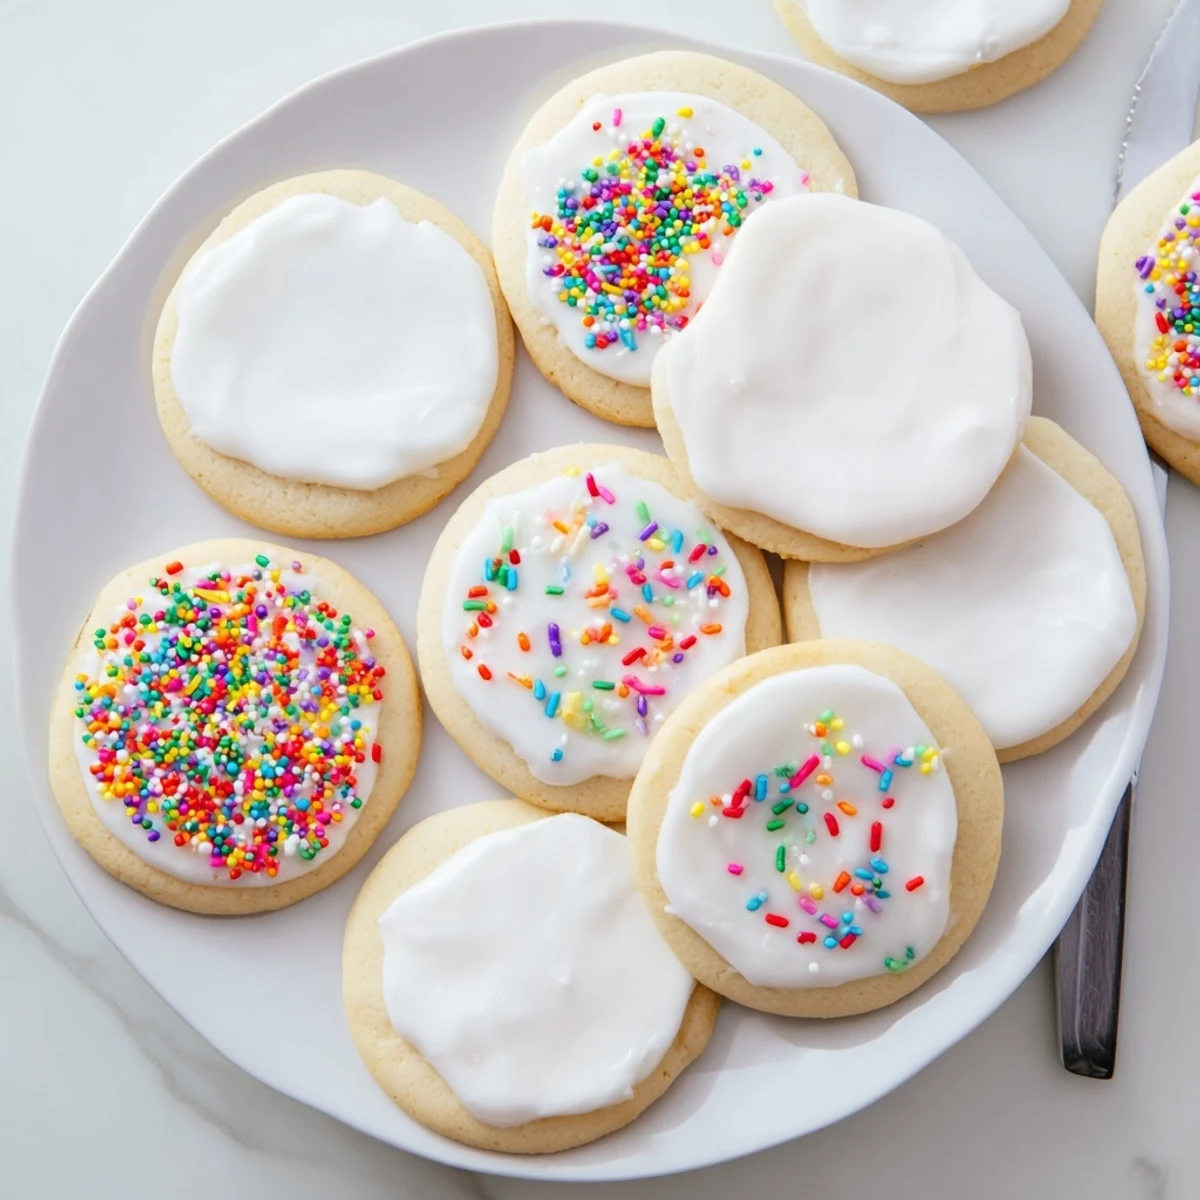
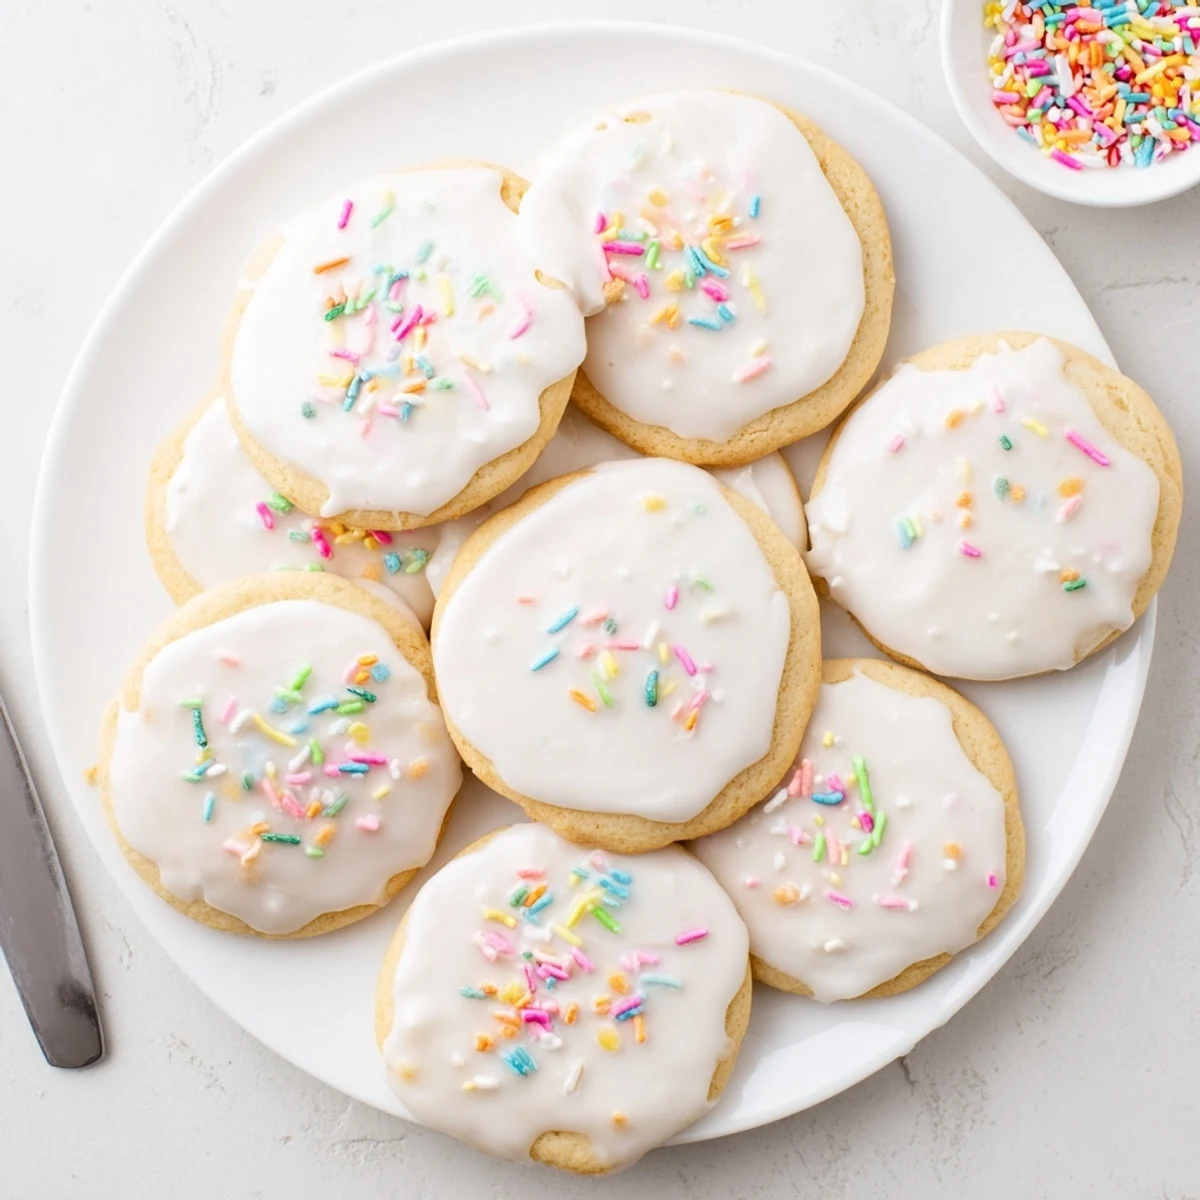
The simplest method is dipping the top of each cookie directly into a bowl of icing, then lifting and letting the excess drip off. For more control, use a small offset spatula to spread the icing from the center outward. Piping borders and then flooding the center creates that classic cookie shop look with raised edges and smooth surfaces.
- Use toothpicks to spread icing into small corners and pop any air bubbles
- Add sprinkles immediately after icing each cookie before it starts to form a skin
- Work in small batches so the icing does not begin to crust while you are still decorating
 Save to Pinterest
 There is something so satisfying about a tray of beautifully iced cookies drying on the counter, catching the light and promising sweetness. Whether for holidays, birthdays or just a Tuesday afternoon treat, this recipe turns ordinary cookies into something special.
Recipe Questions & Answers
- → How long does the icing take to dry completely?
-
The icing typically sets within 4 hours at room temperature. For best results, decorate cookies on a wire rack to allow air circulation around all sides. Humidity can extend drying time, so plan accordingly when decorating for events.
- → Can I make this icing ahead of time?
-
Yes, store leftover icing in an airtight container in the refrigerator for up to 1 week. The icing may thicken when chilled—simply stir in a few drops of milk to reach the desired consistency again. Bring to room temperature before using for easier spreading.
- → What consistency should the icing be for different techniques?
-
For flooding or filling cookie outlines, use a thinner consistency similar to honey. Add milk 1/2 teaspoon at a time. For piping borders or detailed designs, thicken with additional powdered sugar until the mixture holds its shape when dropped from a spoon.
- → Can I substitute the corn syrup?
-
Light corn syrup provides the signature gloss and helps the icing set properly. You can substitute with honey or maple syrup, though this will alter the flavor. For a corn-free version, try golden syrup or agave nectar, keeping in mind the shine and setting time may vary slightly.
- → How do I prevent colors from bleeding together?
-
Allow each color to dry completely before applying adjacent colors—usually about 30 minutes to 1 hour. For layered designs, let the base layer dry for 2-3 hours before adding details. Using gel food coloring instead of liquid also helps maintain consistent color intensity.
- → Why did my icing turn out too thick or too thin?
-
Powdered sugar measurements can vary based on how densely it's packed. Start with 2 tablespoons of milk and add more gradually if needed. If too thin, whisk in additional sifted powdered sugar 1 tablespoon at a time until reaching the desired thickness.