
 Save to Pinterest
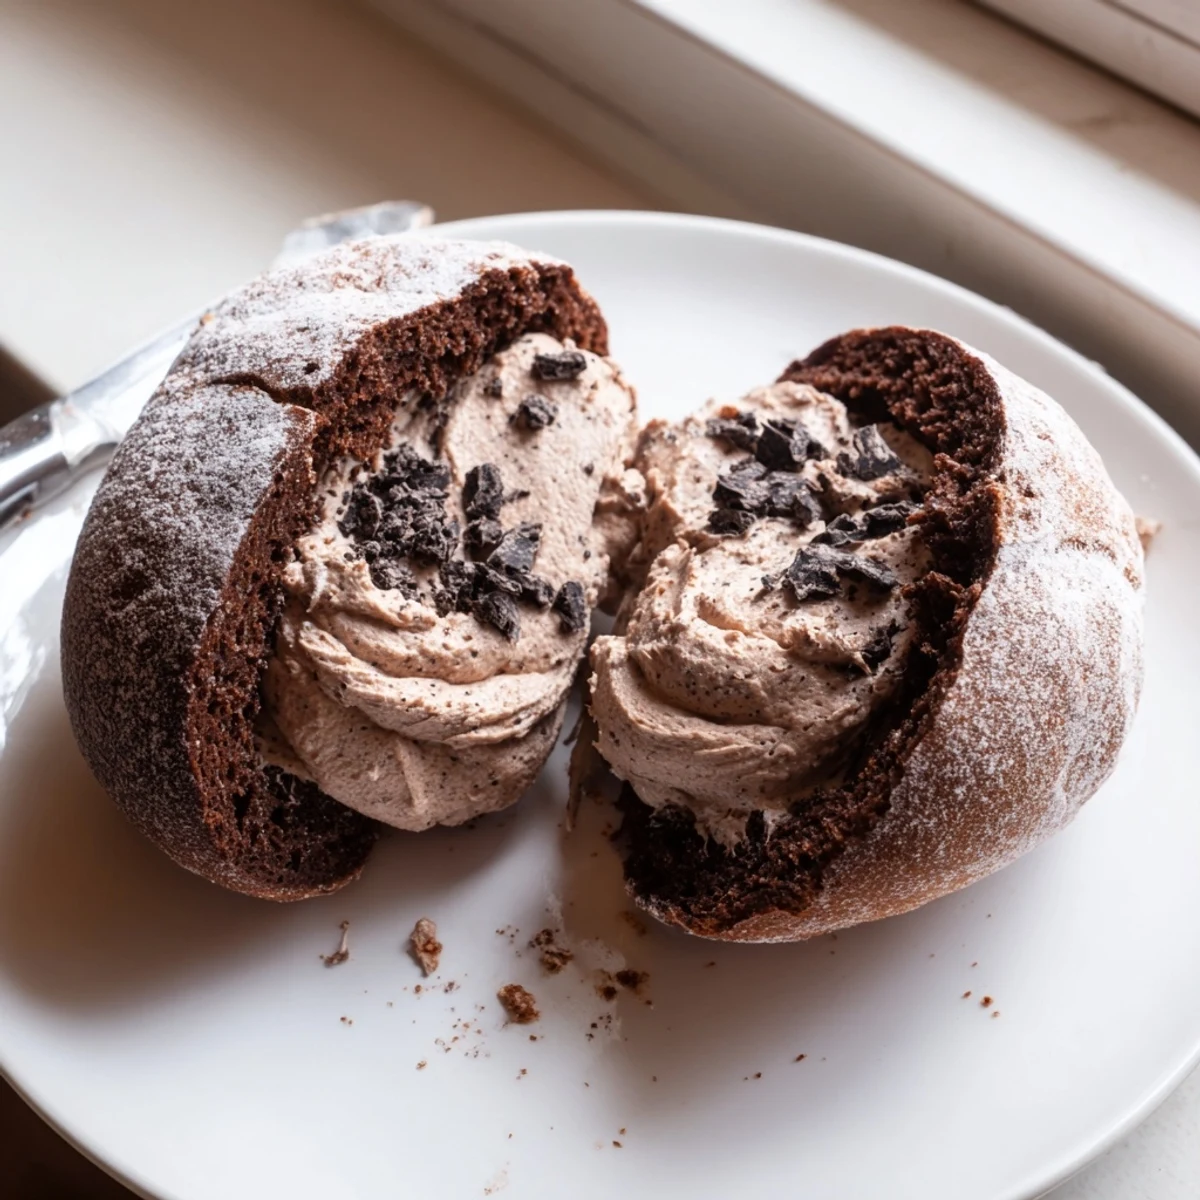
 Maritozzi are beloved Roman sweet buns traditionally enjoyed at breakfast with espresso. These chocolate versions take the classic to new heights by enriching the dough with cocoa powder and dark chocolate chunks.
Each pillowy bun is sliced open and generously filled with a silky dark chocolate whipped cream that pairs beautifully with the tender, slightly sweet bread.
While they require patience for the two rising periods, the hands-on preparation is straightforward. The result is an indulgent Italian pastry worth every minute of waiting.
There is something almost theatrical about biting into a maritozzo, that split second when the whipped cream threatens to escape before you can catch it. My first encounter with the chocolate version happened in a tiny Roman pasticceria where the owner insisted I try their weekend special variation. The cocoa laced bun was still faintly warm, and the chocolate cream inside was so impossibly silky that I stood on the cobblestone sidewalk finishing the whole thing before I had walked ten steps. I spent the next three weeks trying to recreate it in my home kitchen, and this recipe is the one that finally brought me back to that morning.
I made a batch of these for my neighbors birthday brunch last spring and watched her eat two before the espresso was even ready. Her husband cornered me by the coffee maker and asked, in a stage whisper, if I would consider making them every weekend. I told him only if he supplied the chocolate.
Ingredients
- All-purpose flour (350 g): Bread flour makes these too chewy, so stick with all-purpose for that tender, pillow like crumb.
- Unsweetened cocoa powder (40 g): This is what turns an ordinary sweet bun into something deeply aromatic and faintly earthy.
- Whole milk, lukewarm (120 ml): Warm but not hot, it should feel like a comfortable bath on your wrist when the yeast goes in.
- Granulated sugar (60 g): Just enough sweetness to let the chocolate shine without turning the buns into dessert bombs.
- Active dry yeast (7 g): Fresh yeast makes a difference here, so check the expiration date on your packet before starting.
- Large egg (1): Adds richness and helps bind the dough together with a soft, cakey quality.
- Unsalted butter, softened (40 g): Room temperature butter incorporates smoothly without tearing the developing gluten.
- Vanilla extract (1/2 tsp for dough, 1 tsp for filling): Good vanilla acts like a bridge between the cocoa and the butter.
- Salt (1/2 tsp): Never skip this, because salt is what makes chocolate taste like itself rather than just sweet.
- Dark chocolate, chopped (60 g for dough): Fold these in at the last minute so they stay as distinct little pockets of melt.
- Heavy whipping cream (300 ml): Cold cream whips faster and holds its shape better, so chill it until you are ready.
- Dark chocolate, melted and cooled (70 g for filling): Let it come to room temperature before folding in or it will seize the cream.
- Powdered sugar (30 g for filling): Dissolves seamlessly into the whipped cream without any grainy texture.
- Egg yolk + 2 tbsp milk for brushing: This wash gives the buns a deep, glossy shine that looks absolutely professional.
Instructions
- Wake up the yeast:
- Stir the yeast and one tablespoon of sugar into the lukewarm milk and let it sit undisturbed for ten minutes until the surface blooms with foamy bubbles. If nothing happens, your yeast is tired and you need to start fresh.
- Build the dry base:
- In a large bowl, whisk the flour, cocoa powder, remaining sugar, and salt together until the color is uniform. Take a moment to really blend them, because cocoa tends to clump and hide in pockets.
- Bring the dough together:
- Make a well in the center and drop in the egg, vanilla, softened butter, and the foamy yeast mixture. Stir with a wooden spoon until you have a shaggy, messy mass that vaguely holds together.
- Knead until proud:
- Turn the dough onto a lightly floured surface and knead for eight to ten minutes by hand, or use a mixer with a dough hook. The dough should feel smooth, springy, and slightly tacky but not sticking to your palms.
- Fold in the chocolate:
- During the final minute of kneading, scatter the chopped dark chocolate over the dough and work it in gently. Try not to smash the pieces, because those chunky bits are the best surprise in every bite.
- First rise:
- Transfer the dough to a clean, lightly oiled bowl, cover it with a damp towel, and tuck it somewhere warm and draft free. Leave it alone for one to two hours until it has puffed to roughly double its size.
- Shape the buns:
- Gently deflate the dough and divide it into eight even pieces. Roll each into a plump oval, pinching the seams underneath, and set them on a parchment lined baking tray with space between them.
- Second rise:
- Loosely cover the shaped buns and let them rest for forty minutes. They will look noticeably puffier but should not double again, because you want structure for the oven.
- Preheat and glaze:
- Heat your oven to 180 degrees Celsius while you whisk the egg yolk with two tablespoons of milk. Brush each bun lightly and evenly, being careful not to deflate them with heavy strokes.
- Bake:
- Slide the tray into the oven and bake for fifteen to eighteen minutes until the tops look set and a gentle press springs back. Cool them completely on a wire rack, because warm buns will melt your filling.
- Make the chocolate cream:
- Whip the cold heavy cream with powdered sugar and vanilla until it reaches firm, pipeable peaks. Gently fold in the melted and cooled dark chocolate using a spatula, working slowly to keep the volume airy.
- Fill and serve:
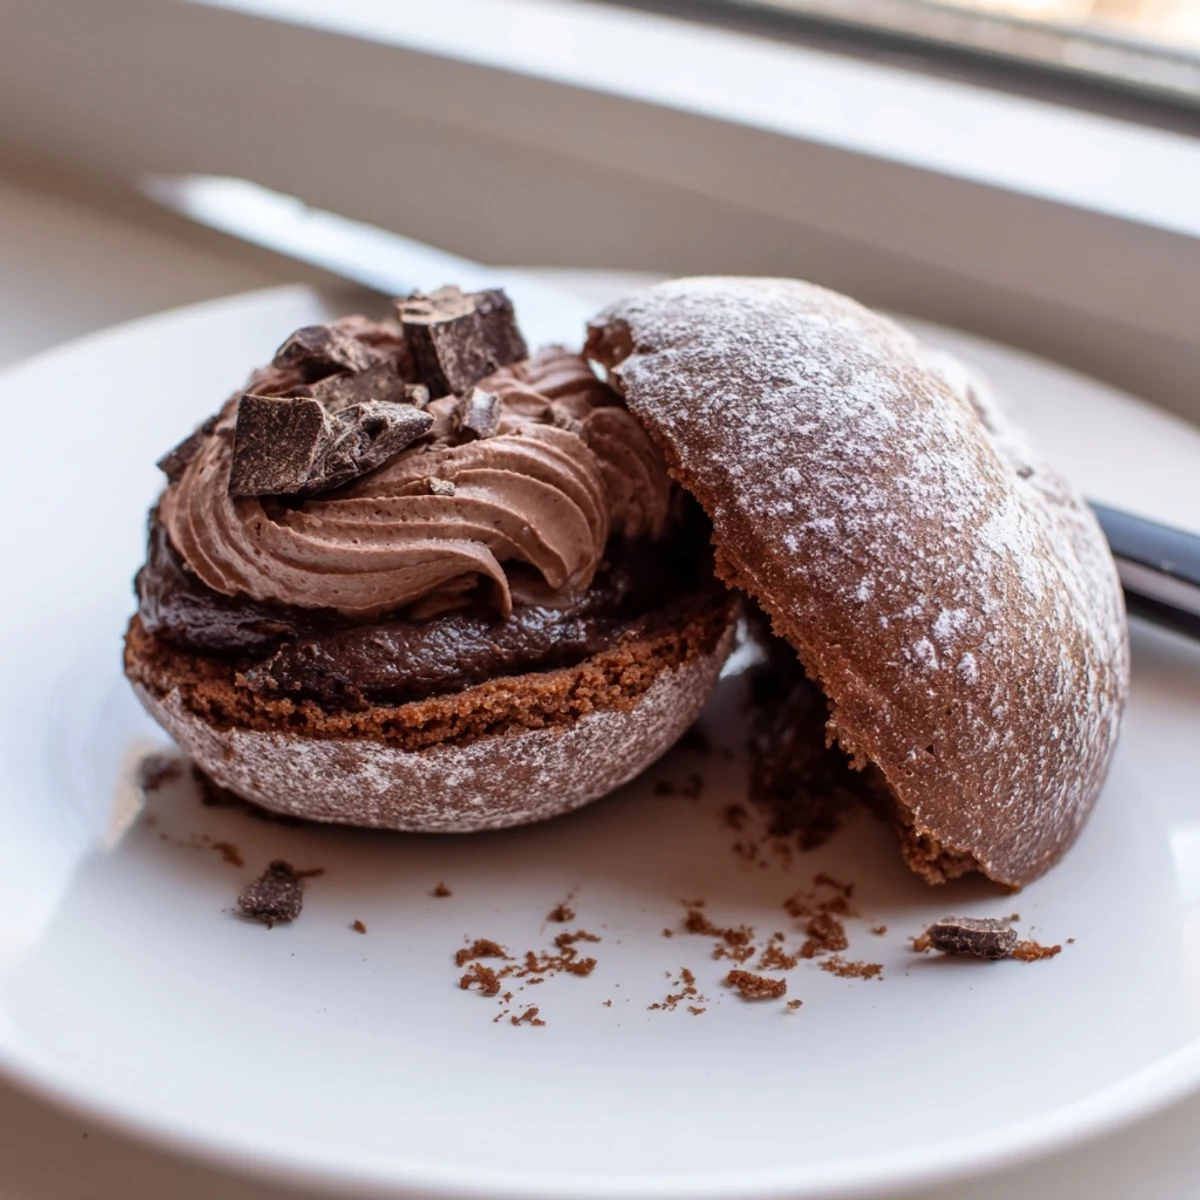
- Slice each cooled bun lengthwise with a serrated knife, leaving one side attached as a hinge. Open it like a book and pipe or spoon a generous mound of chocolate cream inside, then serve immediately before anyone loses patience.
 Save to Pinterest
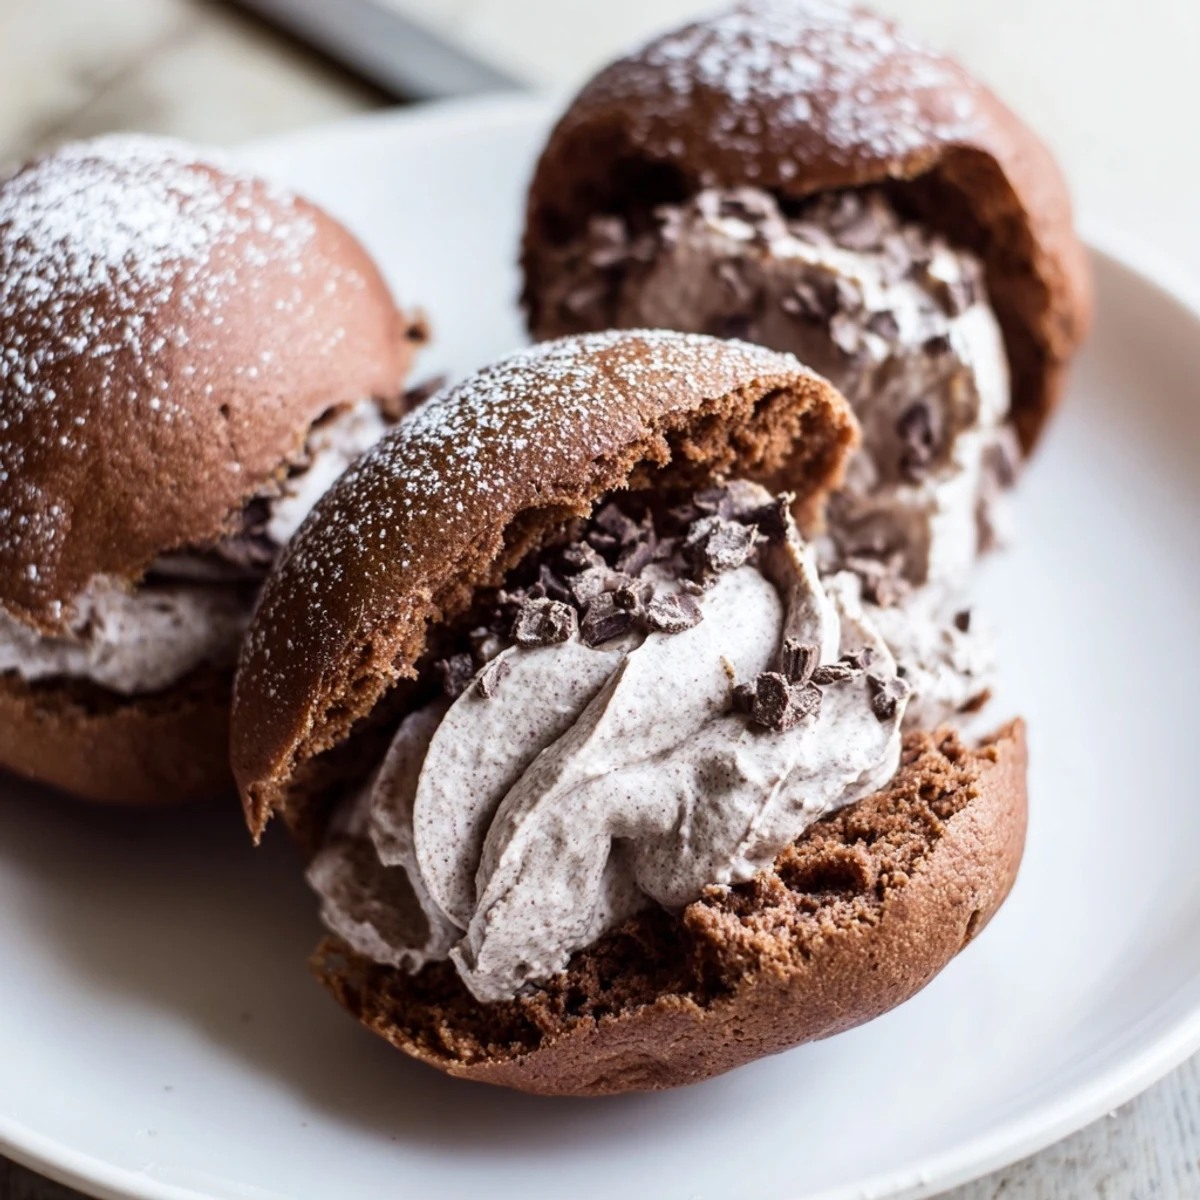
 The morning I finally nailed this recipe, I arranged the finished maritozzi on a ceramic plate, poured myself a tiny cup of espresso, and sat at the kitchen counter in complete silence. They looked absurdly beautiful, those dark little buns split open and spilling cream, and I felt a rush of pride that I had brought a piece of Rome into my own home.
Getting the Dough Texture Right
Cocoa powder absorbs moisture differently than flour alone, so the dough may feel slightly drier or stickier depending on your brand. If it feels stubbornly dry after five minutes of kneading, add milk one teaspoon at a time until it softens. The finished dough should remind you of a stress ball, yielding when pressed but bouncing back quickly.
Choosing Your Chocolate
The chocolate you select does the heavy lifting here, so pick something you would happily eat on its own. I tested this with supermarket baking chocolate and again with a 70 percent bar from a small batch maker, and the difference was dramatic. The better chocolate produced a deeper, more complex flavor in both the bun and the cream.
Serving and Storing
These are at their absolute best within an hour of filling, when the cream is still cold and the bun is soft but not soggy. If you need to prepare ahead, bake and freeze the unfilled buns for up to a month, then thaw and fill the day you plan to serve them.
- Wrap unfilled buns individually in plastic before freezing so they do not stick together.
- Keep the cream in the coldest part of your fridge, not the door, until you are ready to use it.
- Always give the cream a gentle stir before piping to redistribute any settled chocolate.
 Save to Pinterest
 Once you have made these once, you will understand why Italian bakeries have lines out the door on weekend mornings. They are a little project, yes, but the kind that fills your kitchen with warmth and your friends with gratitude.
Recipe Questions & Answers
- → Can I make the dough ahead of time?
-
Yes, you can prepare the dough through the first rise, then refrigerate it overnight. Let it come to room temperature before shaping and proceeding with the second rise. This slow fermentation actually deepens the flavor.
- → Why did my maritozzi not rise properly?
-
Common reasons include expired yeast, milk that was too hot (which kills yeast), or a cold rising environment. Ensure your milk is lukewarm (about 37°C/98°F) and let the dough rise in a warm, draft-free spot.
- → Can I use milk chocolate instead of dark chocolate?
-
Absolutely. Milk chocolate creates a sweeter, milder filling that many prefer. Just note it will be less intensely chocolatey. You can also use semi-sweet chocolate as a middle ground.
- → How should I store leftover maritozzi?
-
Store filled maritozzi in the refrigerator for up to 2 days, though they are best enjoyed fresh. The whipped cream filling will soften the buns over time. Unfilled buns can be frozen for up to one month.
- → Can I make these without a stand mixer?
-
Yes, you can knead the dough entirely by hand for 8-10 minutes until it becomes smooth and elastic. It requires more effort but produces equally delicious results. Lightly oil your hands to prevent sticking.
- → What type of cocoa powder works best?
-
Use unsweetened cocoa powder for balanced flavor. Dutch-processed cocoa gives a darker color and milder taste, while natural cocoa adds slightly more acidity and fruitiness to the buns.