 Save to Pinterest
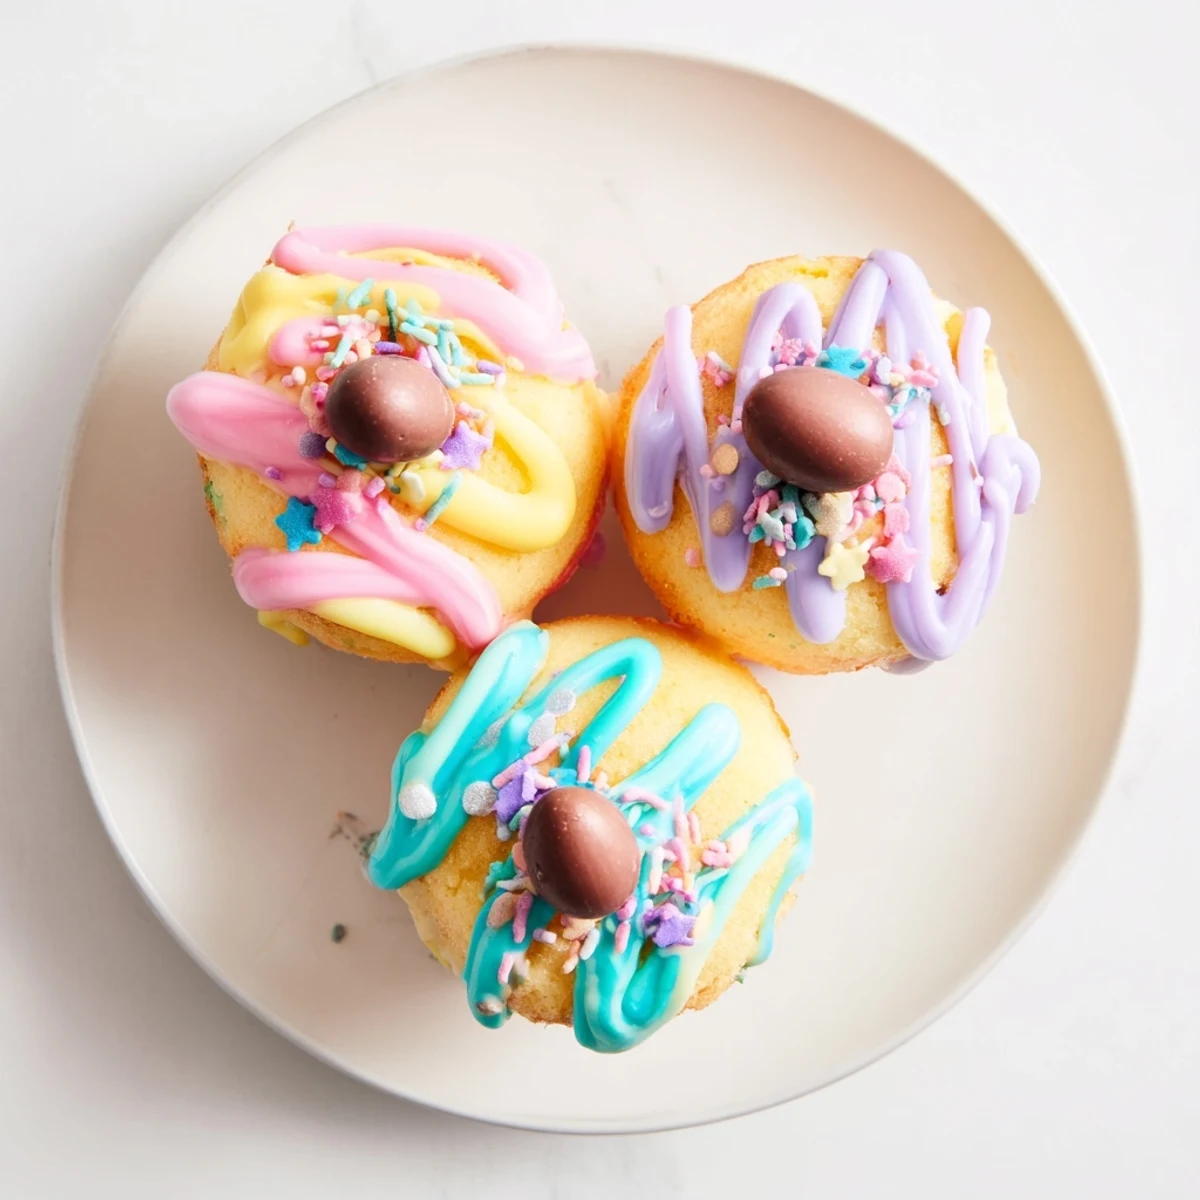
 These delightful mini cakes feature light, fluffy sponge bases topped with smooth pastel-colored icing and festive Easter decorations. Perfect for sharing at spring celebrations, each individually-sized treat offers a charming combination of vanilla sweetness and visual appeal.
The preparation comes together in under an hour, making these an accessible project for bakers of any skill level. The versatile icing can be customized with any pastel shades you prefer, while decorations like mini chocolate eggs, edible flowers, or sprinkles add the perfect finishing touch for the holiday season.
Last Easter, my niece decided she wanted to help with dessert, and somehow we ended up with pastel food coloring everywhere except the actual frosting. The kitchen looked like a spring explosion, but those little cakes turned out so precious that the mess didn't matter at all.
My grandmother used to make something similar whenever spring arrived, though she called them fairy cakes and served them with afternoon tea. Theres something about bite sized treats that makes people feel just a little more joyful.
Ingredients
- All purpose flour: The structure that holds these tender little cakes together, so measure accurately
- Baking powder: Gives them that lovely lift without being too dense or heavy
- Unsalted butter: Room temperature is crucial here, it creates the airy texture we want
- Granulated sugar: Sweetens and helps create that golden brown crust on top
- Eggs: Must be at room temperature or they wont incorporate properly into the batter
- Vanilla extract: Pure vanilla makes such a difference in simple cakes like these
- Milk: Adds moisture and helps create the perfect tender crumb
- Powdered sugar: Sift it first to avoid lumps in your smooth icing
- Pastel food coloring: Gel colors work better than liquid for vibrant pastel shades
- Mini chocolate eggs: The crowning glory that makes them unmistakably Easter
Instructions
- Preheat your oven:
- Get it to 350°F and prep your muffin tin with paper liners or butter
- Whisk the dry ingredients:
- Combine flour, baking powder, and salt in a bowl so theyre evenly distributed
- Cream butter and sugar:
- Beat until noticeably lighter and fluffy, about 3 minutes of patience pays off
- Add the eggs:
- One at a time, letting each fully incorporate before adding the next
- Combine everything:
- Gently fold in dry ingredients and milk, being careful not to overmix
- Fill and bake:
- Divide batter among cups and bake 18 to 20 minutes until golden and springy
- Make the magic icing:
- Whisk powdered sugar with just enough milk for thick, pourable consistency
- Color and decorate:
- Tint bowls of icing in pastel shades and drizzle over cooled cakes
 Save to Pinterest
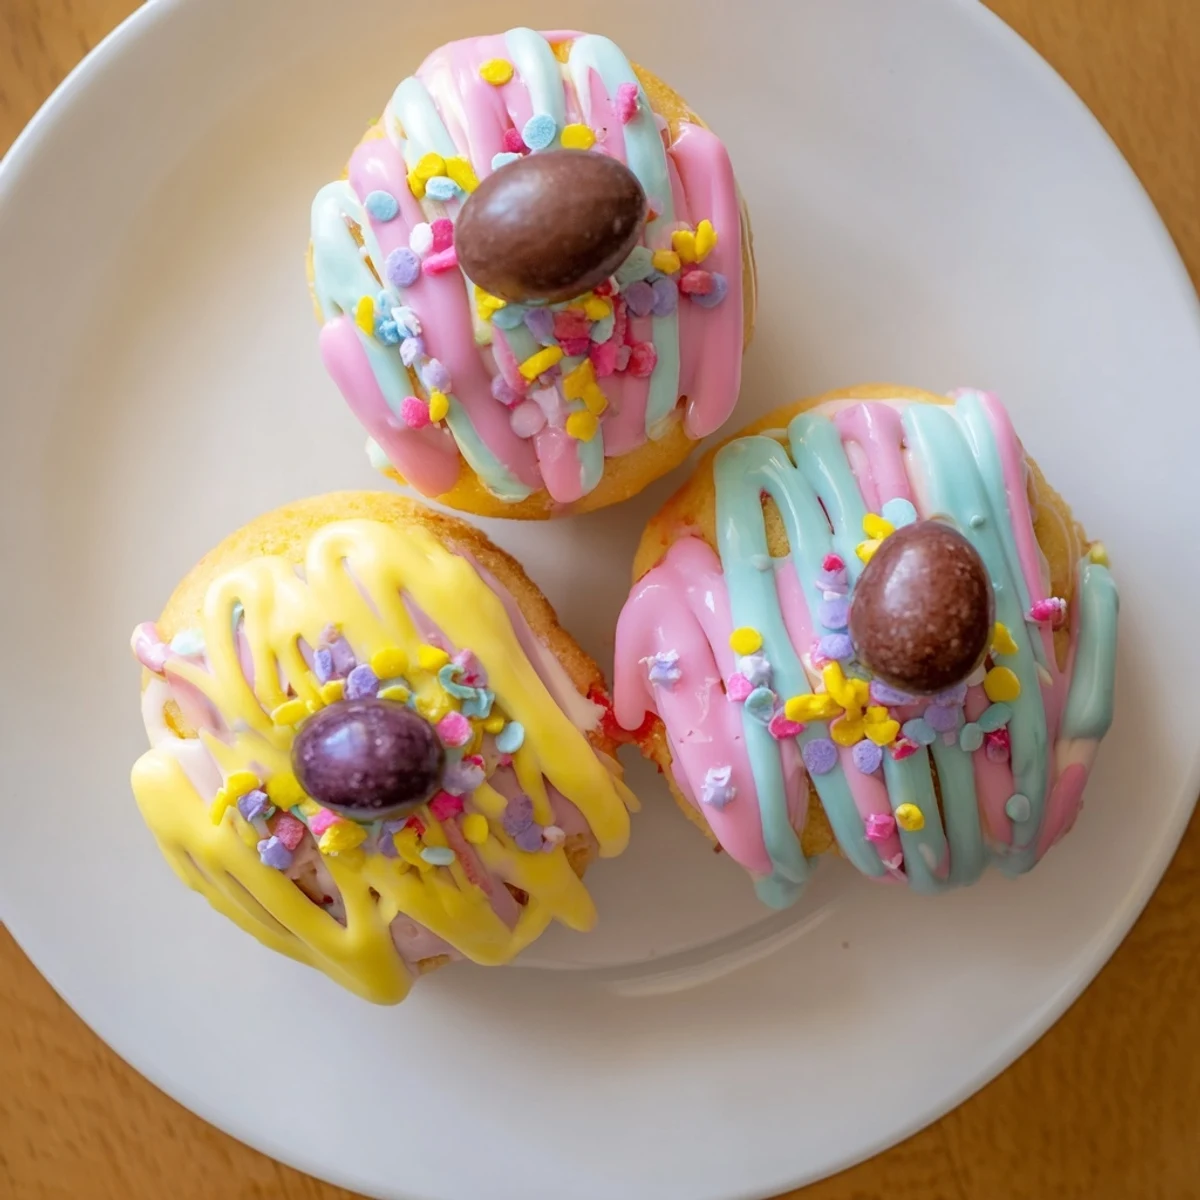
 One year I accidentally made the icing too thick and it looked like little snowcaps on each cake. The kids thought it was hilarious and started calling them Easter snowmen, and now I do it on purpose every spring.
Making Them Ahead
Ive learned that these freeze beautifully unfrosted, wrapped well for up to a month. Just thaw and frost the day you need them, which makes party prep so much less stressful.
Decoration Ideas
Beyond mini eggs, try shredded coconut for nests, edible pearls for elegance, or even tiny fondant flowers if you want to get fancy. The possibilities are endless and fun.
Serving Suggestions
These shine on a dessert table arranged by color gradient, like an edible rainbow. They also make wonderful place setting markers when you write names on the paper liners.
- Stack them on a cake stand for instant party charm
- Pack in clear boxes tied with pastel ribbon as gifts
- Pair with fresh strawberries for a simple elegant dessert
 Save to Pinterest
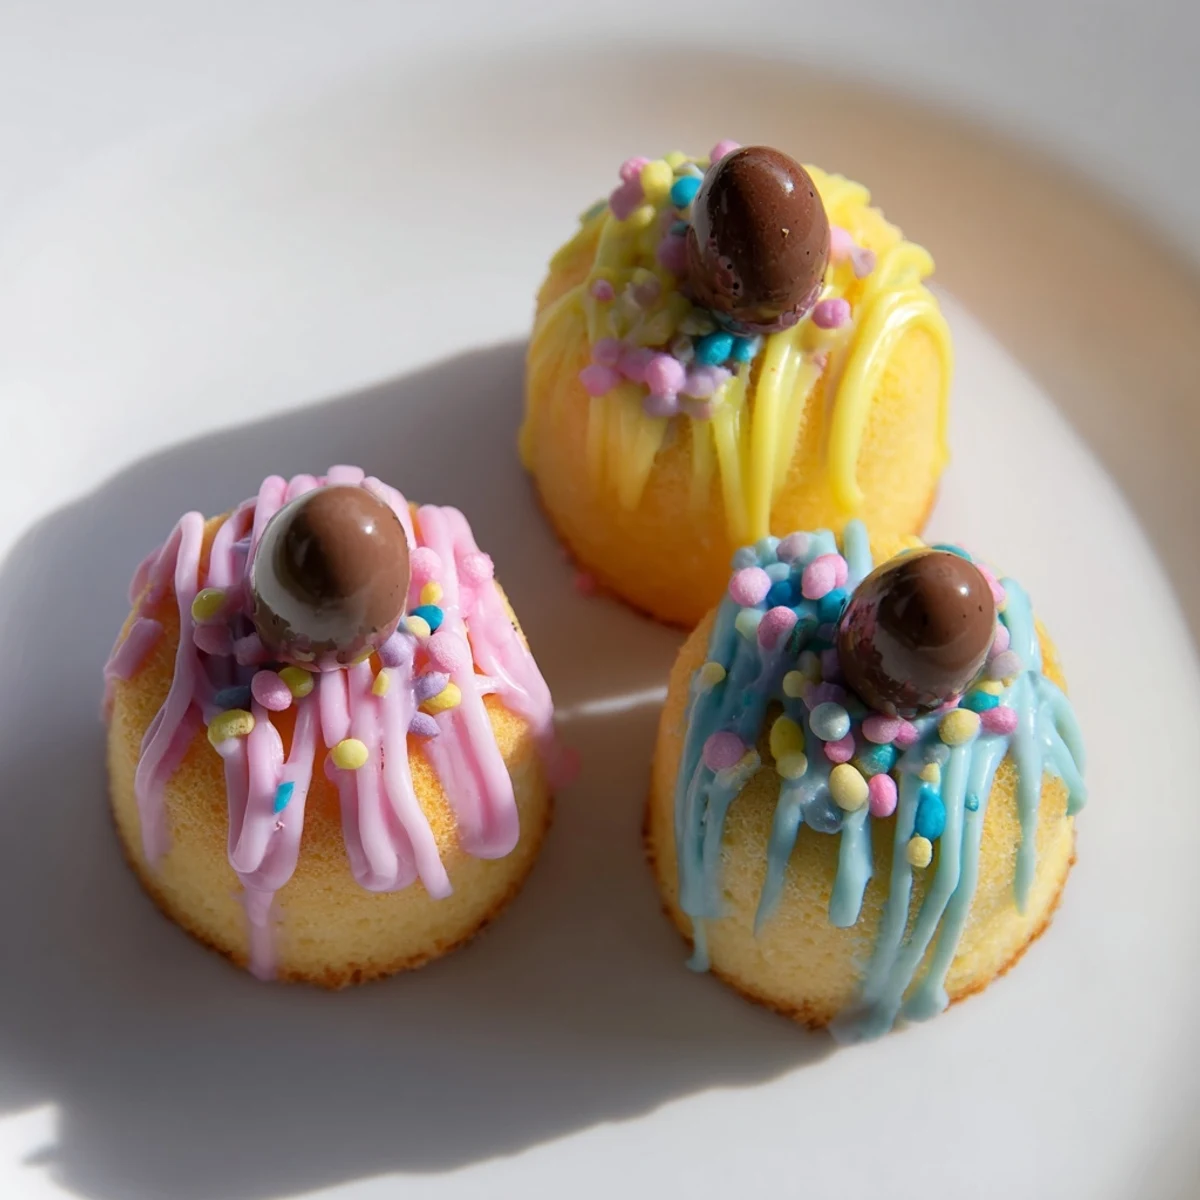
 There is something about setting down a plate of these cheerful little cakes that instantly makes any gathering feel like a celebration.
Recipe Questions & Answers
- → Can I prepare these cakes in advance?
-
Yes, you can bake the sponge cakes up to two days ahead. Store them in an airtight container at room temperature. Ice and decorate them on the day you plan to serve for the freshest appearance.
- → What other decorations work well for these cakes?
-
Beyond mini chocolate eggs, try using edible flowers, buttercream flowers, fondant bunny shapes, pastel sprinkles, shredded coconut (dyed green for 'grass'), or even small marzipan carrots for variety.
- → How do I prevent my icing from being too runny or thick?
-
Add milk gradually, starting with 2 tablespoons. The ideal consistency should slowly drip from a spoon but still hold its shape on the cake. If too thin, add more sifted powdered sugar one tablespoon at a time.
- → Can I make these gluten-free?
-
Absolutely. Substitute the all-purpose flour with a high-quality gluten-free flour blend designed for baking. The texture remains remarkably similar, and the taste is just as delicious.
- → What's the best way to achieve smooth, lump-free icing?
-
Always sift your powdered sugar before mixing. Use a whisk to combine the sugar and milk smoothly, then switch to a spoon for final adjustments. Letting the icing sit for 5 minutes can also help any small lumps dissolve.
- → How should I store leftover decorated cakes?
-
Keep decorated cakes in a single layer in an airtight container at room temperature for up to 3 days. If stacking, place parchment paper between layers. Refrigeration can make the icing sweat, so room temperature is preferable.