 Save to Pinterest
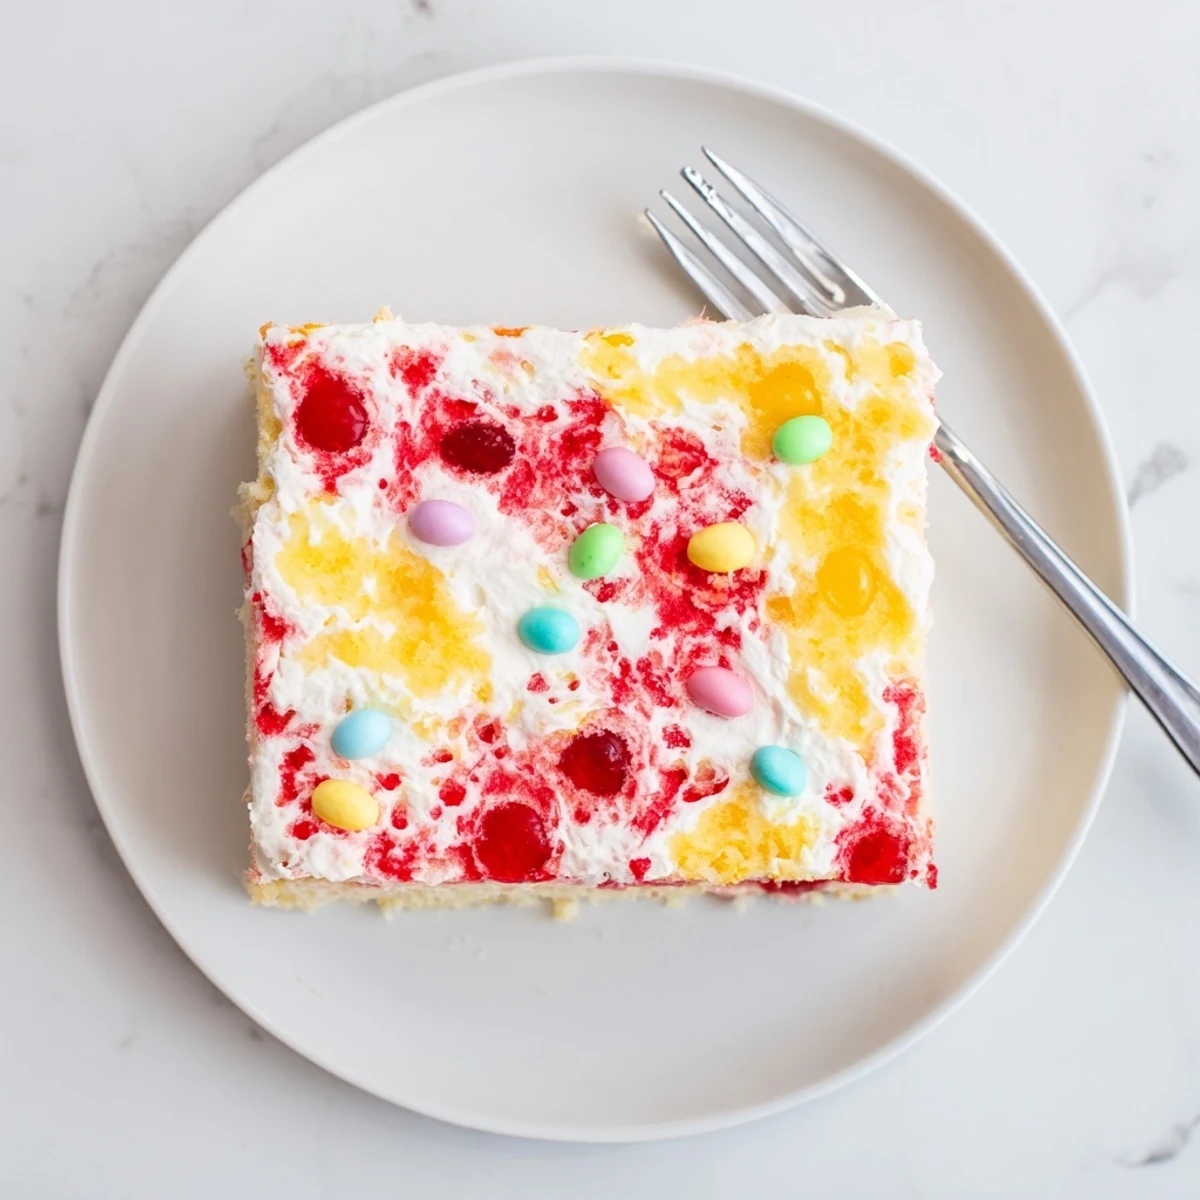
 This vibrant spring dessert starts with a tender vanilla cake base, freshly baked and golden. While still warm, the surface is dotted with dozens of small holes, then infused with two complementary gelatin flavors—sweet strawberry and bright lemon—that seep into every crevice. After chilling until set, the colorful creation is crowned with clouds of freshly whipped cream, sweetened with vanilla and a touch of powdered sugar. Pastel sprinkles or jelly beans add the finishing touch, making this an eye-catching centerpiece for Easter brunch, spring birthdays, or any festive occasion. The gelatin keeps the cake exceptionally moist while adding pockets of fruity flavor that contrast beautifully with the creamy topping.
The kitchen counter looked like a pastel explosion had gone beautifully wrong. My daughter was three and wedged on a step stool, carefully dropping pink and yellow jelly beans into the whipped cream mountains she'd created on each slice. That was the moment this recipe stopped being just a dessert and started being an Easter tradition we actually build our holiday around.
Last year I made six of these cakes for various family gatherings, and my aunt actually texted me at midnight asking if I'd hidden an extra one somewhere. The magic happens when the gelatin seeps into those little holes, creating these vibrant bursts of fruit flavor that cut through the richness of the cream topping in the most perfect way.
Ingredients
- Vanilla cake mix: The boxed version works perfectly here, but if you are feeling ambitious, a from scratch yellow cake gives you the same foundation
- Strawberry and lemon gelatin: The pink and yellow combination screams spring, but berry blue and lime would make a gorgeous variation
- Heavy whipping cream: Cold cream whips up beautifully and holds its shape better than any store bought topping
- Pastel sprinkles or jelly beans: These are not just decoration, they are the confetti that makes the whole thing feel like a celebration
Instructions
- Bake your cake foundation:
- Preheat that oven to 350°F and grease a 9x13 inch pan like your life depends on it. Mix up the cake batter, pour it in, and let it bake for about 30 minutes until a toothpick comes out clean.
- Create those magic holes:
- Let the cake cool for exactly 15 minutes, then grab a wooden spoon handle and poke holes all over, about an inch apart. Do not skip this step or wait too long, or the gelatin will not soak in properly.
- Prepare the gelatin:
- Dissolve each gelatin flavor in one cup of boiling water, stir until completely dissolved, then add a cup of cold water to each. Let them cool slightly so they do not cook the cake further.
- pour the colors:
- Carefully spoon the gelatin into the holes, doing half the cake with strawberry and half with lemon, or alternate rows for that marbled effect. Use every drop because those fruity pockets are what makes this special.
- Chill and crown:
- Refrigerate for at least two hours until the gelatin sets completely, then whip your cream with powdered sugar and vanilla until stiff peaks form. Spread that cloud over the top and add your sprinkles with reckless abandon.
 Save to Pinterest
 My sister in law initially thought poking holes in a perfectly good cake was madness until she took her first bite last Easter. Now she is the one who texts me in February asking when we are making them this year.
Making It Ahead
This cake actually improves after a day in the refrigerator, which makes it the ultimate make ahead dessert for holiday hosting. The flavors meld together and the texture becomes even more cohesive.
Gelatin Color Options
While strawberry and lemon create that classic Easter palette, do not be afraid to experiment with berry blue and lime for a more vibrant look. Just stick to two complementary flavors so the taste experience remains harmonious rather than chaotic.
Serving Suggestions
Cold is the only way to serve this cake, so keep it refrigerated until the moment you are ready to slice and serve.
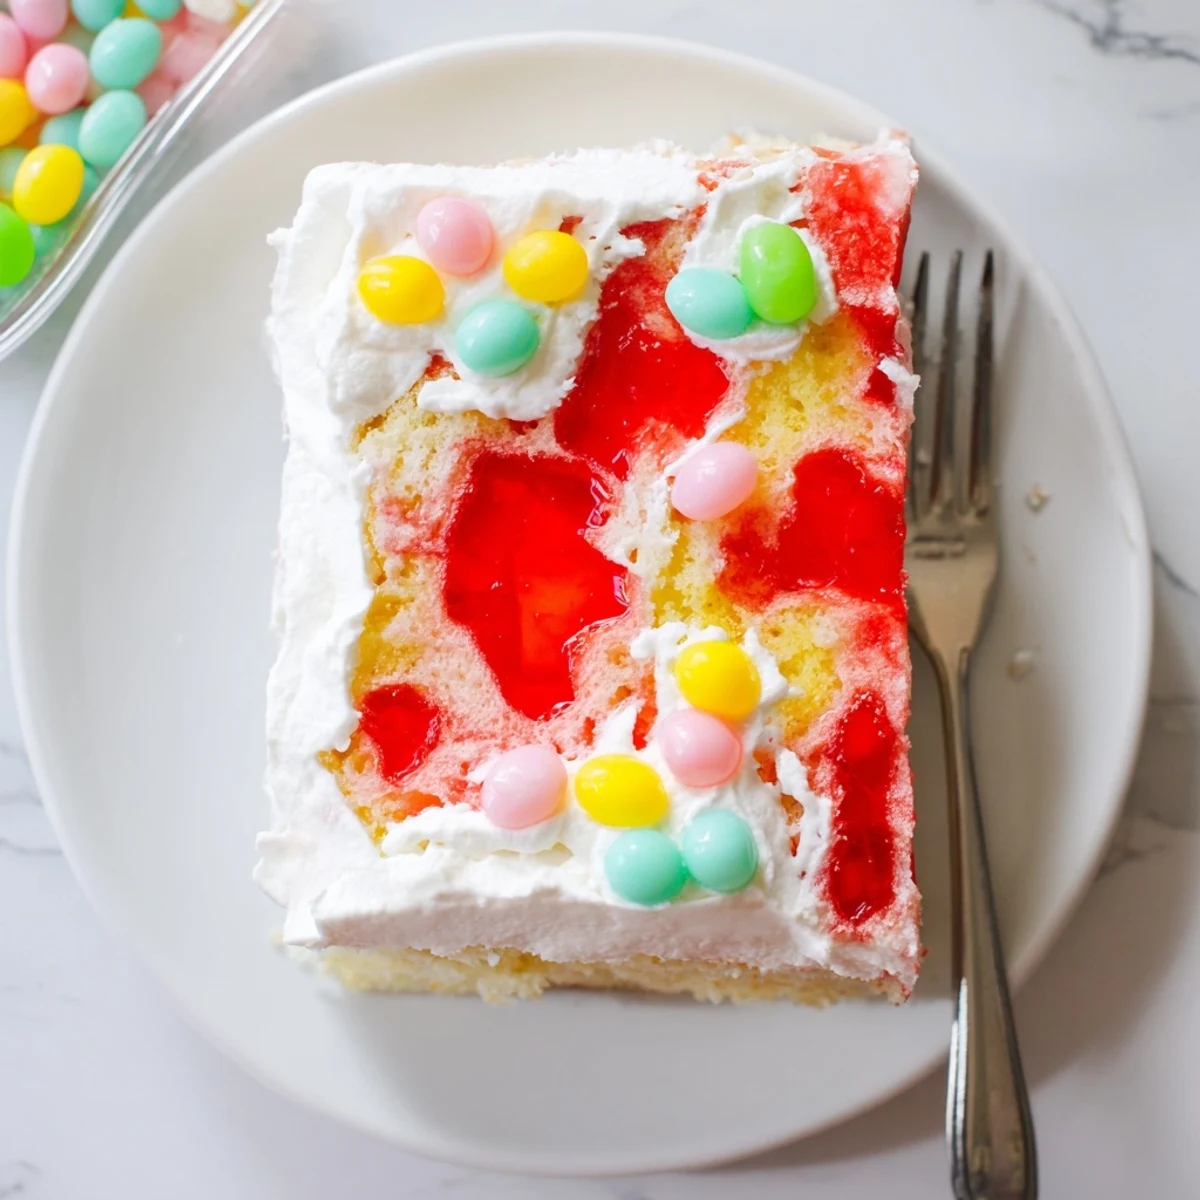
- Use a sharp knife dipped in hot water for clean slices that show off those colorful gelatin pockets
- Individual dessert cups work beautifully if you want to portion it out for a buffet
- Pair with fresh berries on the side if you want to lean into the fruity theme even more
 Save to Pinterest
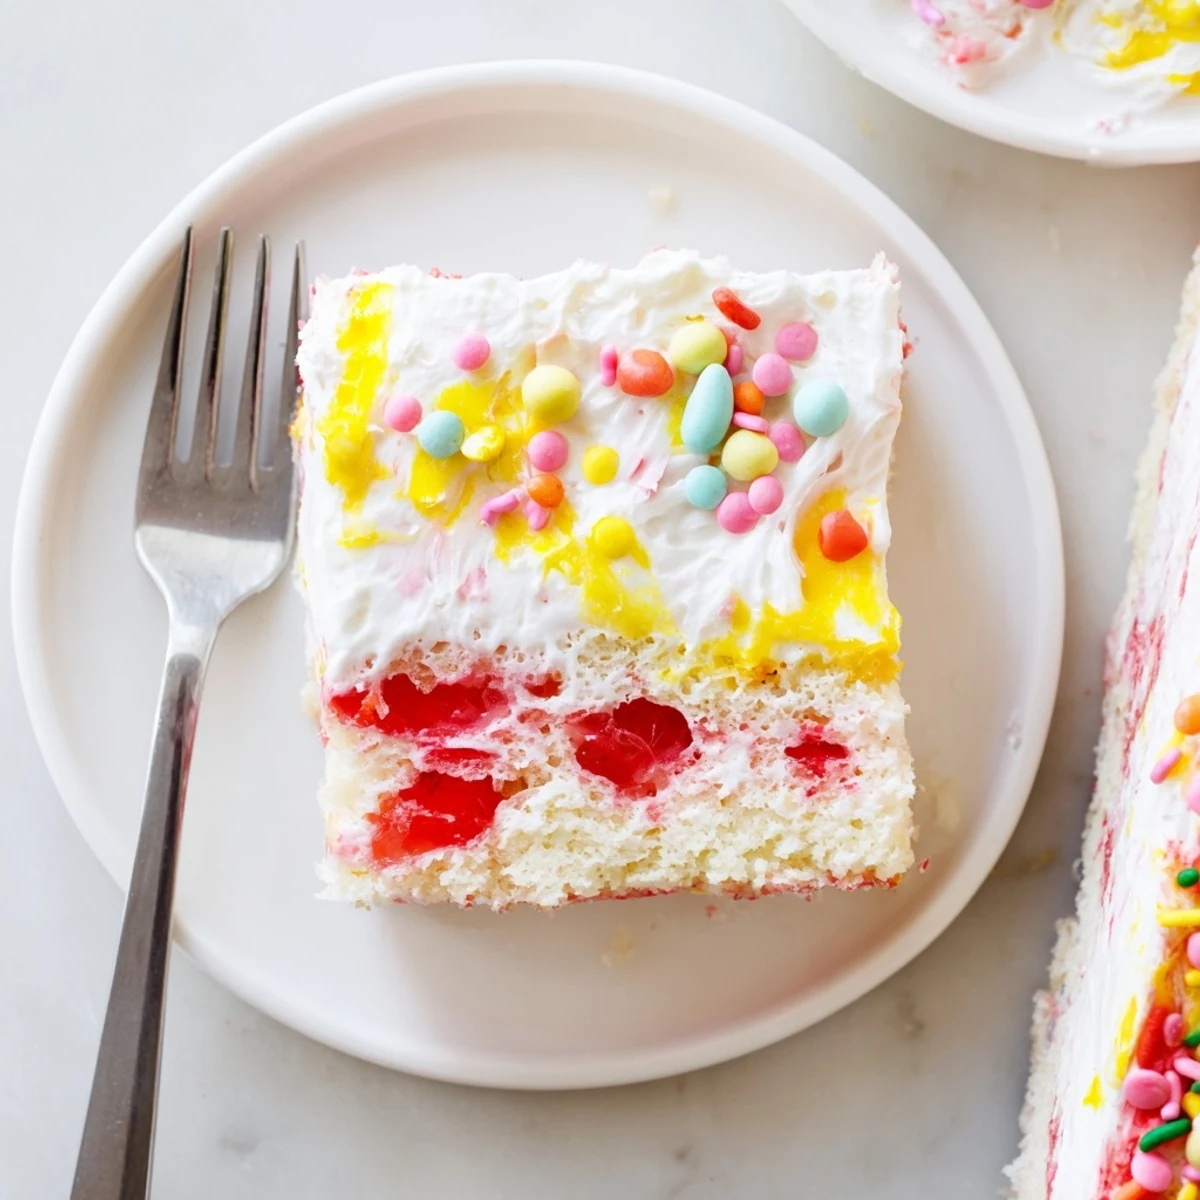
 There is something ridiculously satisfying about cutting into that first slice and watching the pink and yellow gelatin peek through the white whipped cream mountains.
Recipe Questions & Answers
- → How far in advance can I make this poke cake?
-
You can prepare this dessert up to 24 hours ahead. After adding the gelatin, refrigerate for at least 2 hours to set, then add the whipped cream topping just before serving. The cake actually tastes better after chilling overnight as the flavors meld together.
- → Can I use homemade cake instead of a mix?
-
Absolutely! Any vanilla cake recipe that yields a 9x13-inch cake works perfectly. Just ensure the cake has cooled for about 15 minutes after baking before poking holes—you want it warm enough to absorb the gelatin but not so hot that the liquid evaporates too quickly.
- → What other gelatin flavors work well together?
-
Beyond strawberry and lemon, try combinations like berry blue and lime for a vibrant look, cherry and orange for a fruity twist, or raspberry and peach for a more subtle flavor profile. You can also use all one flavor for a uniform appearance.
- → How do I prevent the whipped cream from melting?
-
Make sure the heavy cream is thoroughly chilled before whipping, and keep the completed cake refrigerated until serving time. If you're taking this to a gathering, transport it in a cooler with ice packs and keep it out of direct sunlight.
- → Can I freeze this poke cake?
-
Freezing isn't recommended because the gelatin texture changes when thawed and can become watery. However, the plain vanilla cake layer can be baked, cooled, wrapped tightly, and frozen for up to 3 months. Thaw completely before proceeding with the gelatin and topping steps.
- → What's the best way to poke holes in the cake?
-
A wooden spoon handle or the round end of a skewer works perfectly. Space holes about 1 inch apart in a grid pattern across the entire surface. Don't poke all the way to the bottom—aim for about three-quarters depth so the gelatin stays contained within the cake.