 Save to Pinterest
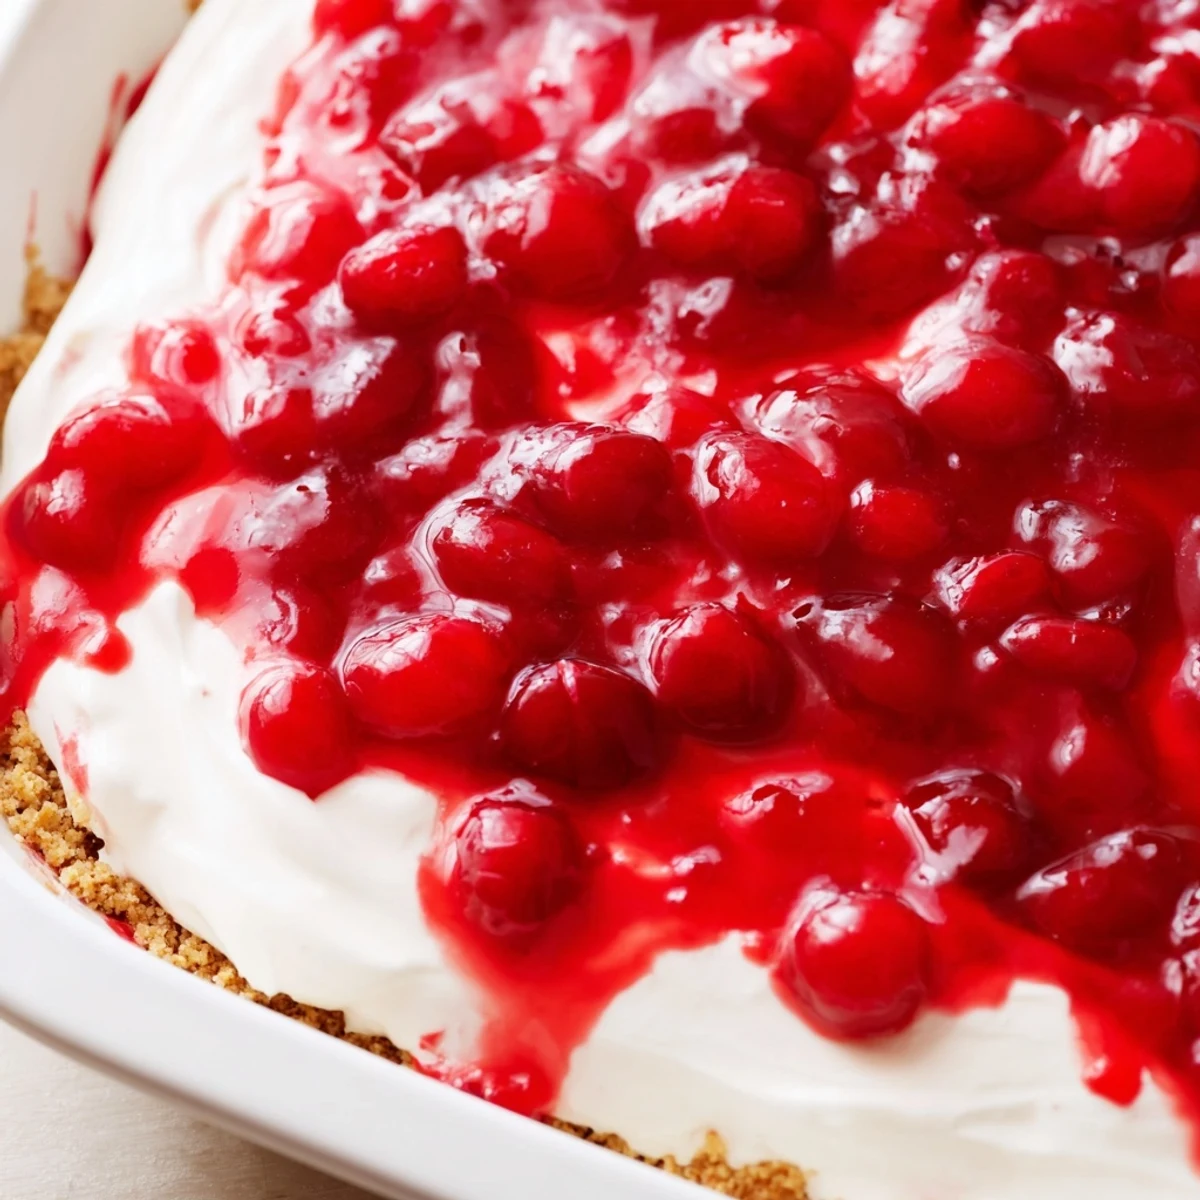
 This classic cherry delight combines a buttery graham cracker crust with a smooth cream cheese layer and sweet cherry topping. The no-bake preparation makes it perfect for warm weather or when you need a quick impressive dessert. Simply press the crumb crust into your dish, whip up the creamy filling with cream cheese and whipped topping, then crown with luscious cherry pie filling. After chilling for two hours, you'll have beautiful layered slices that showcase the three distinct textures. The crunchy base, smooth middle, and fruit top create perfect balance in every bite.
The summer humidity was sticking my hair to my forehead when my grandmother pulled this chilled beauty from her refrigerator. I had been complaining about the heat all afternoon, and she just smiled and said, Honey, some problems solve themselves with something cold and sweet. That first spoonful changed my entire relationship with no-bake desserts forever.
I brought this to a Fourth of July potluck years ago, right after moving to a new city where I knew exactly three people. The dish came home empty, and suddenly I had a dozen new neighbors asking for the recipe. Food really is the universal language of welcome.
Ingredients
- 2 cups graham cracker crumbs: Freshly crushed give you better texture control than store-bought crumbs, and crushing them yourself lets you adjust between fine and chunky
- 1/2 cup unsalted butter, melted: Let it cool slightly after melting so it doesnt turn your crumbs into mush when mixing
- 1/4 cup granulated sugar: This little bit of sweetness in the crust makes all the difference between bland and bakery-worthy
- 8 oz cream cheese, softened: Room temperature is non-negotiable here or you will end up with lumps that no amount of mixing can fix
- 1 cup powdered sugar: Sift it first to avoid those tiny sugar specks that never quite dissolve
- 1 tsp vanilla extract: Use the good stuff since this simple recipe relies entirely on pure flavor notes
- 1 1/2 cups whipped topping: Fold gently like your life depends on it over-mixing collapses all that lovely air you worked to incorporate
- 1 can cherry pie filling: Look for one with visible cherry chunks, not just red gel, and avoid artificial bright red fillings that taste like food coloring
Instructions
- Build the Foundation:
- Press the crumb mixture into your dish using the flat bottom of a measuring cup for even compression without overworking it
- Make the Cloud Layer:
- Beat that cream cheese until its seriously smooth before adding anything else, then fold in the whipped topping with a figure-eight motion
- Assemble with Care:
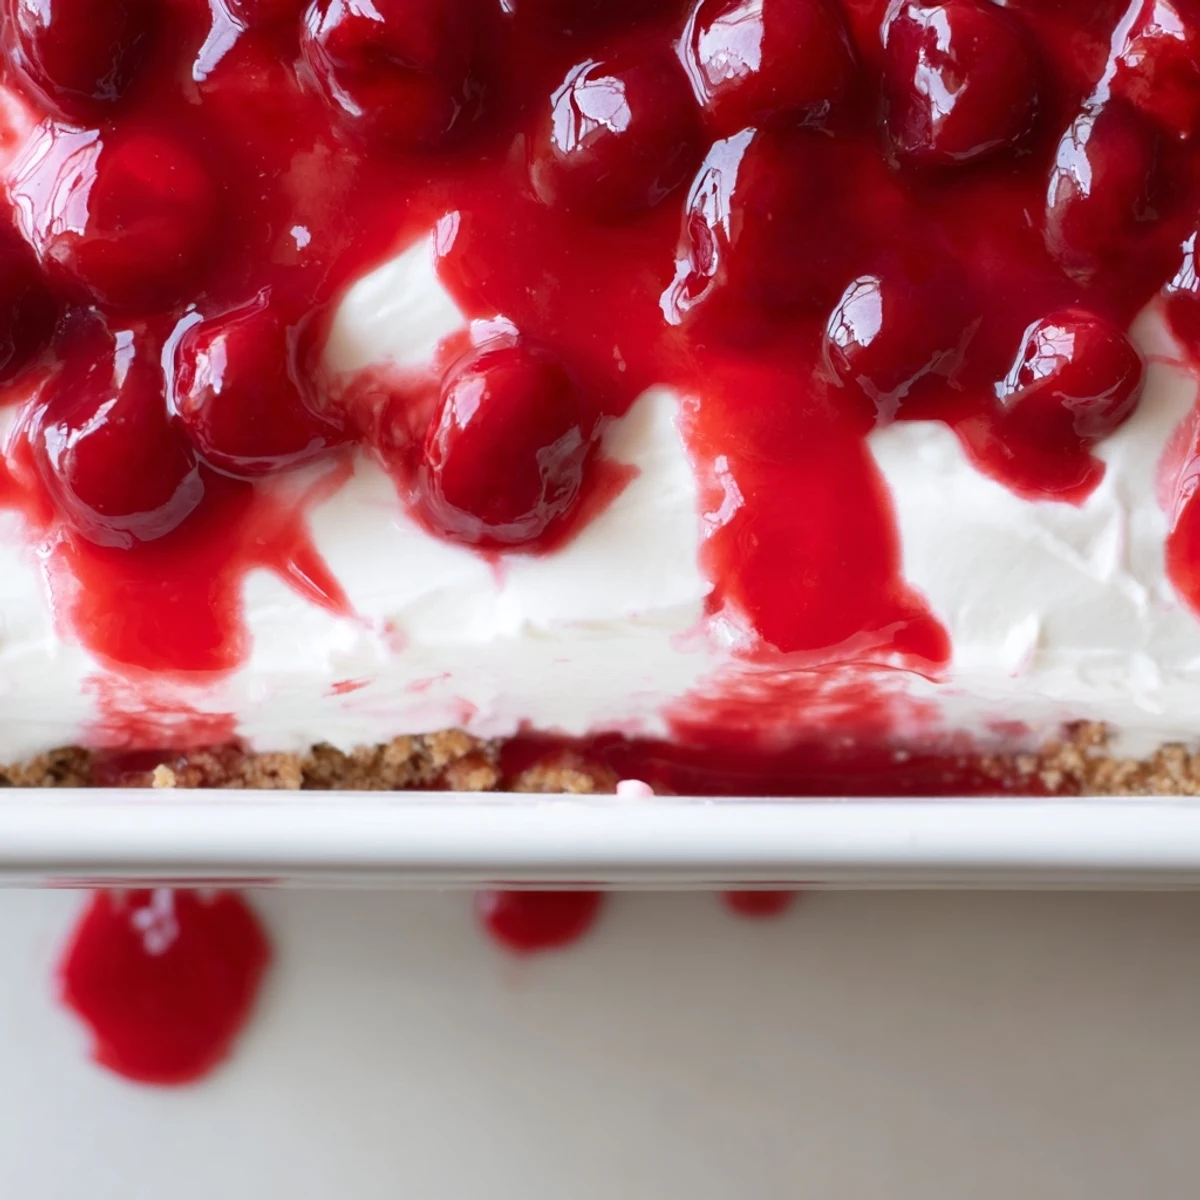
- Spread the cream cheese mixture almost to the edges, leaving a tiny border so the cherries dont slide off during transport
- Add the Crown:
- Spoon the cherry filling in small dollops across the surface before gently connecting them to avoid dragging up the cream layer
- Practice Patience:
- Those two hours in the fridge are what transform this from five separate ingredients into one cohesive dessert that slices cleanly
 Save to Pinterest
 My youngest nephew declared this birthday cake status after trying it at a family gathering. Now he requests it specifically instead of actual cake, and I am absolutely not complaining about avoiding the whole candle-blowing logistics.
Making It Your Own
Once you master the classic version, the variations are practically endless. I have made this with blueberry pie filling for a patriotic July spread and with strawberry topping for my daughters baby shower. The cream cheese layer plays beautifully with almost any fruit filling.
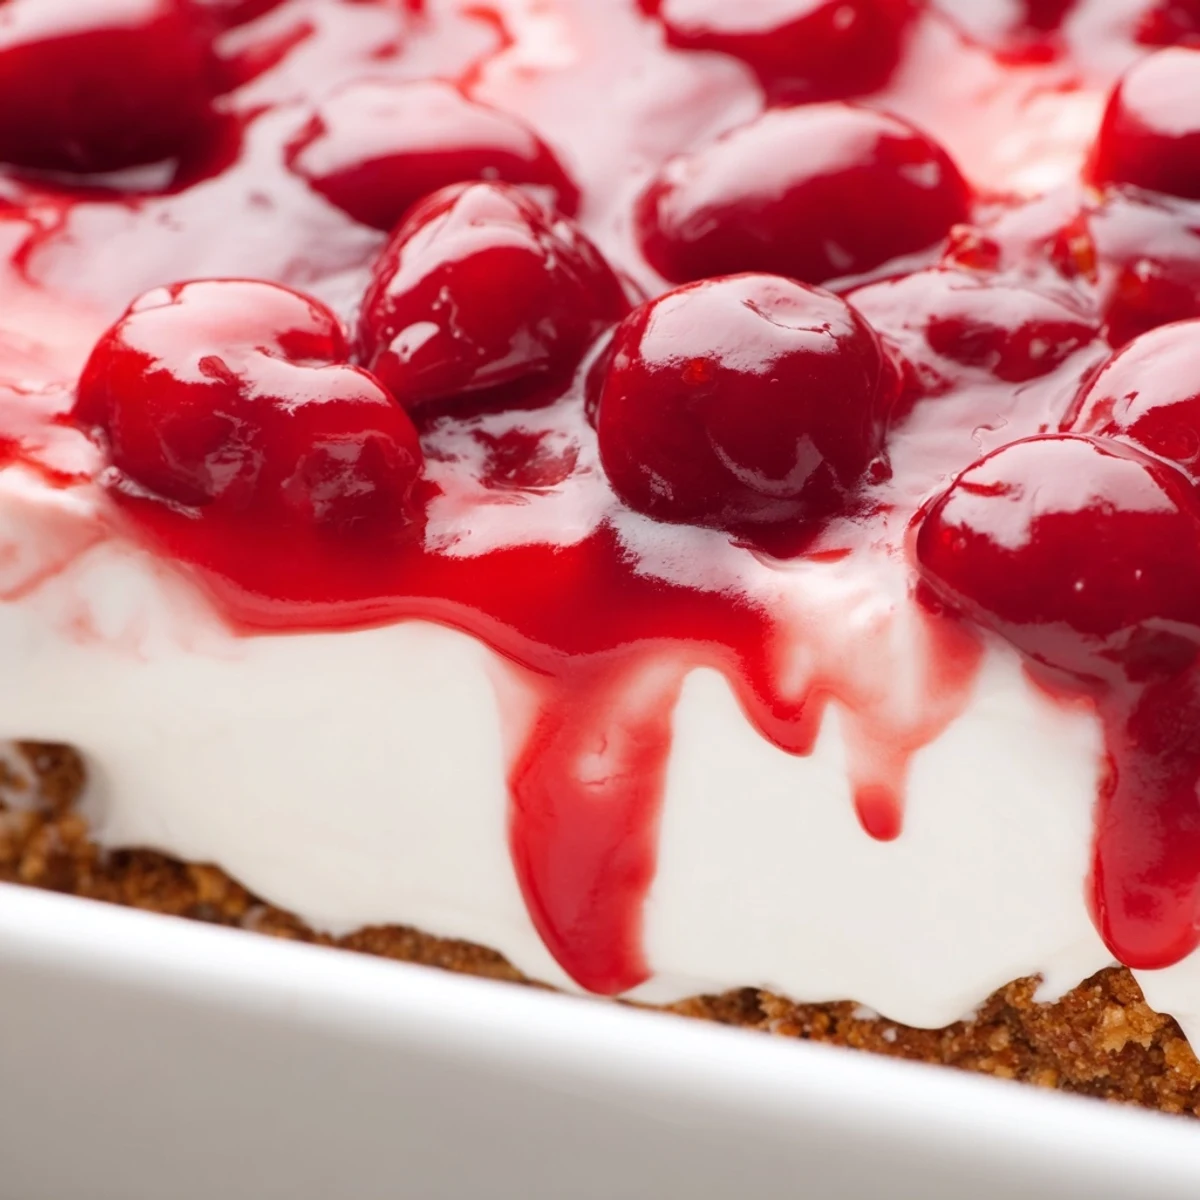
Texture Secrets
The magic happens in that contrast between the crisp buttery crust and the almost mousse-like cream layer. Sometimes I add a handful of mini chocolate chips between the layers for a hidden surprise that makes people pause and ask what that extra crunch is all about.
Make-Ahead Magic
This dessert actually improves after a night in the fridge, as the flavors meld together and the crust softens just slightly. I have made it up to 24 hours ahead with zero issues, though longer than that and the crust starts losing its signature crunch.
- Use a plastic knife for serving if you are worried about marring your baking dish
- Let each layer set for about 15 minutes before adding the next one for the cleanest presentation
- Press a piece of plastic wrap directly on the surface if storing overnight to prevent fridge flavors
 Save to Pinterest
 Sometimes the simplest desserts are the ones people remember years later, probably because they actually remind us of the moments we shared around the table rather than just the food itself.
Recipe Questions & Answers
- → How long does cherry delight need to chill?
-
Refrigerate for at least 2 hours before serving. This allows the cream cheese layer to set properly and the flavors to meld together for clean, distinct slices.
- → Can I make cherry delight ahead of time?
-
Yes, prepare up to 24 hours in advance. The flavors actually improve after sitting overnight in the refrigerator. Keep covered tightly to prevent absorbing other food odors.
- → What other fruit toppings work well?
-
Blueberry, strawberry, or raspberry pie filling all make excellent substitutes. You could also use fresh berries arranged on top with a glaze for a lighter version.
- → Can I freeze cherry delight?
-
Freezing is not recommended as the texture of the cream cheese layer and whipped topping can become grainy and watery upon thawing. Best enjoyed fresh from the refrigerator.
- → How do I get clean slices?
-
Use a sharp knife dipped in hot water and wiped clean between cuts. Let the chilled dessert sit at room temperature for about 10 minutes before slicing for the cleanest results.