 Save to Pinterest
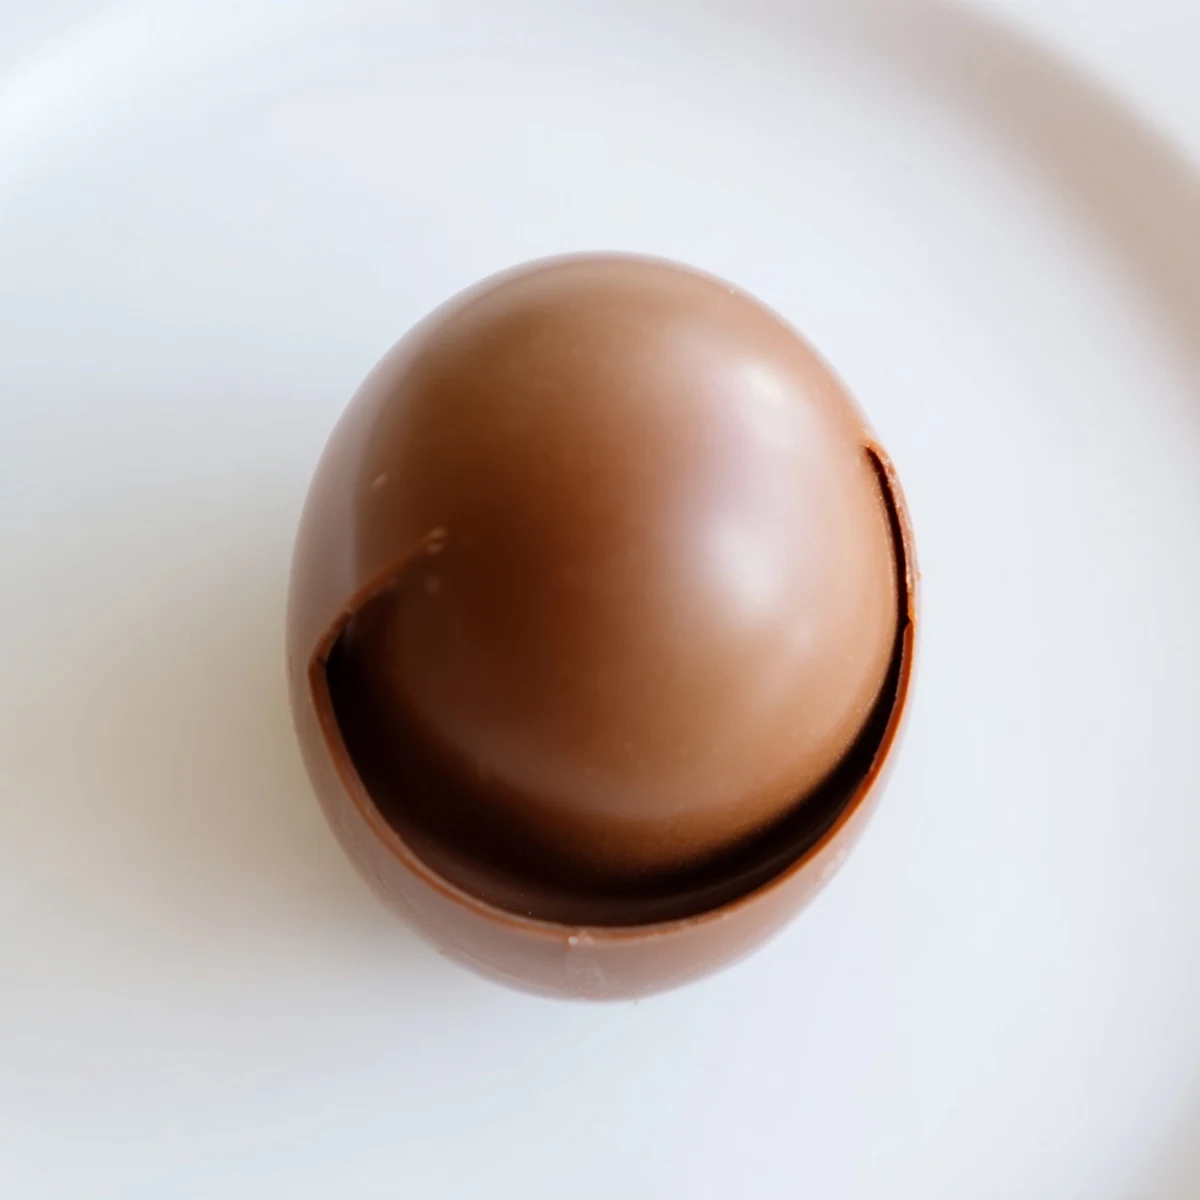
 This treat involves molding smooth, melted chocolate into egg-shaped shells, chilling them to set firmness, and enclosing a small, safe toy inside before sealing. The process includes coating molds twice for strength and gently warming edges for a perfect seal. Ideal for parties or gifts, these hollow eggs combine a rich chocolate shell with a hidden surprise, enhanced by optional gourmet touches like sea salt or crushed nuts. Careful attention ensures toy safety to delight all ages.
My daughter's face when she cracked open her first chocolate egg and discovered a tiny toy inside—that's the moment I understood why people had been making these for generations. It's not just chocolate; it's pure anticipation wrapped in cocoa. I started experimenting with homemade versions after realizing store-bought ones felt impersonal, and now every Easter and birthday party at our house features these little surprises.
I'll never forget the birthday party where one shy kid sat quietly watching others, then his face lit up when he got his egg. He kept the toy for months and actually started playing with it, which reminded me that sometimes the smallest gestures create the biggest memories. That's when these stopped being just a treat and became something more meaningful.
Ingredients
- High-quality milk chocolate, 300 g: The foundation of everything—don't skimp here because thin or waxy chocolate will crack instead of seal smoothly when you're joining the halves.
- Small food-safe toys, 4: Hunt for these with intention; plastic animals or tiny figurines work best because they're smooth and won't puncture the chocolate from the inside.
Instructions
- Break and melt your chocolate:
- Chop the chocolate into small, even pieces so it melts uniformly without scorching. A double boiler is gentler than the microwave, but if using a microwave, work in 20-second bursts and stir constantly—overheated chocolate becomes grainy and unworkable.
- Paint the first chocolate layer:
- Using a clean, dry pastry brush, coat the inside of your egg molds with a thin, even layer of melted chocolate. Let it drip naturally into the curves; rushed brushing creates bumps that show later.
- Chill and reinforce:
- Refrigerate for 10 minutes until set, then add a second layer for strength. This double coat prevents cracks when you're handling the eggs.
- Unmold your chocolate shells:
- Let them come to room temperature slightly, then gently flex the mold and ease out the halves. Cold chocolate pops out more cleanly than chocolate that's too warm.
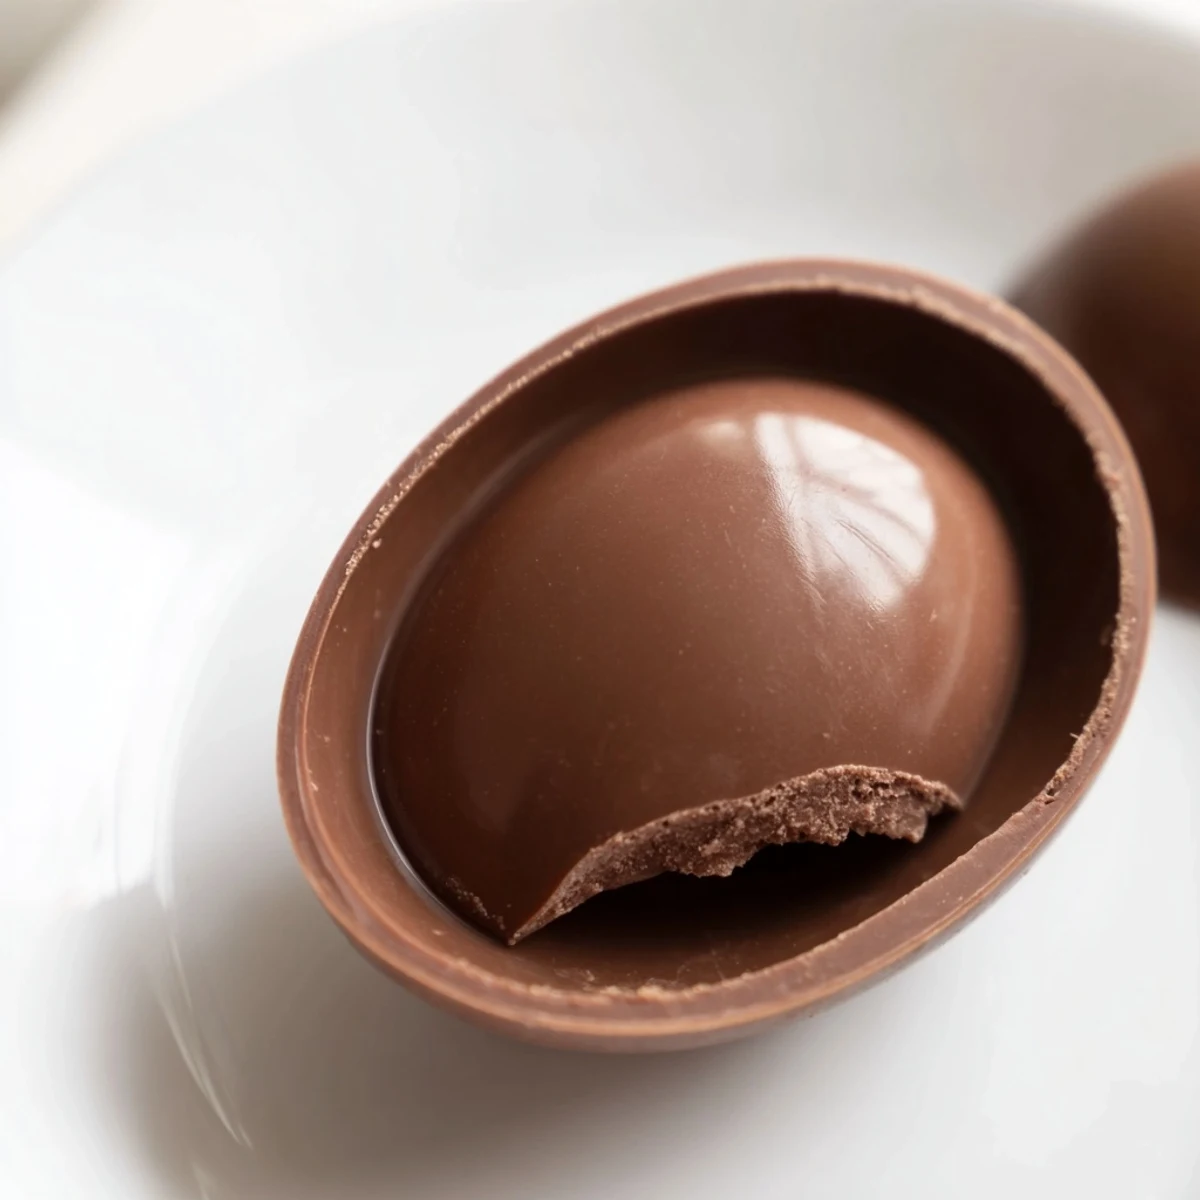
- Prepare the surprise:
- Wrap your toy loosely in food-grade plastic wrap if you're concerned about direct contact, then nestle it into one half of the egg shell.
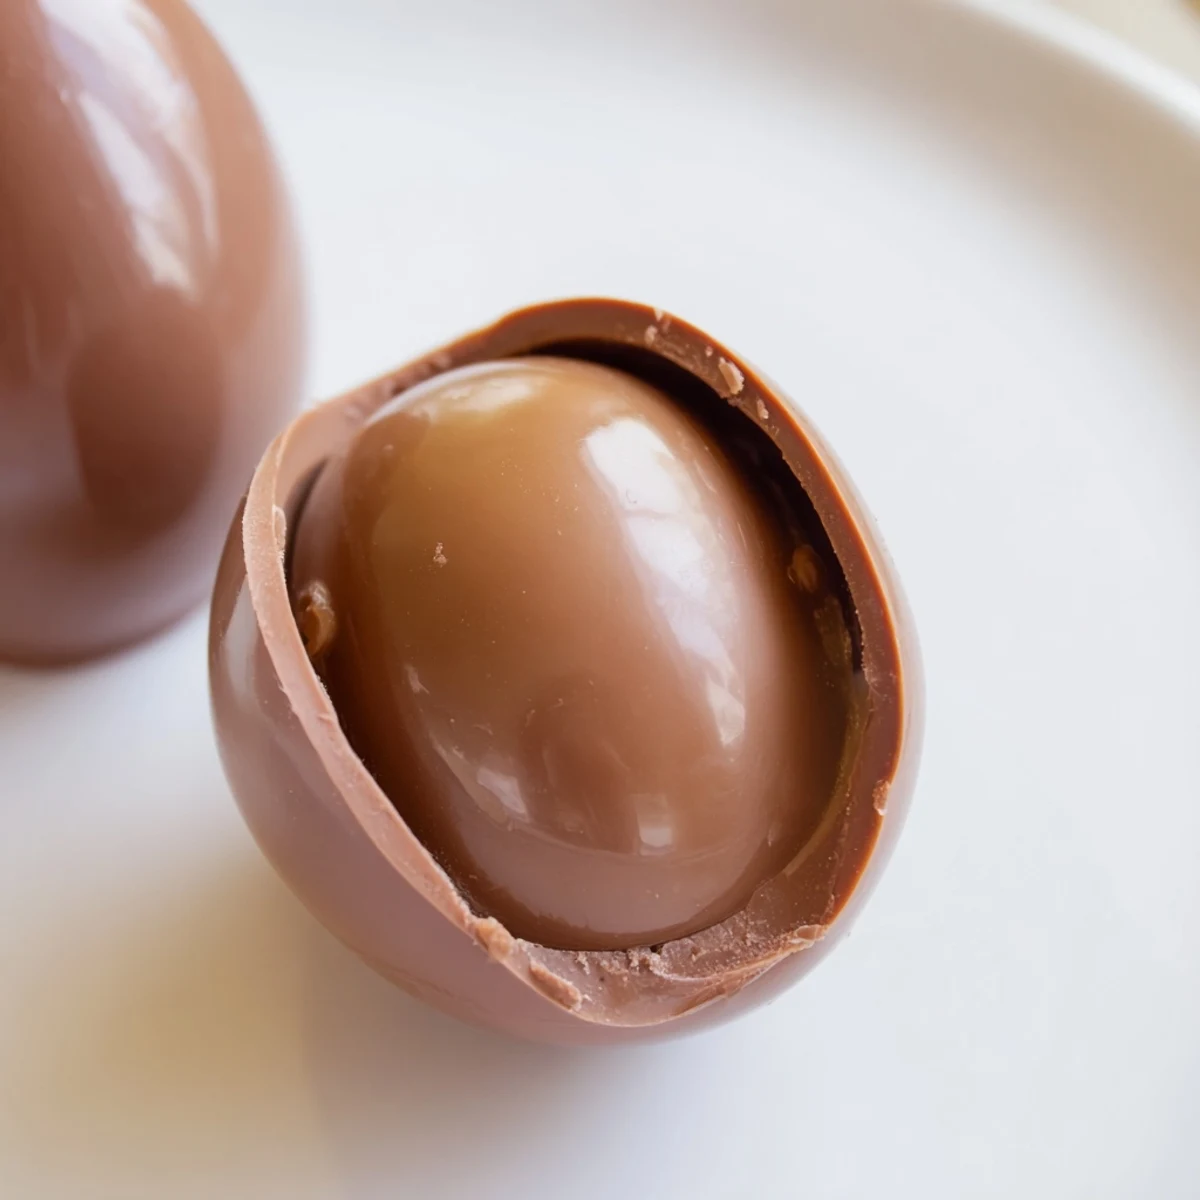
- Seal the egg with warmth:
- Heat a ceramic plate under warm running water until it's just warm to the touch—not hot. Gently press the chocolate edge against the warm plate for a second or two until it softens slightly, then immediately press your two halves together and hold steady for a few seconds. Speed and gentleness matter equally here.
- Let everything set:
- Leave the finished eggs at room temperature or chill them completely before wrapping. This last patience step prevents the seal from cracking when someone opens their gift.
 Save to Pinterest
 There's something quietly magical about sitting at the kitchen counter the night before a party, carefully sealing each egg and knowing exactly what story each one will tell when it's opened. The kitchen smells like chocolate, your hands are a little sticky, and you're creating tiny moments of joy—that's when cooking feels less like a task and more like a love language.
Chocolate Choices for Different Moods
Milk chocolate is the classic choice because it's sweet, familiar, and appeals to most kids, but don't sleep on dark chocolate if you're making these for adults who appreciate deeper, more complex flavors. White chocolate creates a stunning visual contrast and tastes delicate and creamy, though it's slightly trickier to work with because it can scorch more easily. Mix and match for a gift box of variety—the chocolate personality of each egg becomes part of the surprise.
The Art of the Seal
The moment when you press two chocolate halves together is honestly the most nerve-wracking part, but it's also where you gain the most control. I learned this the hard way after making the plate too hot and watching chocolate melt into streaks—now I test the warmth on my wrist first, like checking a baby's bottle. The goal is a gentle bond, not a dramatic weld.
Personal Touches and Gift Wrapping
Once your eggs are sealed and set, the presentation becomes part of the magic—nestling them in tissue paper, wrapping them in shimmering foil, or placing them in a simple box makes them feel like genuine gifts rather than homemade experiments. Some of my favorite versions have been dusted with edible glitter or wrapped in wax paper tied with ribbon, each one feeling personalized and intentional. These little finishes transform chocolate eggs from a fun kitchen project into something someone will actually treasure.
- Wrap eggs in metallic or pastel foil for an instant festive look that protects them from melting.
- Add a handwritten tag or small card explaining what toy is inside—it builds anticipation.
- Store finished eggs in a cool place but not always in the fridge, or the chocolate can develop a chalky bloom over time.
 Save to Pinterest
 Making chocolate eggs is one of those rare kitchen projects where effort translates directly into delight—there's no pretense, just surprise and joy. I hope yours turn out beautiful and bring the same kind of happiness to someone special.
Recipe Questions & Answers
- → What type of chocolate works best for hollow eggs?
-
High-quality milk, dark, or white chocolate all work well. Tempering isn't required, but melting gently prevents burning.
- → How do I ensure the chocolate shell is strong enough?
-
Applying two layers of melted chocolate with chilling in between helps create a sturdy shell that holds its shape.
- → What safety precautions should I take with the toy inside?
-
Use food-safe, non-toxic toys that are large enough to avoid choking hazards and appropriate for the intended age group.
- → Can I customize the filling inside the chocolate egg?
-
The main filling is a small toy, but you can enhance the chocolate with sea salt, nuts, or other garnishes for varied flavor.
- → How do I seal the two chocolate halves together?
-
Warm a plate slightly and press the edges of the halves against it to melt, then quickly join and hold until set.