 Save to Pinterest
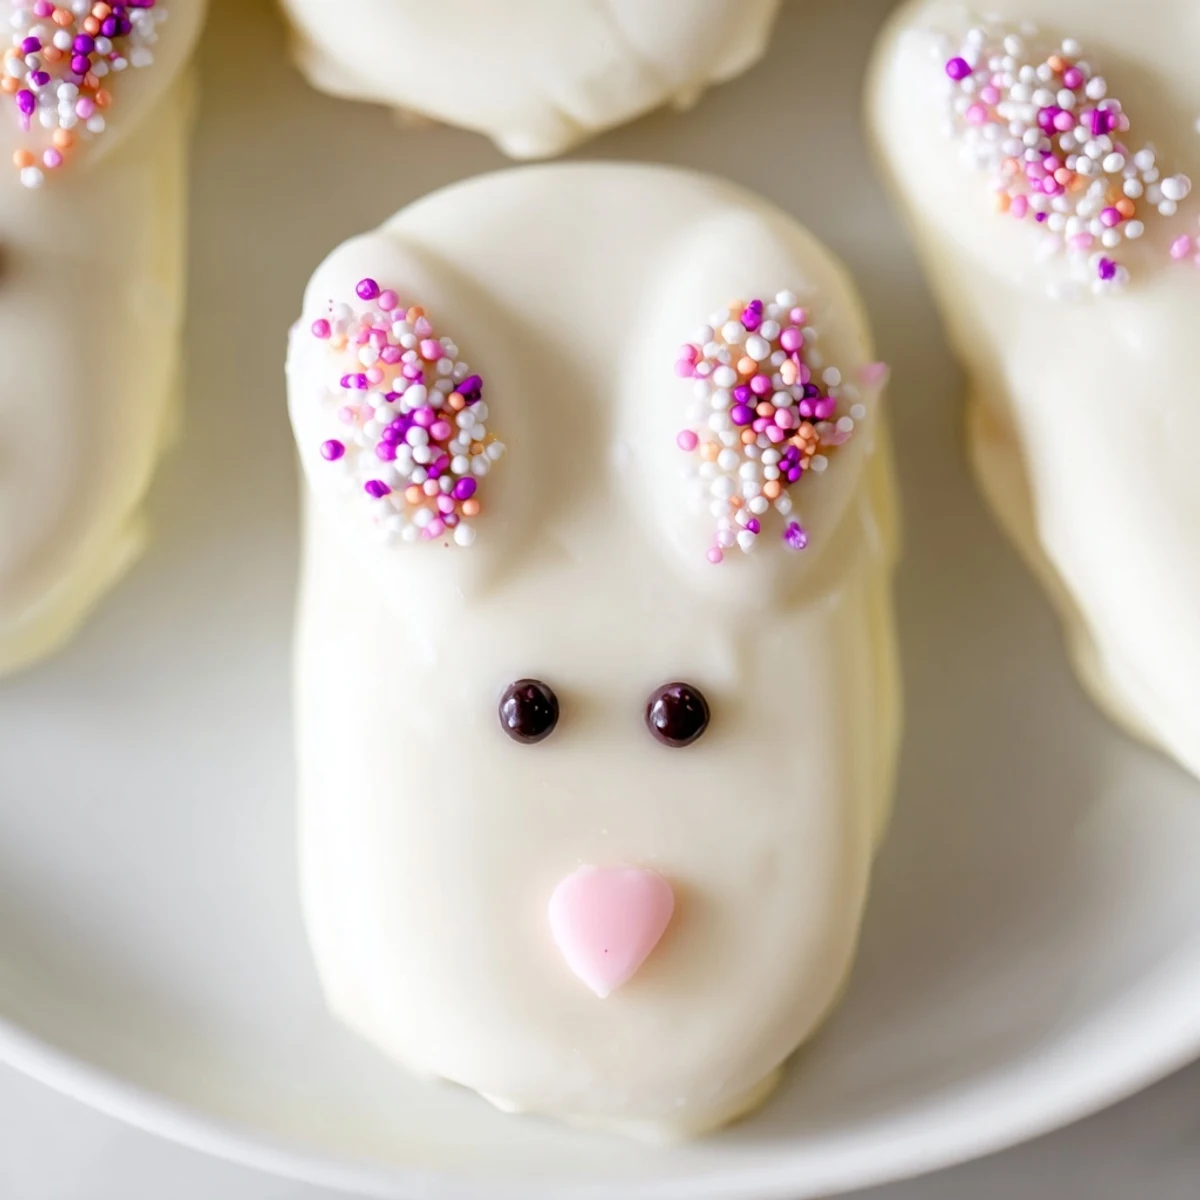
 These delightful bunny-shaped cakesicles bring whimsical charm to any Easter celebration. The combination of crumbled vanilla cake mixed with cream cheese and butter creates a perfectly moist, dough-like consistency that holds its shape beautifully when dipped into melted white chocolate. Each treat gets transformed into an adorable bunny face complete with candy eyes, sprinkle details, and cute fondant ears.
The preparation process is straightforward and family-friendly, making these treats ideal for baking with children during spring break. The white chocolate coating provides a smooth, creamy exterior that balances wonderfully with the tender cake interior. Customization options are endless—experiment with different cake flavors like chocolate or lemon, swirl pink food coloring through the white chocolate for a marbled effect, or get creative with various decorating techniques.
These cakesicles store well in the refrigerator for up to three days, allowing you to prepare them ahead of time for Easter brunch, egg hunts, or spring parties. The portable stick format makes them easy to serve and enjoy without the mess of traditional cake slices, while the festive bunny design adds a special touch to your holiday dessert table.
The first Easter I made these bunny cakesicles, my kitchen looked like a confetti explosion. White chocolate dripped everywhere, sprinkles migrated into crevices I did not know existed, and six bunny faces ended up with lopsided ears. But when my niece grabbed one and her eyes lit up like she had just witnessed magic, every sticky moment became worth it. Now I make them every year, and I have learned that the messy ones taste just as sweet.
Last spring I hosted an Easter brunch and set up a decorating station for these cakesicles. The adults hovered just as anxiously as the kids, everyone carefully placing candy eyes and debating ear placement. Something about food on a stick brings out the playful side in people, and I watched grumpy teenagers turn into artists while chocolate hardened on their creations.
Ingredients
- Vanilla cake crumbs: Using homemade or store-bought cake both work beautifully, but ensure the crumbs are fine for smooth shaping
- Cream cheese: Room temperature cream cheese binds everything together without making the mixture too dense
- Unsalted butter: Softened butter adds richness and helps the dough hold its shape in the freezer
- Powdered sugar: Just enough to sweeten the cake mixture without overpowering the white chocolate coating
- Vanilla extract: Pure vanilla extract deepens the flavor profile and complements the white chocolate perfectly
- White chocolate: High-quality melts create a smooth coating that sets firmly without cracking
- Edible gel food coloring: Gel coloring works better than liquid for tinting small amounts of chocolate without seizing
- Cakesicle sticks: Insert these before the chocolate sets for the most secure hold
Instructions
- Mix the cake dough:
- Combine cake crumbs, softened cream cheese, butter, powdered sugar, and vanilla in a bowl until the mixture holds together when squeezed. The dough should feel like playdough, neither too dry nor too sticky.
- Shape bunny faces:
- Portion the dough into eight equal pieces and press each into a flattened oval, slightly tapered at the top to suggest bunny ears. Keep them uniform so they cook at the same rate.
- Add sticks and chill:
- Push a cakesicle stick about halfway into each shape, place them on a parchment-lined tray, and refrigerate until firm. This step prevents the sticks from shifting during dipping.
- Melt the chocolate:
- Heat white chocolate in thirty-second intervals, stirring thoroughly between each burst, until completely smooth and glossy. Patience here prevents seizing and grainy texture.
- Coat the cakesicles:
- Dip each chilled shape into the melted chocolate, tap gently against the bowl edge to remove excess, and immediately add decorations before the coating sets. Work quickly but carefully.
- Set and serve:
- Let the finished cakesicles harden at room temperature for about thirty minutes, or speed up the process with ten minutes in the refrigerator.
 Save to Pinterest
 My neighbor requested these for her daughters birthday after seeing them on my social media, and she reported that the bunny cakesicles disappeared before the actual birthday cake. Something about handheld desserts makes people feel like kids again, reaching without asking, eating with their fingers, and licking chocolate from their thumbs without apology.
Getting the Shape Right
I spent one frustrating afternoon trying to freehand perfect bunny faces until I finally drew a simple template on parchment paper. Placing the dough over the guide made every bunny uniform, and I realized that sometimes having a plan saves more time than winging it. The template now lives in my recipe box, stained with chocolate fingerprints.
Decorating Without Stress
After years of adding sprinkles too late and watching them slide right off the hardened chocolate, I learned to work in assembly line fashion. Dip four cakesicles, add all their decorations immediately, then repeat. The chocolate stays workable longer, and each bunny gets equal attention before my patience runs thin.
Storage and Serving
These treats actually improve after a night in the refrigerator, as the flavors meld and the texture becomes fudgier. I have served them straight from the fridge and at room temperature, and both work beautifully depending on your preference. The key is letting them sit for ten minutes if chilled, so the white chocolate does not crack when bitten.
- Layer them between parchment paper in an airtight container
- Add decorations just before serving for the freshest look
- Bring them to room temperature slowly for the smoothest texture
 Save to Pinterest
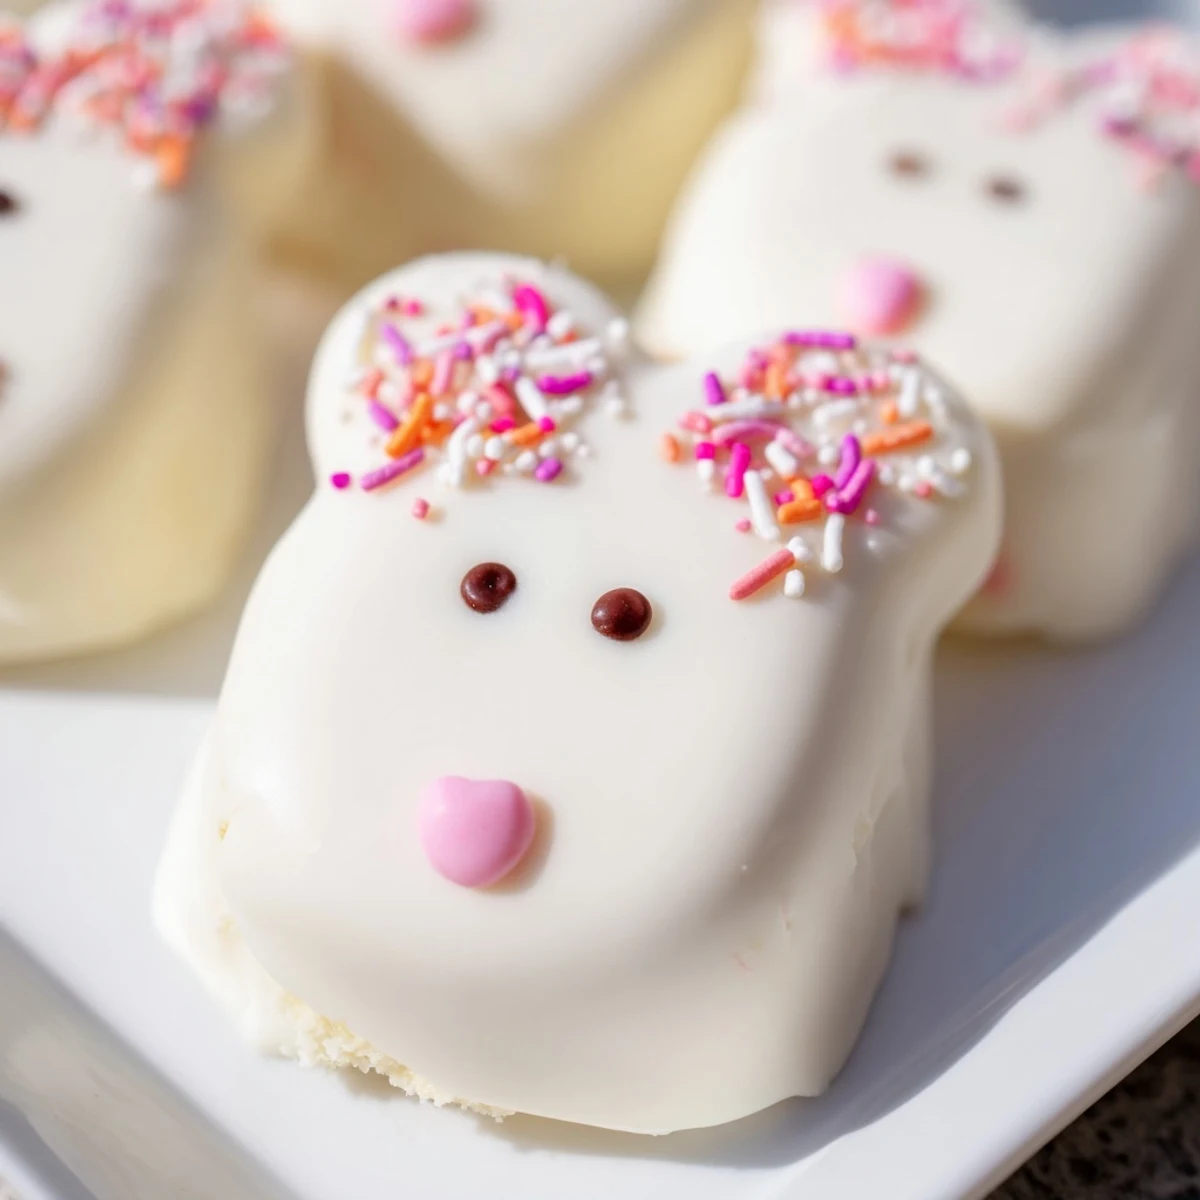
 These bunny cakesicles have become the Easter tradition I did not know I needed, bridging the gap between childhood wonder and grown-up sweetness. May your kitchen be filled with sticky fingers, happy messes, and the kind of joy that only comes from making something small and delightful together.
Recipe Questions & Answers
- → What cakesicles are made of?
-
Cakesicles consist of crumbled cake mixed with cream cheese, butter, powdered sugar, and vanilla extract to create a dough-like mixture. This mixture is shaped, placed on sticks, then coated in melted white chocolate and decorated with various edible embellishments.
- → How long do white chocolate cakesicles stay fresh?
-
When stored in an airtight container in the refrigerator, these cakesicles maintain their quality for up to three days. The cool environment helps preserve the white chocolate coating and keeps the cake interior moist and fresh.
- → Can I use different cake flavors for bunny cakesicles?
-
Absolutely! While vanilla cake crumbs provide a classic flavor profile, you can substitute chocolate, lemon, red velvet, or any cake variety you prefer. Different flavors add variety to your Easter dessert spread while maintaining the adorable bunny presentation.
- → What decorations work best for bunny cakesicles?
-
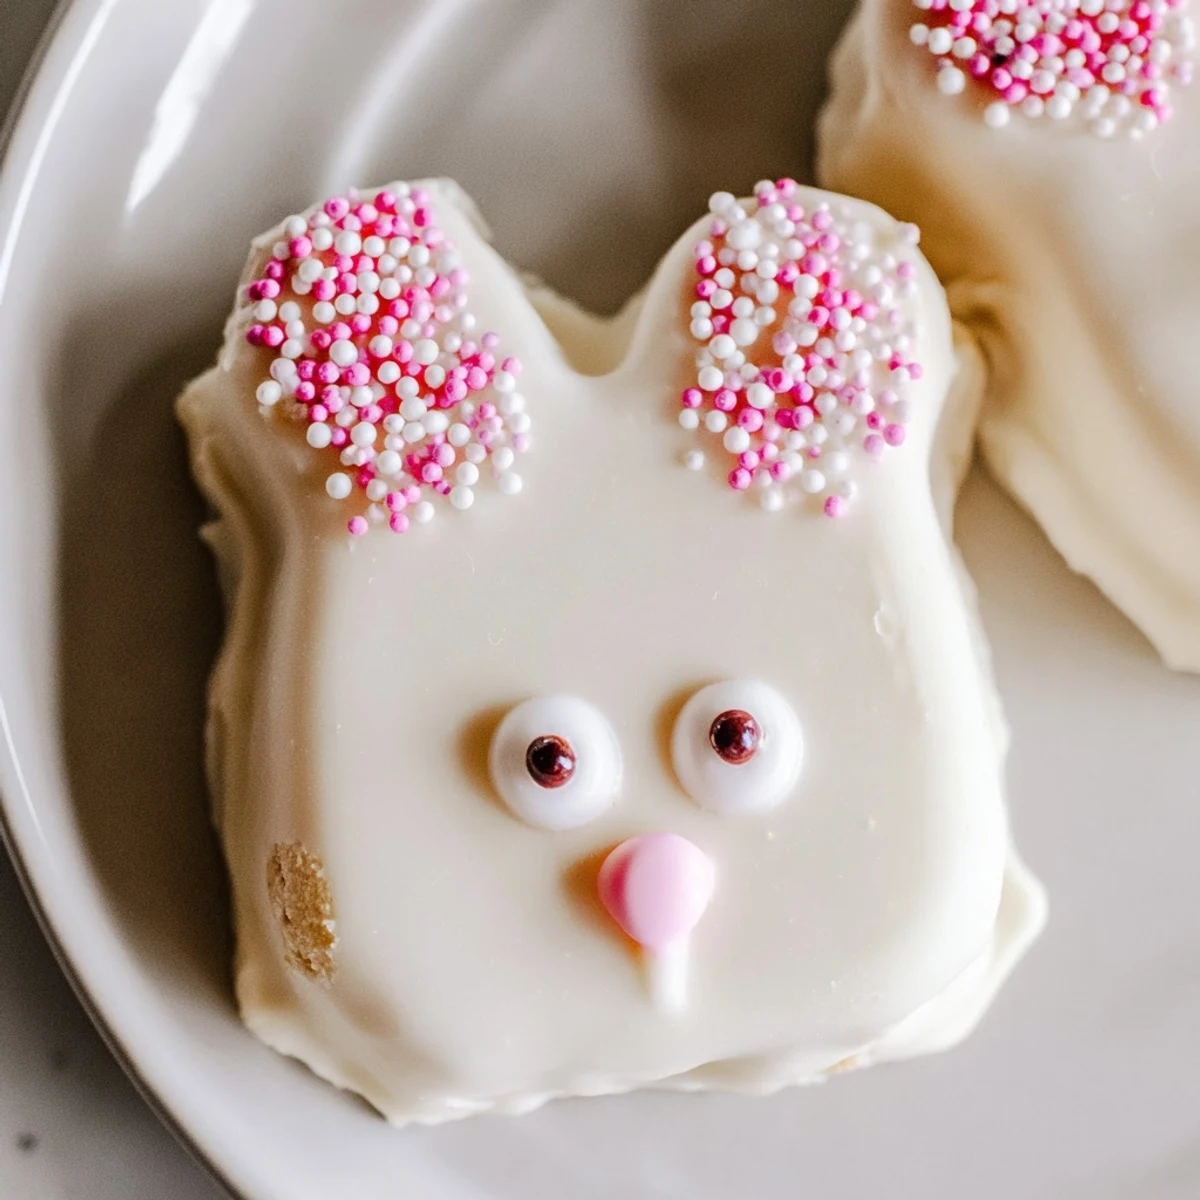
Candy eyes, sprinkles, and fondant decorations create charming bunny features. Pink or yellow food coloring adds adorable details for ears and noses. Fondant or modeling chocolate shapes make excellent bunny ears, while pretzel sticks offer a crunchy alternative for ear details.
- → Do I need special molds to make cakesicles?
-
While cakesicle molds help create uniform shapes, they're not essential. You can hand-shape the cake mixture into flattened ovals or bunny face forms manually. The dough-like consistency holds together well, allowing free-form shaping before inserting sticks and chilling.
- → How do I prevent the white chocolate from seizing when melting?
-
Melt white chocolate in a microwave-safe bowl using 30-second intervals, stirring thoroughly between each burst. Avoid overheating or getting any moisture into the chocolate, as both cause seizing. If the chocolate becomes too thick, adding a small amount of vegetable oil can help smooth the texture.