 Save to Pinterest
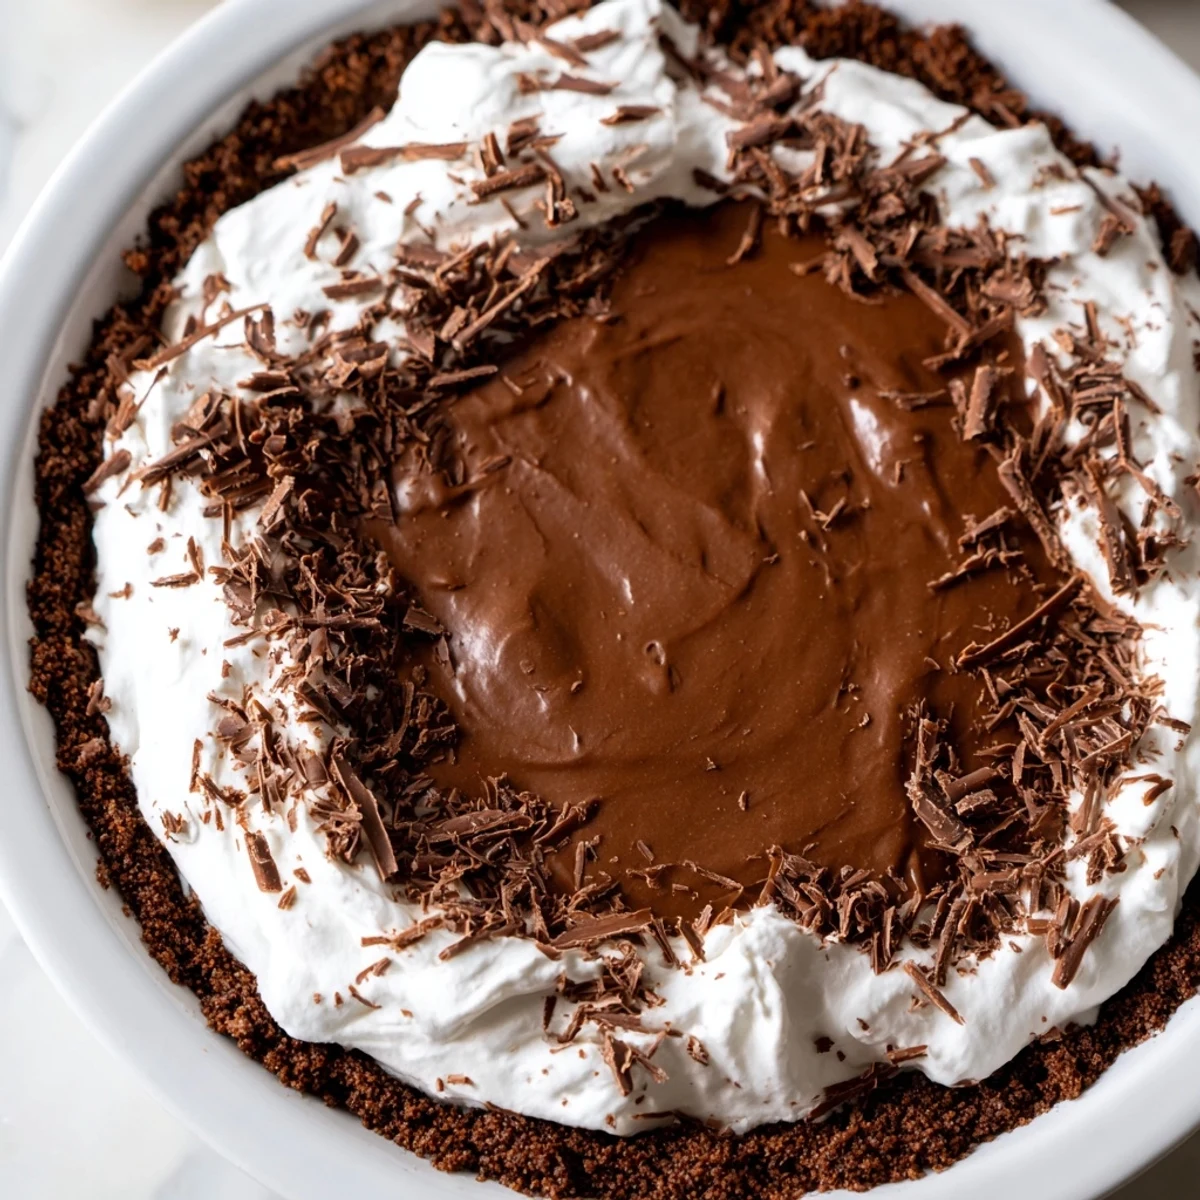
 This elegant dessert combines a crisp cookie crust with a smooth, bittersweet chocolate filling that’s rich yet silky. The filling is whipped to airy perfection using softened butter, sugar, and eggs, then chilled to set. Topped with freshly whipped cream sweetened with powdered sugar and vanilla, it offers a delightful contrast in textures and flavors. Ideal for sharing, this pie benefits from chilling to achieve its signature smoothness.
The first time I made this chocolate silk pie, I was attempting to impress someone with a dessert that looked restaurant-quality but didn't require professional training. I remember standing in my tiny kitchen at midnight, watching the eggs transform the filling into something impossibly smooth, wondering if I'd actually nailed it or if I was just tired and optimistic.
My roommate walked in during the five-minute beating phase and just stared at the mixer going absolutely wild. She ended up sitting on the counter watching the whole process, mostly because she couldn't believe something so simple could create something that looked like it came from a bakery case.
Ingredients
- Chocolate sandwich cookies: The chocolate cookie crust creates this perfect slightly salty crunch that balances the ultra rich filling
- Unsalted butter: Use quality butter here since it carries half the flavor profile of both crust and filling
- Bittersweet chocolate: I have learned the hard way that semisweet makes it too sweet while darker chocolate loses that luxurious melt
- Pasteurized eggs: Absolutely non negotiable for safety since they are not cooked and this filling sits for hours
- Heavy cream: Cold cream is the secret to whipped cream that actually holds its shape on top of the pie
Instructions
- Build the foundation:
- Pulse those chocolate sandwich cookies into sandy crumbs then pour in melted butter and pulse until it starts clumping together. Press this mixture firmly into your pie dish using the bottom of a measuring cup to get it really tight and even.
- Set the crust:
- Bake at 175°C for about 10 minutes until it smells slightly toasted then let it cool completely before adding any filling.
- Melt the chocolate:
- Set up a double boiler with barely simmering water and stir the chopped chocolate until it is completely smooth then set it aside to cool to room temperature.
- Fluff the butter:
- Beat softened butter and sugar together for at least 4 minutes until it is pale and noticeably increased in volume.
- Combine:
- Pour in that room temperature chocolate with vanilla and a pinch of salt then beat until everything is incorporated.
- The transformation:
- Add eggs one at a time beating each for 5 full minutes on high speed until the filling becomes silky and has expanded significantly.
- Chill completely:
- Spread this gorgeous mixture into your cooled crust and refrigerate for at least 3 hours.
- The grand finale:
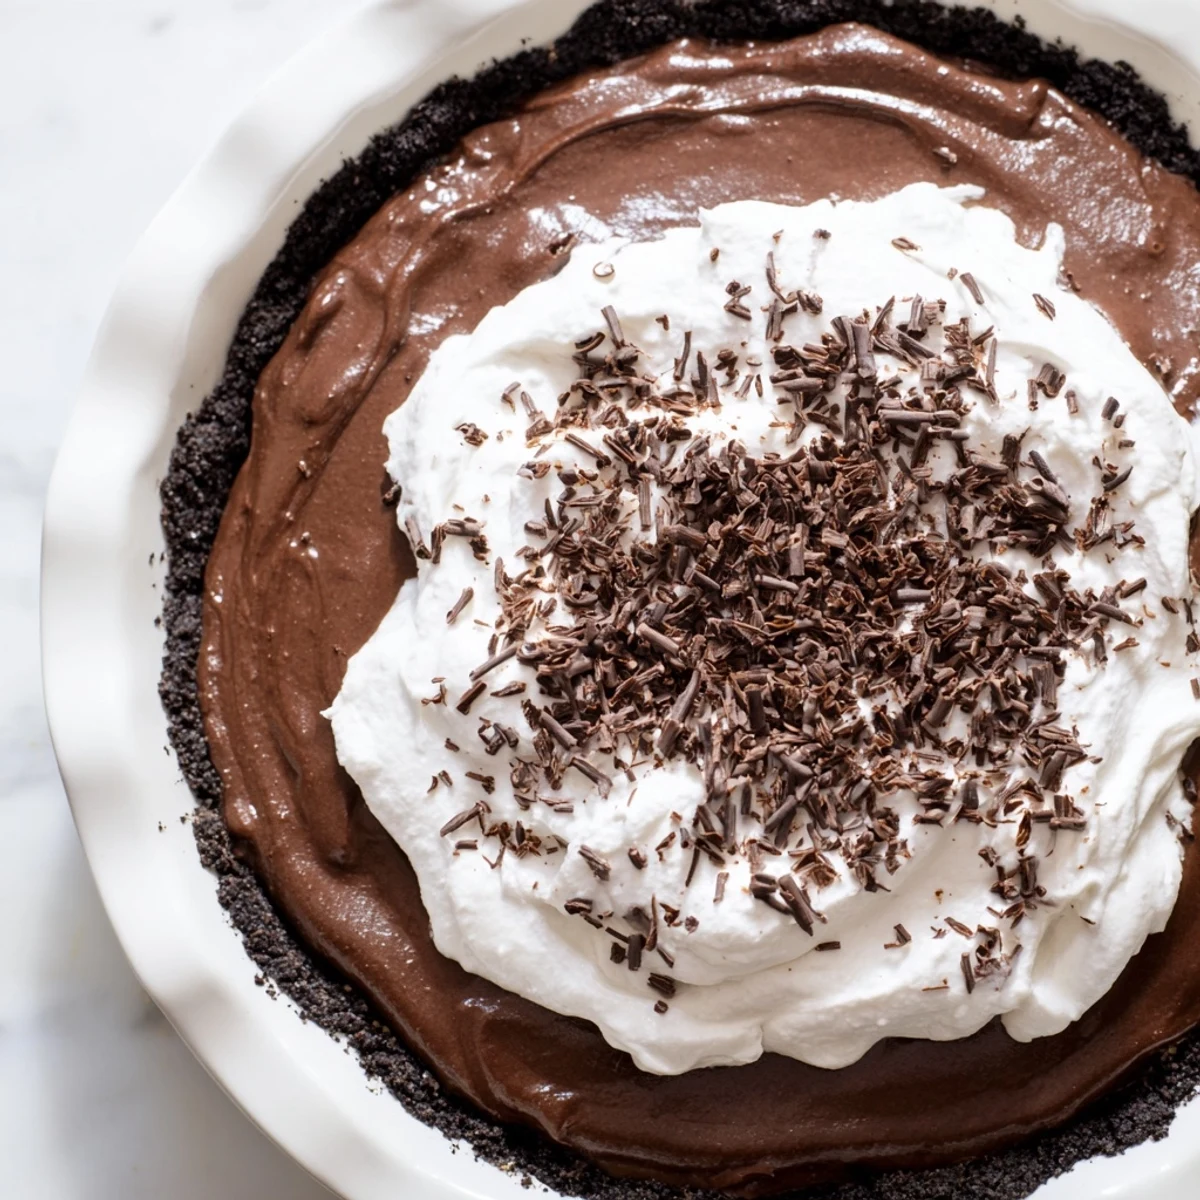
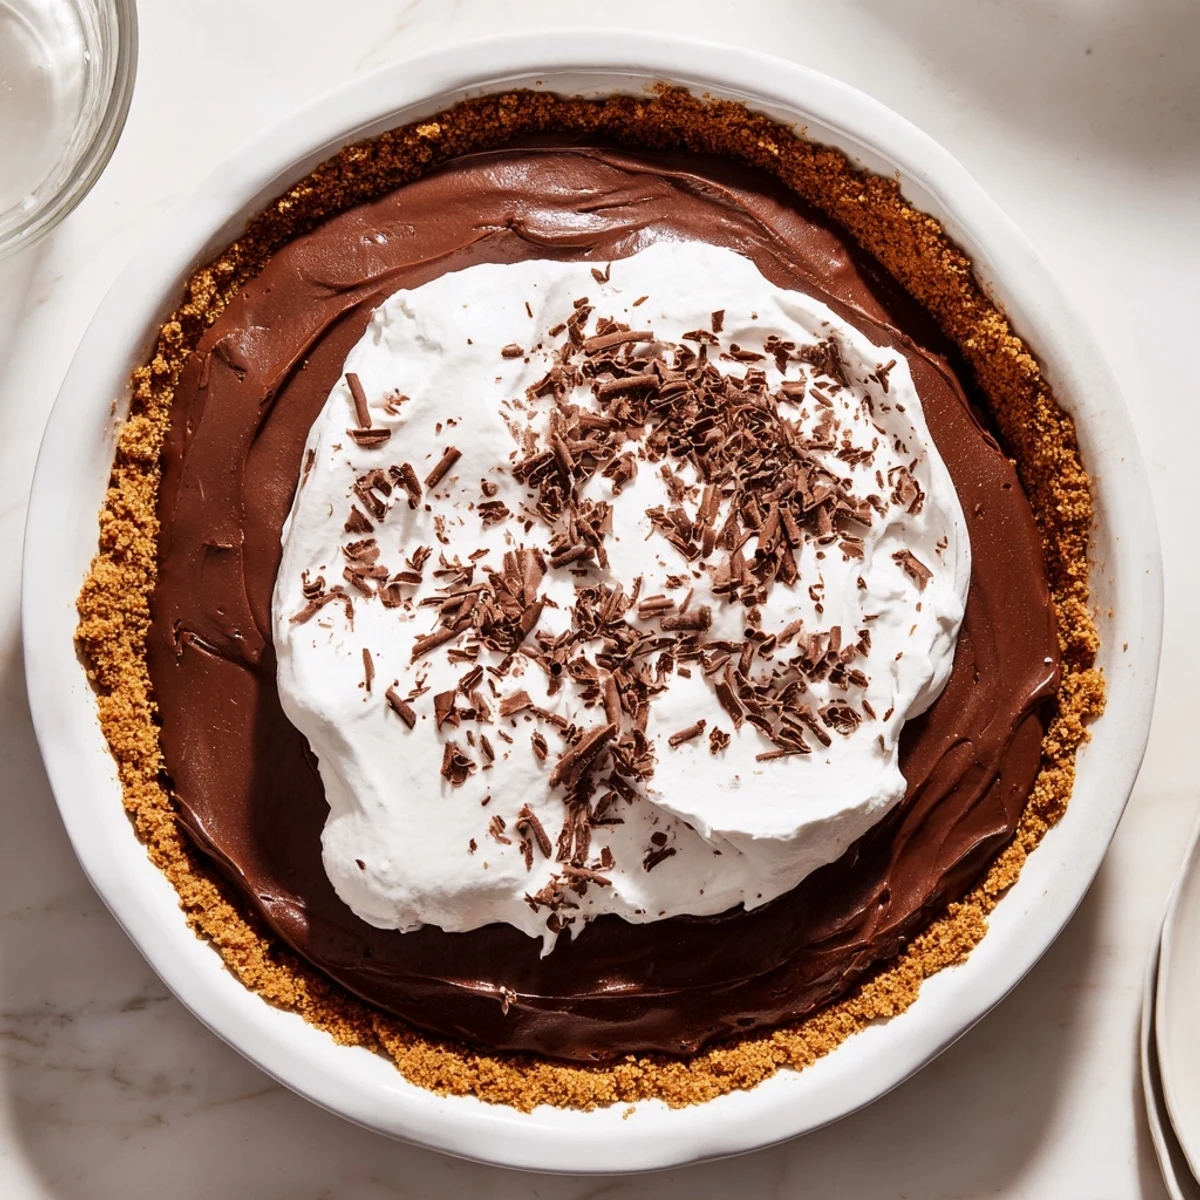
- Whip cold heavy cream with powdered sugar and vanilla until soft peaks form then pile it generously on top of your chilled pie.
 Save to Pinterest
 I brought this pie to a dinner party last winter and watched the host take her first bite then immediately ask for the recipe. She is still making it for special occasions and every time she texts me a photo of her version I feel ridiculously proud like I taught someone a secret handshake.
Temperature Management
The success of this recipe lives or dies by temperature control. If your chocolate is too hot it will seize the butter. If your ingredients are too cold they will not incorporate properly. Everything needs to be basically the same temperature when it comes together.
Timing Is Everything
I cannot stress enough that those five minute beating intervals after each egg are what create the silky texture. Shortcuts here result in a dense fudge-like texture instead of that dreamy lightness that makes this pie so special.
Make Ahead Magic
This pie actually improves after a full night in the refrigerator. The flavors deepen and the texture becomes even more luxurious which makes it perfect for dinner party planning.
- Whip the fresh cream just before serving rather than the day before
- Keep the pie uncovered while chilling to prevent condensation from making the crust soggy
- Let it sit at room temperature for 10 minutes before slicing for cleanest cuts
 Save to Pinterest
 There is something genuinely magical about serving a slice of this pie and watching people close their eyes for that first bite.
Recipe Questions & Answers
- → How do I achieve a silky smooth filling?
-
Gently melting the chocolate over simmering water and beating the mixture thoroughly with softened butter and eggs creates a light, smooth texture.
- → Can I use gluten-free cookies for the crust?
-
Yes, substituting gluten-free cookies provides a crisp base while accommodating dietary needs.
- → What is the best way to whip the cream topping?
-
Chill the bowl and whisk beforehand, then beat cold heavy cream with powdered sugar and vanilla until soft peaks form.
- → Is chilling time important for this dessert?
-
Chilling allows the filling to set firmly, enhancing the pie’s texture and flavor balance.
- → Can I add espresso powder to the filling?
-
Adding a pinch of espresso powder can deepen the chocolate flavor without overpowering the sweetness.