 Save to Pinterest
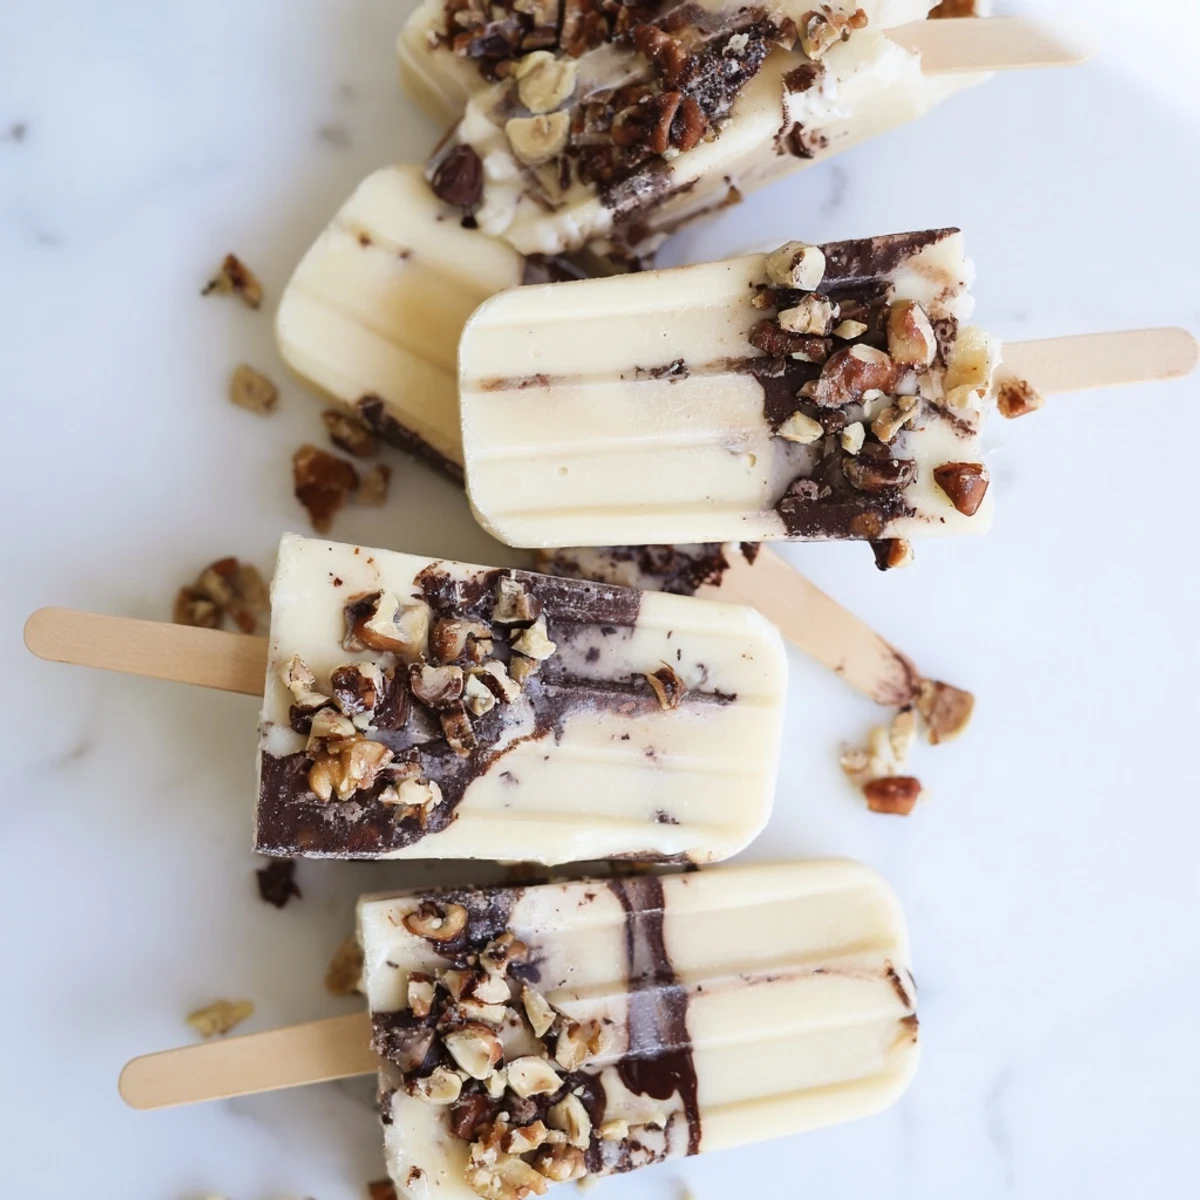
 These indulgent frozen treats combine the natural sweetness of ripe bananas with the rich intensity of dark chocolate swirled throughout. The creamy Greek yogurt base creates a smooth texture that's perfectly balanced by the chocolate's deep cocoa notes. Each pop offers a refreshing contrast of cool banana creaminess against decadent chocolate ribbons, making them an ideal handheld dessert for warm weather or anytime you want something satisfyingly sweet.
My freezer had been empty for weeks during a brutal July heatwave, and my overripe banana situation was becoming genuinely embarrassing when I decided to throw together these chocolate banana popsicles on a sweaty Tuesday afternoon. The blender whirred, the chocolate melted, and three hours later I was standing in my kitchen eating the best frozen thing I had ever made in my life. Now I keep bananas specifically for this recipe, letting them get perfectly spotted on purpose.
I brought a batch of these to a backyard barbecue last August, fully expecting people to politely nibble and move on to the store bought ice cream sandwiches. Within ten minutes every single popsicle had vanished and three different people asked me for the recipe while chocolate smudges decorated their smiles.
Ingredients
- 2 ripe bananas: The darker the spots on the peel, the sweeter and more banana forward your popsicles will taste so never waste a browning banana.
- 1 cup full-fat Greek yogurt: Full fat is non-negotiable here because it creates that luxuriously creamy texture that makes these feel genuinely indulgent.
- 2 tablespoons honey or maple syrup: Maple syrup works beautifully if you want a deeper caramel note running through the base.
- 1 teaspoon pure vanilla extract: A small amount but it rounds out the flavors and makes everything taste more complete.
- 3 ounces dark chocolate: Anything above 60 percent cocoa gives you that rich snap against the creamy banana without being too bitter.
- 2 teaspoons coconut oil: This thins the chocolate so it swirls properly and sets with a smooth, silky finish.
- Chopped nuts and mini chocolate chips (optional): A handful on top adds welcome crunch and makes them look like they came from a boutique ice cream shop.
Instructions
- Blend the Banana Base:
- Toss the peeled and sliced bananas into your blender with the yogurt, honey, and vanilla, then blend until you get a thick, impossibly smooth mixture that tastes like the best smoothie you have ever made.
- Melt the Chocolate:
- Break the dark chocolate into pieces and melt it gently with the coconut oil using a double boiler or short microwave bursts, stirring until it becomes a glossy, pourable pool.
- Layer and Swirl:
- Fill each popsicle mold halfway with the banana mixture, drizzle chocolate generously over the surface, then drag a skewer through it in loose figure eights to create those gorgeous marble veins.
- Top Off and Finish:
- Cover with the remaining banana mixture, add one more chocolate drizzle and swirl, then sprinkle your nuts or chips on top before the chocolate begins to set.
- Insert Sticks and Freeze:
- Gently press the popsicle sticks into the center of each mold and transfer the whole tray to the freezer for a minimum of four hours until completely firm.
- Unmold and Devour:
- Run warm water over the outside of each mold for about ten seconds, give a gentle tug on the stick, and watch your beautiful creation slide out perfectly every time.
 Save to Pinterest
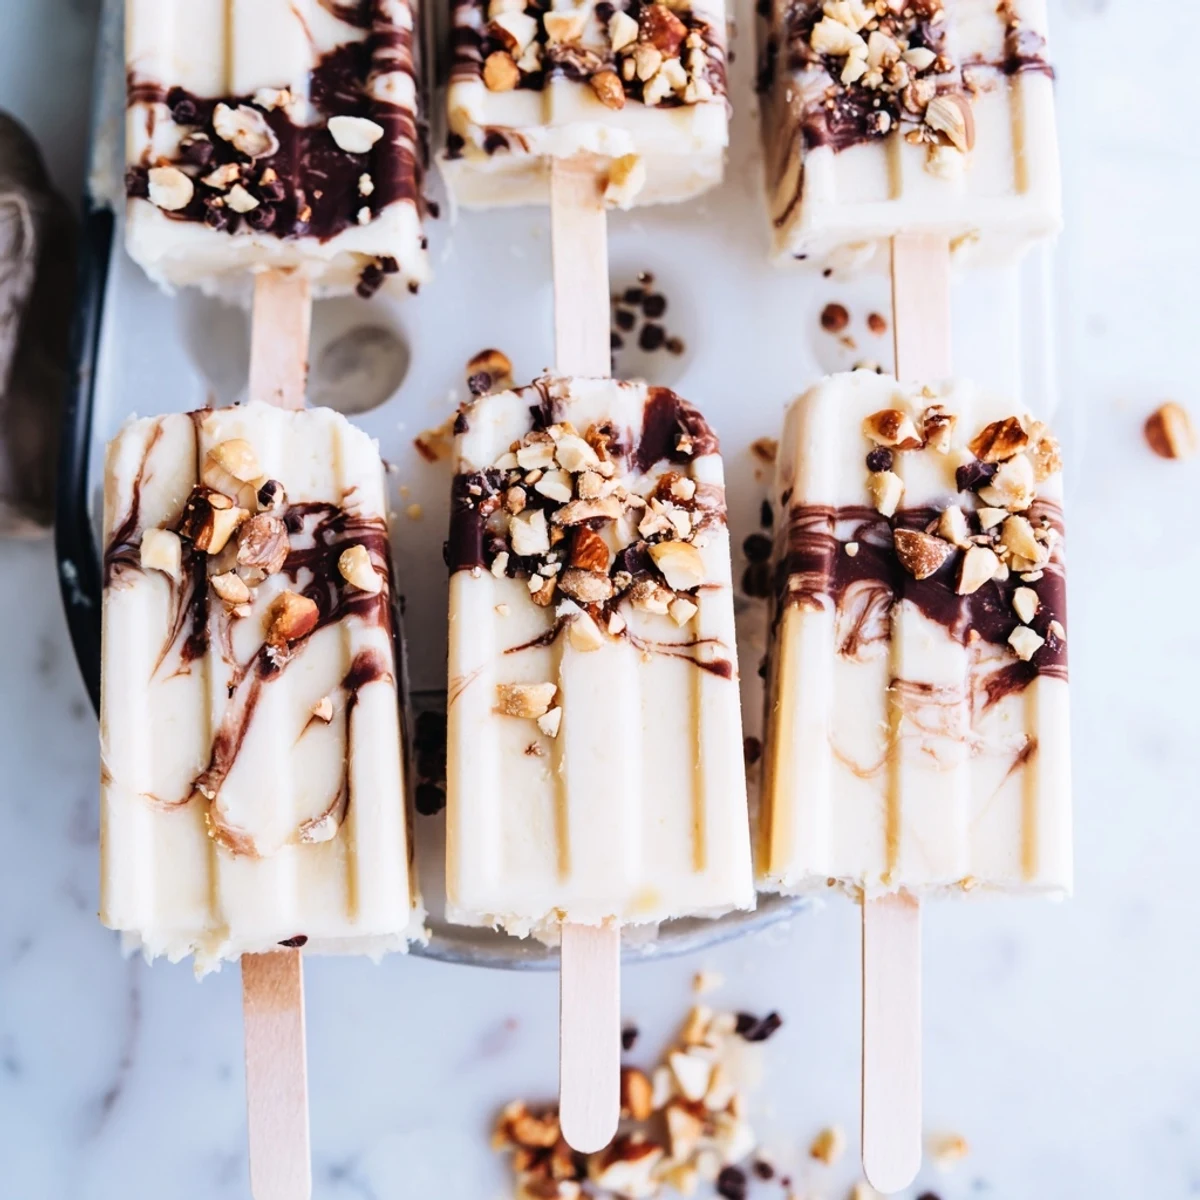
 There is something deeply satisfying about pulling a homemade popsicle from the freezer on a quiet evening when the house is finally cool and the world has slowed down. These became my little reward for surviving long summer days.
Tools That Make This Easier
A decent blender handles the banana base effortlessly, and silicone popsicle molds release much more reliably than rigid plastic ones. If you only have a microwave for melting chocolate, use thirty second intervals at half power and stir between each round to avoid scorching.
Making Them Your Own
A spoonful of peanut butter blended directly into the banana base creates a wildly good nutty version that tastes like a frozen peanut butter cup. For a vegan variation, simply swap in your favorite plant-based yogurt and use maple syrup instead of honey.
Storing Your Leftovers
These popsicles will keep beautifully in an airtight container in the freezer for up to two weeks, though mine never last anywhere near that long.
- Wrap each popsicle individually in parchment paper before storing so they do not stick together.
- If you want an extra thick chocolate shell, dip the frozen popsicles quickly into additional melted chocolate and let it set before serving.
- Always label your container with the date because freezer burn is the enemy of perfectly good popsicles.
 Save to Pinterest
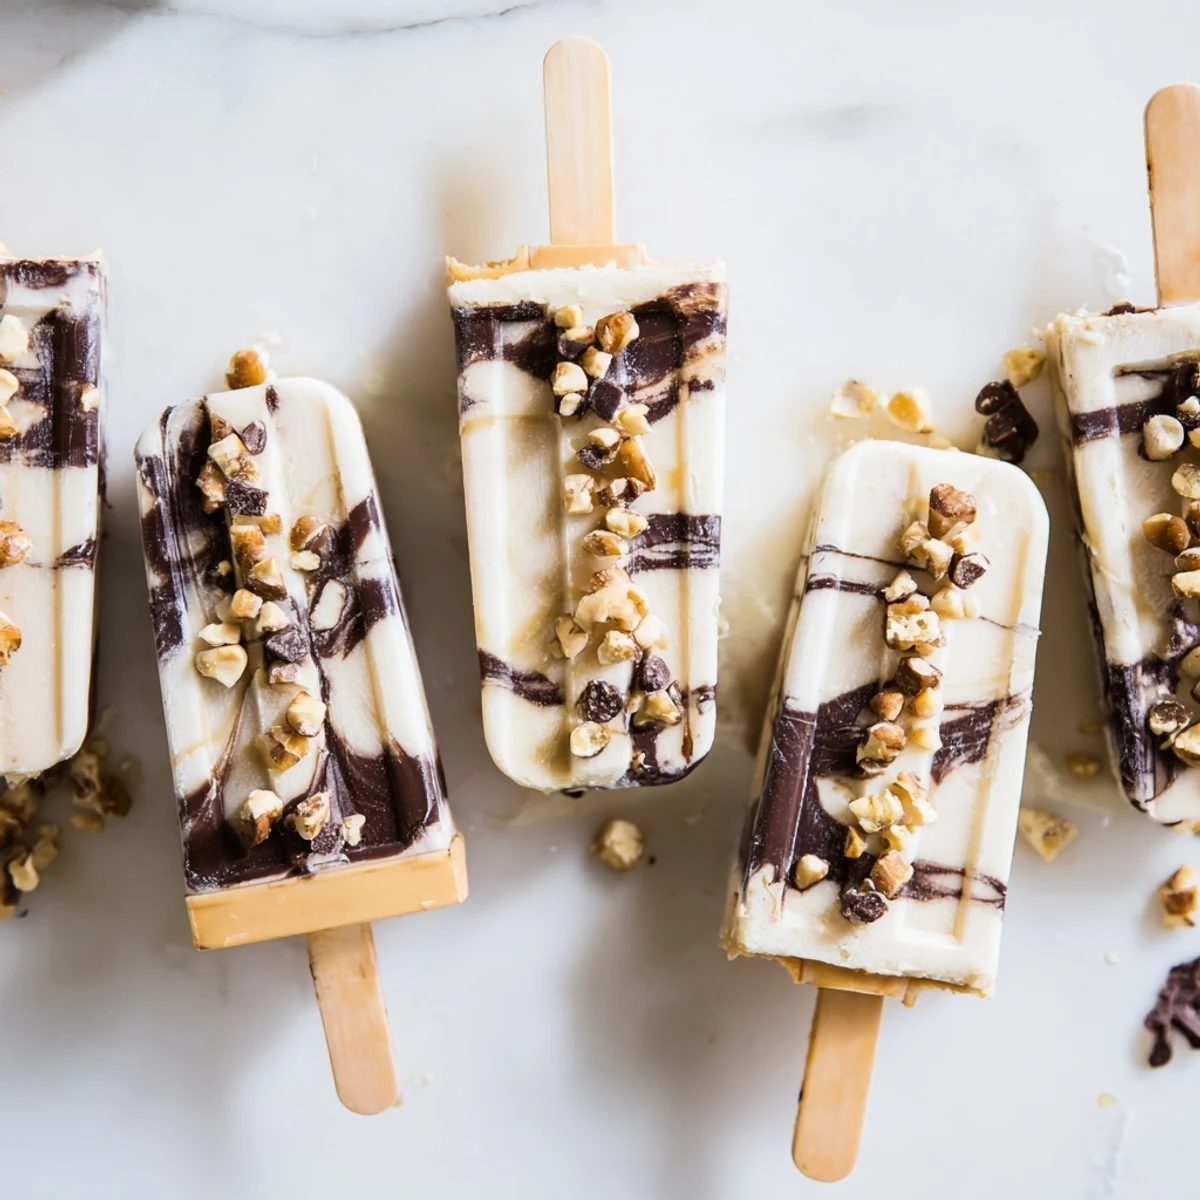
 Keep a stash of these in your freezer all summer long and you will never be caught without something sweet, cold, and completely wonderful. Your future self will thank you every single time.
Recipe Questions & Answers
- → How long do these treats stay fresh in the freezer?
-
Store in an airtight container for up to 2 weeks. For best texture and flavor, enjoy within the first week.
- → Can I make these without dairy?
-
Absolutely. Substitute the Greek yogurt with coconut yogurt, almond yogurt, or any plant-based alternative. Use maple syrup instead of honey for a fully vegan version.
- → What's the best way to unmold them?
-
Run the mold under warm water for 20-30 seconds. Gently twist the sticks to loosen. Avoid pulling too hard to prevent sticks from coming out without the frozen treat.
- → Can I add other flavors to the banana base?
-
Yes. Blend in peanut butter, cinnamon, or a handful of strawberries. Each variation adds a unique twist while maintaining the creamy texture.
- → Do I need special equipment?
-
You'll need popsicle molds and sticks. A blender ensures smoothness, and a microwave-safe bowl or double boiler melts the chocolate evenly.