
 Save to Pinterest
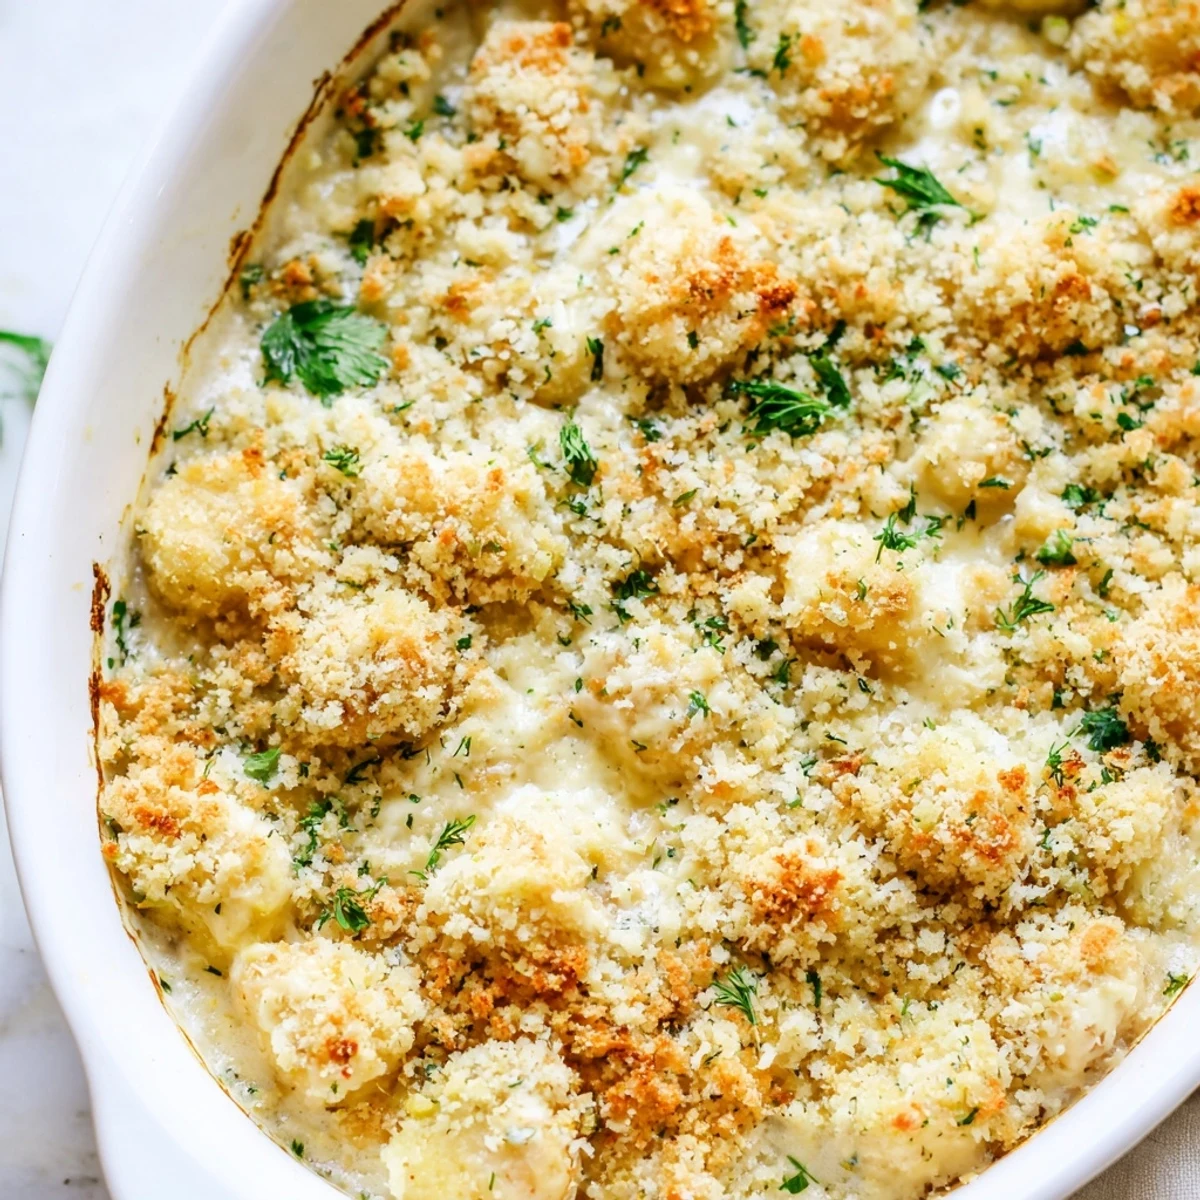
 This Chicken Kiev Casserole transforms the beloved Eastern European classic into an effortless baked dish perfect for weeknight dinners.
Tender pieces of boneless chicken are nestled in a 9x13 baking dish, generously dotted with a homemade garlic-herb butter made from fresh parsley, dill, lemon juice, and minced garlic. A luxurious combination of heavy cream and chicken broth creates a rich, savory sauce, while grated Parmesan adds depth.
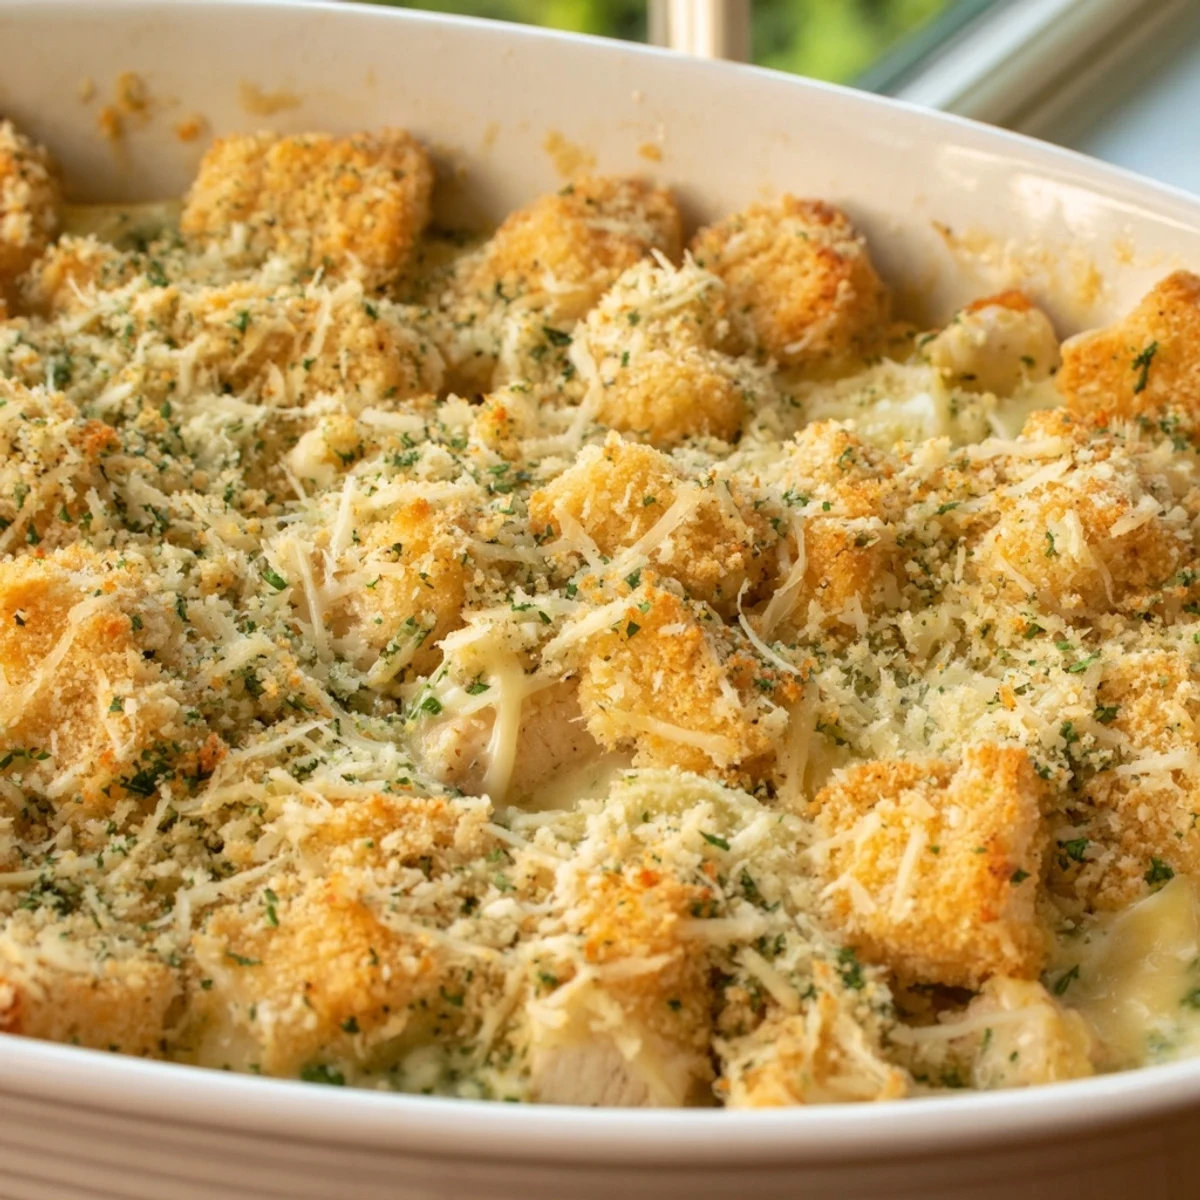
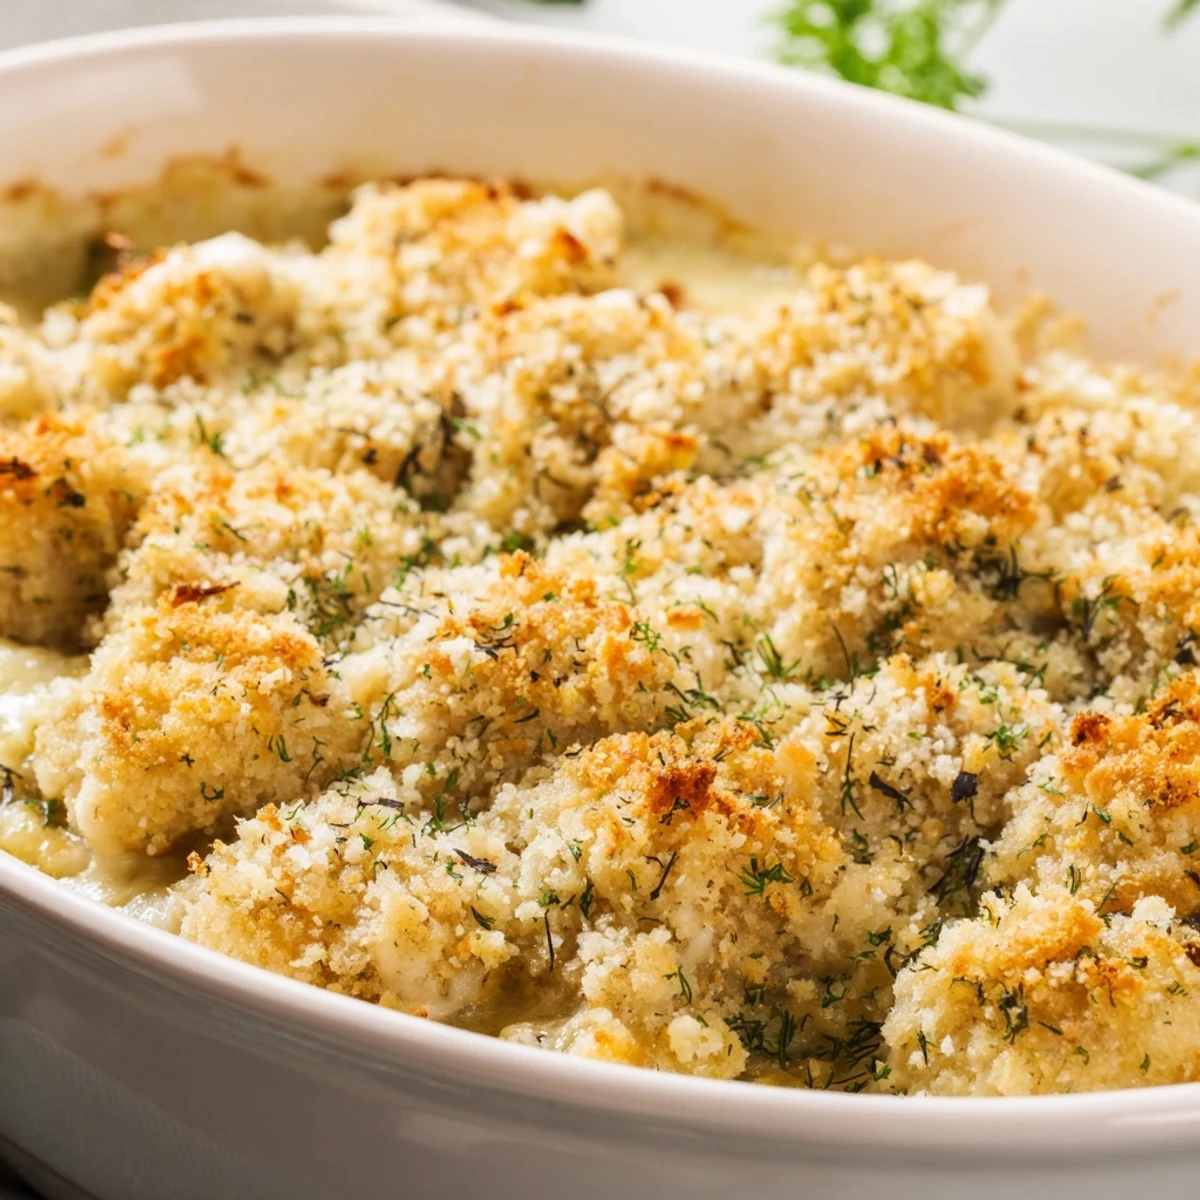
The crowning glory is a crispy panko breadcrumb topping tossed with melted butter and dried thyme, turning golden and irresistible after 35 minutes in the oven. Each serving delivers tender, flavorful chicken with a satisfying crunch.
My oven door has a permanent smudge at eye level from where I press my face to check on casseroles, and this Chicken Kiev version is the reason it keeps getting worse. The garlic herb butter melts into little golden pools between the chicken pieces, and the smell that fills the kitchen is almost aggressive in the best way. I stumbled onto this recipe during a week when I had leftover herb butter and no patience for pounding chicken cutlets flat. It turned out to be one of those accidental dinners that made everyone go quiet at the table.
My neighbor Linda knocked on my door the second time I made this, asking if I was running a restaurant out of my kitchen. We ended up eating straight from the baking dish with forks, standing at the counter, not even bothering with plates.
Ingredients
- Boneless skinless chicken breasts (1.5 lbs): Cut into uniform bite sized pieces so everything cooks evenly and you dont end up with some dry and some underdone.
- Unsalted butter (6 tbsp, softened): The backbone of the herb butter, and softened really does matter here because cold butter will not mix smoothly with the herbs and garlic.
- Garlic (3 cloves, minced): Fresh is non negotiable for this recipe since the garlic flavor is front and center.
- Fresh parsley (2 tbsp, finely chopped): Adds a bright green color and fresh flavor that dried parsley simply cannot replicate.
- Fresh dill (1 tbsp, optional): Gives a subtle Eastern European character that pairs beautifully with the lemon.
- Lemon juice (1 tsp): Just a splash to wake everything up and cut through the richness.
- Salt and black pepper: Season the herb butter generously because that is where most of the flavor lives.
- Heavy cream (1 cup): Creates a luscious sauce as it bakes together with the butter and broth.
- Low sodium chicken broth (1/2 cup): Thin the sauce slightly and adds savory depth without overpowering saltiness.
- Grated Parmesan cheese (1/4 cup): Melts into the cream for a subtle nutty undertone.
- Panko breadcrumbs (1 cup): The secret to that satisfying crunch on top that contrasts with the creamy layer below.
- Melted butter (2 tbsp, for topping): Helps the panko turn golden and crispy instead of dry and chalky.
- Dried thyme or parsley (1/2 tsp): A finishing herbal note for the topping.
- Shredded mozzarella (1/2 cup, optional): Adds an extra cheesy stretch factor that kids especially love.
Instructions
- Get the oven ready:
- Preheat to 375 degrees and grease a 9 by 13 inch baking dish with cooking spray or a light brush of oil so nothing sticks.
- Make the herb butter:
- Mash the softened butter with the garlic, parsley, dill, lemon juice, salt, and pepper in a bowl until it looks like a fragrant green paste and tastes incredible on your finger.
- Lay down the chicken:
- Spread the chicken pieces in an even layer across the bottom of the dish so every piece has room to cook through properly.
- Dot with herb butter:
- Spoon generous dollops of the herb butter all over the chicken, dont worry about being neat because it will melt and spread as it bakes.
- Pour the liquids:
- Whisk the cream and broth together briefly, then pour it gently over the chicken and sprinkle the Parmesan on top.
- Add mozzarella if using:
- Scatter the shredded mozzarella over everything for an extra layer of gooey comfort.
- Build the crust:
- Toss the panko with melted butter and dried herbs in a small bowl, then sprinkle it evenly so every inch is covered.
- Bake until golden:
- Slide it into the oven for 30 to 35 minutes until the top is deeply golden and the cream is bubbling around the edges.
- Rest before serving:
- Let it sit for 5 minutes so the sauce thickens slightly and you dont burn your tongue on molten butter.
 Save to Pinterest
 The third time I made this was for a friend who had just had a baby, and she texted me at midnight saying she ate the entire container cold from the fridge. That might be the highest compliment a casserole can receive.
Serving Suggestions
This dish is rich enough on its own but benefits from something green and simple on the side. A quick arugula salad with lemon vinaigrette cuts right through the butter and cream. Steamed green beans or roasted asparagus also work beautifully if you want to keep things easy.
Making It Ahead
You can assemble the entire casserole up to the breadcrumb step, cover it tightly, and refrigerate it for up to 24 hours before baking. Add the panko topping right before it goes into the oven so it stays crunchy. If baking from cold, add about ten extra minutes to the cooking time and keep an eye on the top.
Storage and Reheating
Leftovers keep well in an airtight container in the fridge for about three days and reheat surprisingly well in the microwave. The topping will lose some crunch but the flavor actually deepens overnight as everything mingles together.
- Cover the baking dish tightly with foil if you refrigerate it overnight before baking.
- Freeze individual portions for up to two months and thaw overnight in the fridge before reheating.
- Always check that reheated chicken reaches 165 degrees internally before serving.
 Save to Pinterest
 This is the kind of recipe that makes your kitchen smell like someone who really knows what they are doing, even if you just threw it together on a Tuesday. Share it with someone who needs a warm plate and a quiet evening.
Recipe Questions & Answers
- → Can I use chicken thighs instead of chicken breasts?
-
Yes, boneless skinless chicken thighs work beautifully in this casserole. They remain juicier and more forgiving during baking. Cut them into similar bite-sized pieces and follow the same instructions. You may need to add 5 extra minutes of baking time to ensure they cook through completely.
- → How do I store and reheat leftovers?
-
Store leftover casserole in an airtight container in the refrigerator for up to 3 days. To reheat, cover with foil and warm in a 350°F oven for about 15–20 minutes until heated through. The panko topping may lose some crispness, but you can place it under the broiler for 1–2 minutes to refresh it.
- → Can I prepare this casserole ahead of time?
-
Absolutely. You can assemble the entire casserole up to 24 hours in advance, cover it tightly with plastic wrap, and refrigerate. When ready to bake, remove it from the refrigerator 20 minutes beforehand to take the chill off, then bake as directed. Add the panko topping just before baking to keep it crispy.
- → What can I substitute for heavy cream?
-
Half-and-half is a direct substitute mentioned in the ingredients. For a lighter version, use whole milk combined with 2 tablespoons of butter. For a dairy-free alternative, full-fat coconut milk or a cashew cream sauce works well, though it will subtly alter the flavor profile.
- → What side dishes pair well with this casserole?
-
A simple green salad with vinaigrette cuts through the richness beautifully. Steamed green beans, roasted asparagus, or buttered egg noodles are excellent companions. For a heartier meal, serve alongside mashed potatoes or crusty bread to soak up the creamy garlic sauce.
- → Can I make this gluten-free?
-
Yes, simply swap the panko breadcrumbs for gluten-free panko or crushed gluten-free crackers. Ensure your chicken broth is certified gluten-free as well. All other ingredients in the casserole are naturally gluten-free, making this an easy adaptation.